Back Behind The Wheel

Despite the torrent of rain, I was able to throw some pots today!

It rained and it poured!  You can see how far I had to scoot my wheel over due to the rain blowing into my back porch studio.
It rained and it poured! You can see how far I had to scoot my wheel over due to the rain blowing into my back porch studio.
Centering a two pound lump of clay.
Pressing the clay down and out to the width of the pet dish - approximately 6 inches in diameter.
Pressing the clay down and out to the width of the pet dish – approximately 6 inches in diameter.
Compressing the bottom to ensure evenness.
Pulling up the side of the pet dish.
Starting to pull up the side of the pet dish – need to keep my hands wet.
Pulling up the sides of the pet dish.
Finishing the rim of the pet dish.

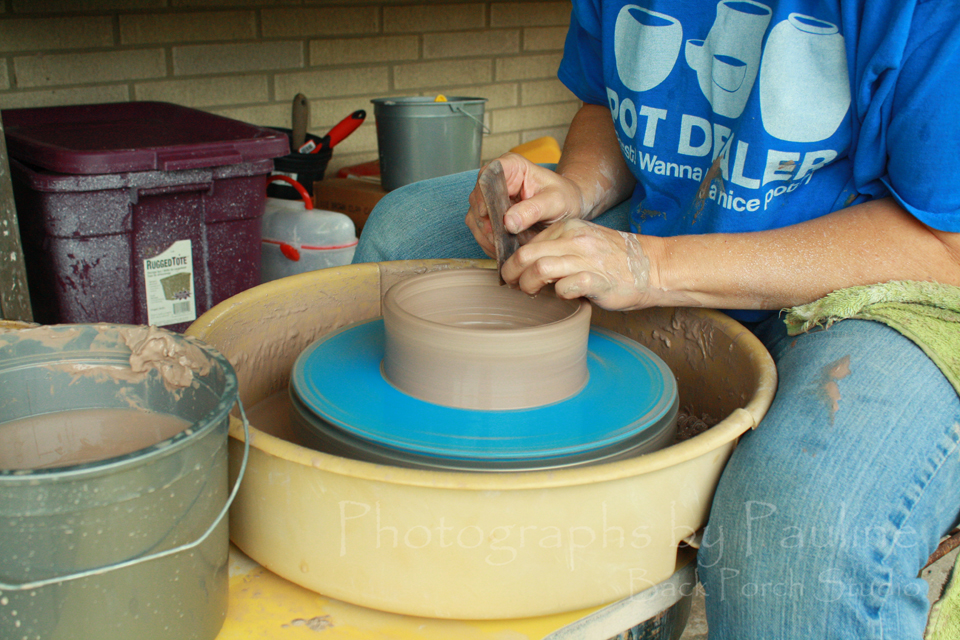
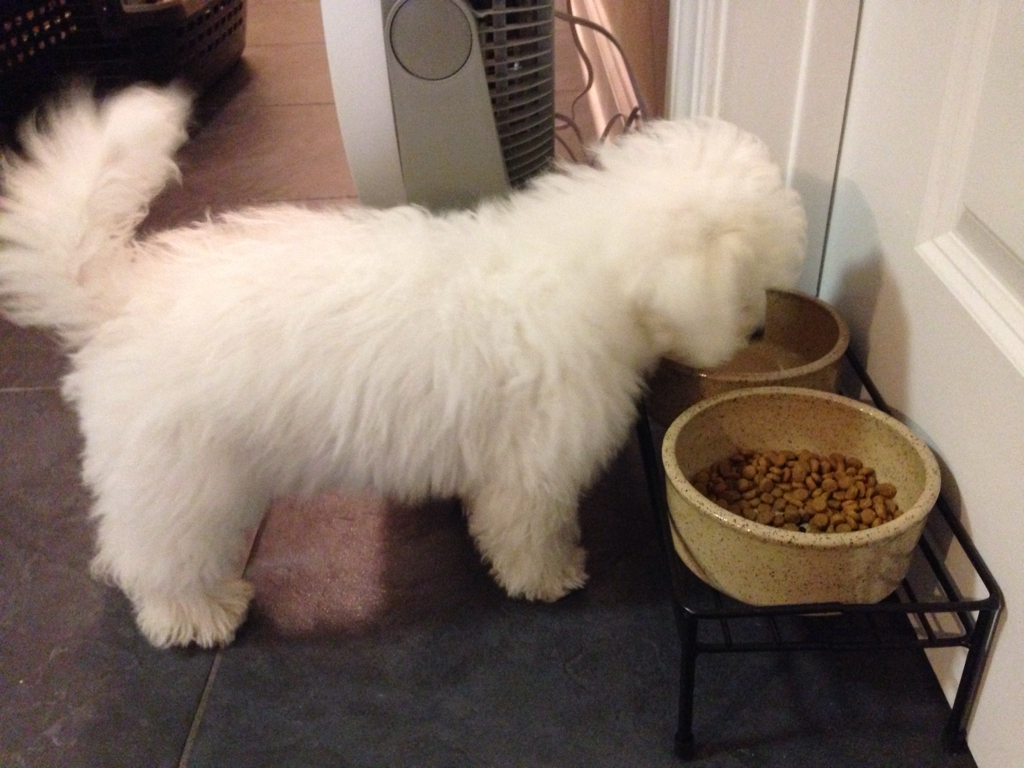
At this point, I wait until the pet dish is dry and stable enough to take off the blue bat.  Then I wait some more until the pet dish is dry and stable enough to finish (clean up) the bottom.

The pet dish is dry and stable enough for me to flip it over and tidy up the bottom the with my trimming tool.
The pet dish is dry and stable enough for me to flip it over and tidy up the bottom the with my trimming tool. (Blurry photo…sorry!)
 . . . and voila, a pet dish!
. . . and voila, a pet dish!

The next step is to let the pottery piece air dry.  When the piece is completely dry, it will go into the kiln for its first of two firings: the bisque firing followed by adding glaze then a glaze firing.

The final product. One of my best sellers!
A happy customer!
A happy customer!

Leave a reply.

Fill in your details below or click an icon to log in:

WordPress.com Logo

You are commenting using your WordPress.com account. Log Out /  Change )

Facebook photo

You are commenting using your Facebook account. Log Out /  Change )

Connecting to %s