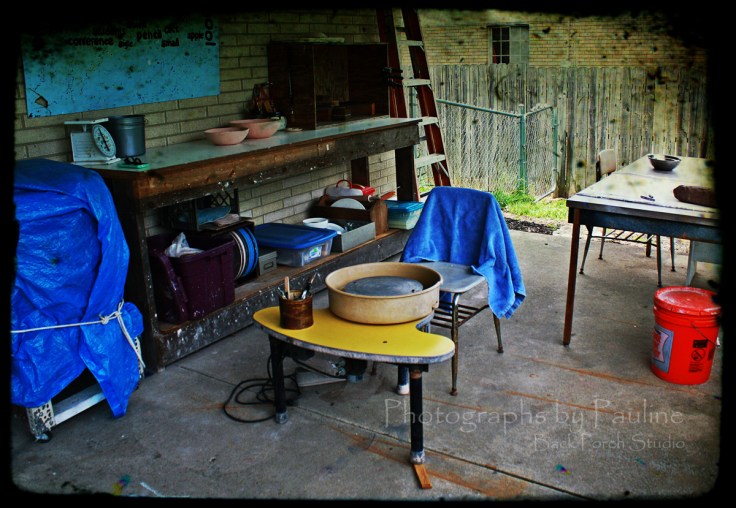
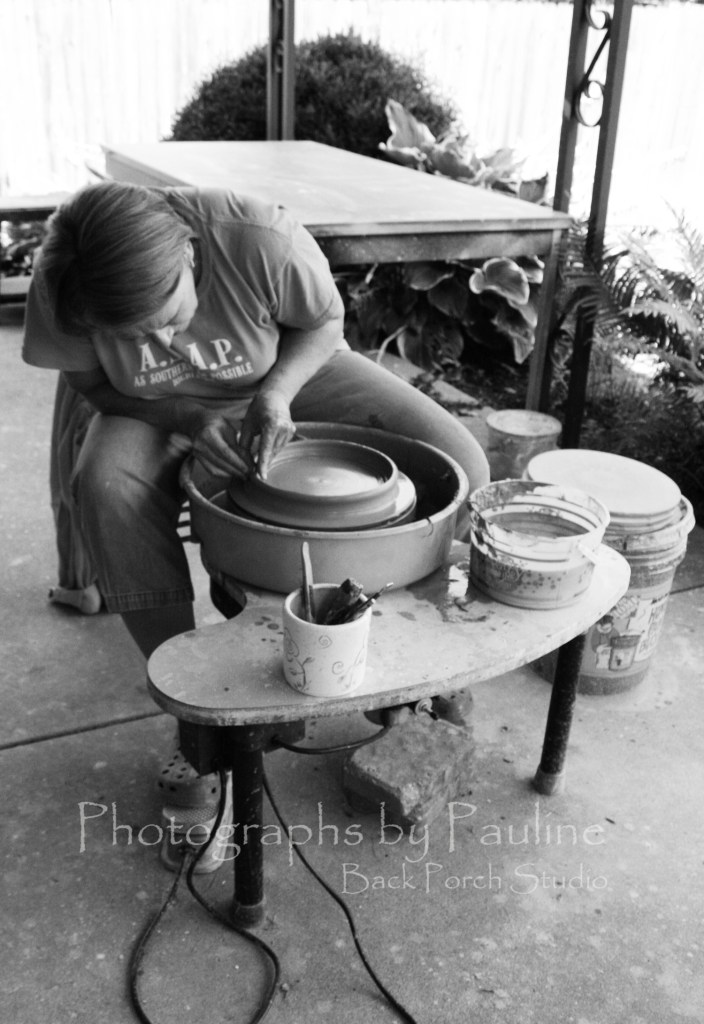
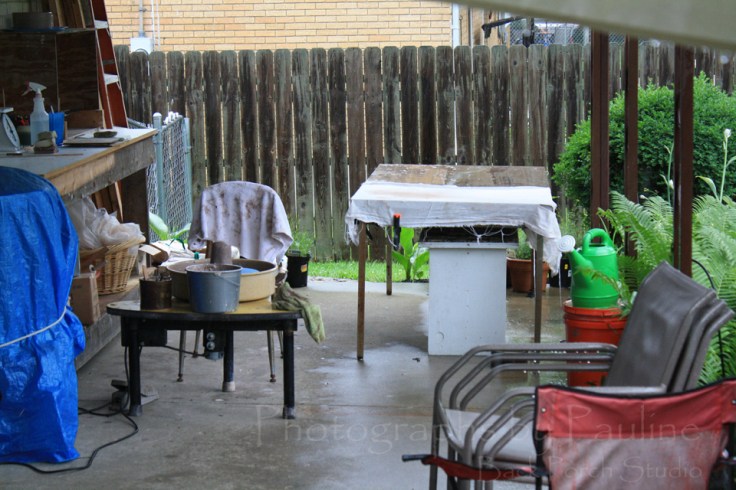
My back porch pottery studio is open to all the whims of Mother Nature. Because my production is determined by the weather, my throwing season starts in May and ends in October.
During the winter, I hand-build with clay inside where it’s warm and dry. Hand-building allows me to work with clay without a wheel.
I have used these three techniques in hand-building: pinch pot method, coil method and slab method
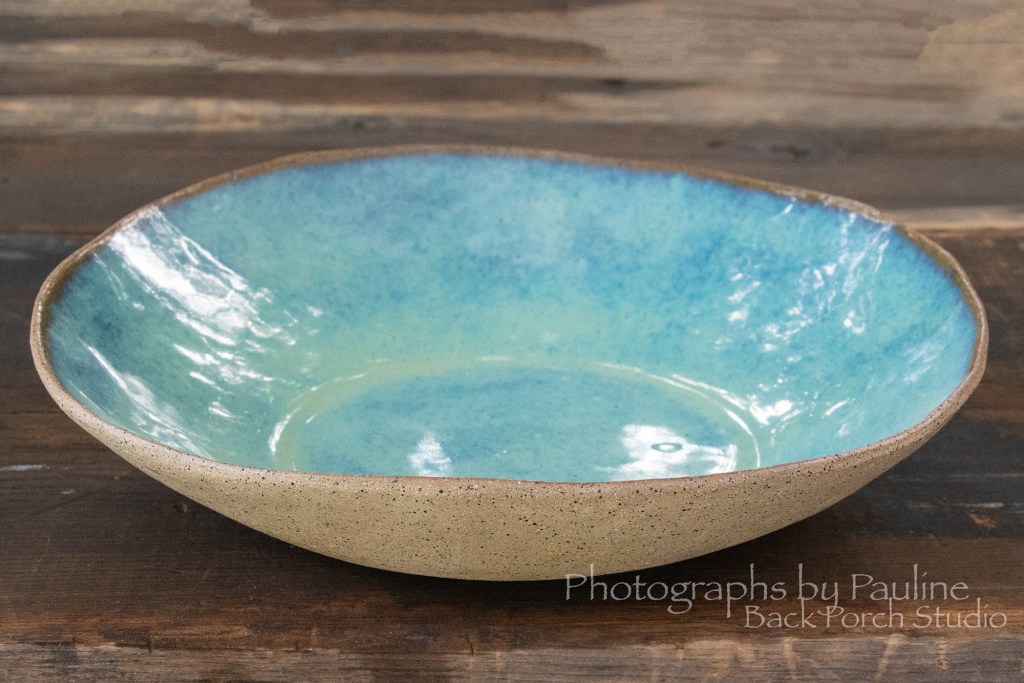
Currently, I am making extra large organically shaped nesting bowls using the slab method; bowls that are free-form, slightly irregular and asymmetrical.
This technique involves rolling out clay into flat pieces called slabs.
The slabs will be draped over a hump mold to take on the shape of a large bowl or plate.
- hump mold: a convex plaster form where a slab of clay is draped over the mold’s shape
But first, I needed to make several hump molds using three large metal mixing bowls from our kitchen and Plaster of Paris. Utilizing existing forms to create a new and inexpensive mold is one way to streamline my production and add to my toolkit.
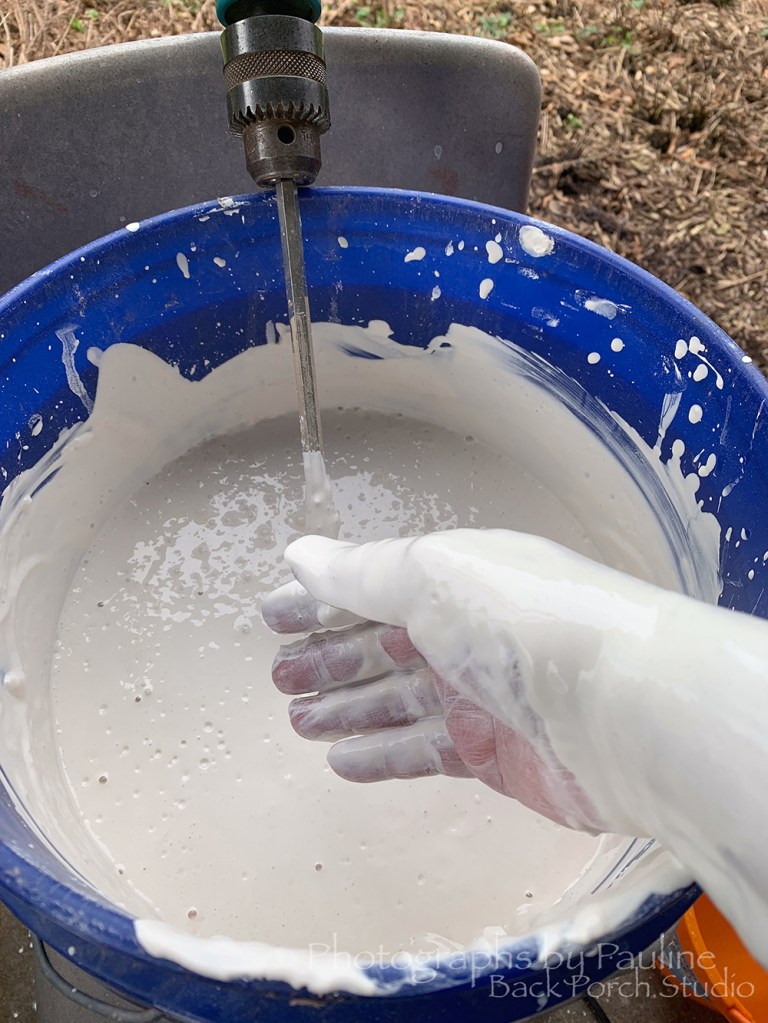
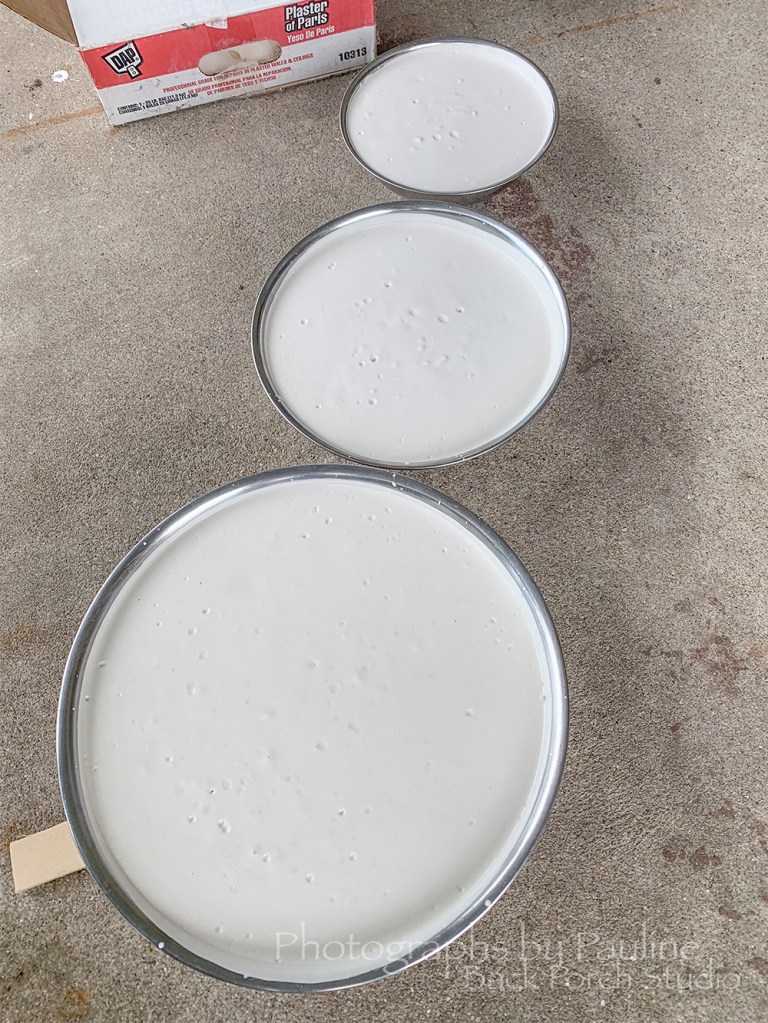
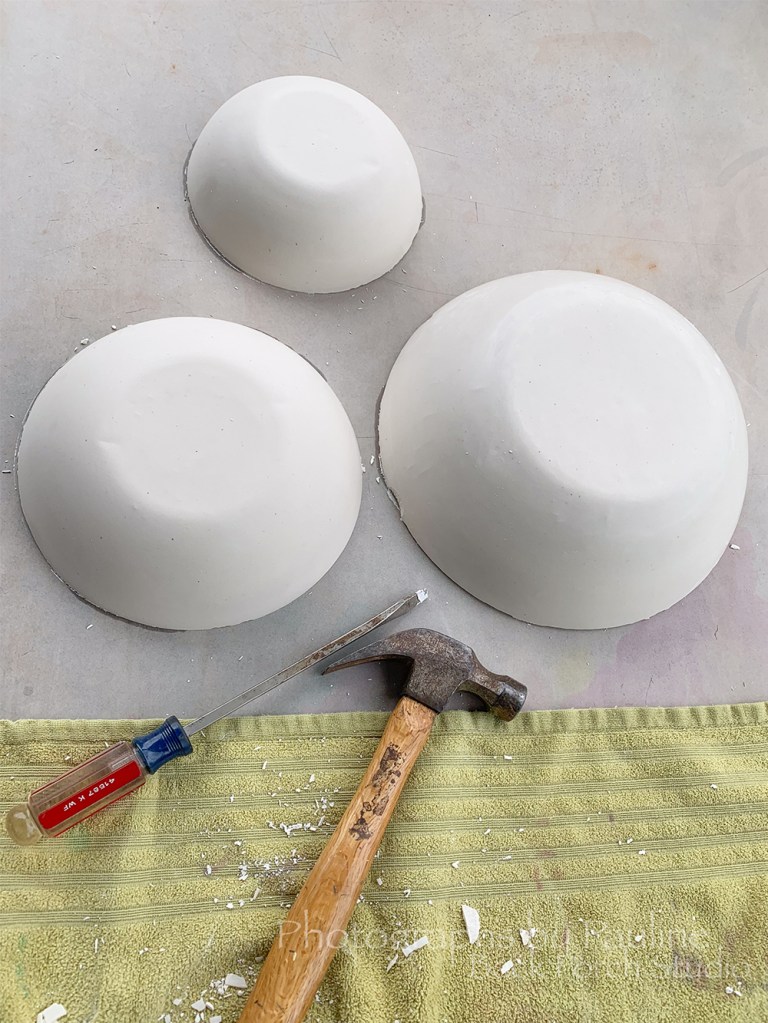
Once the plaster hardened, I removed the plaster mold, set it aside to dry which took about a week because these were very large and thick. The metal mixing bowls have been washed and are back in use in the kitchen!
To make a slab of clay I used to use a rolling pin, but now I use a table top slab roller which rolls out sheets of clay more evenly than the rolling pin and with more ease!

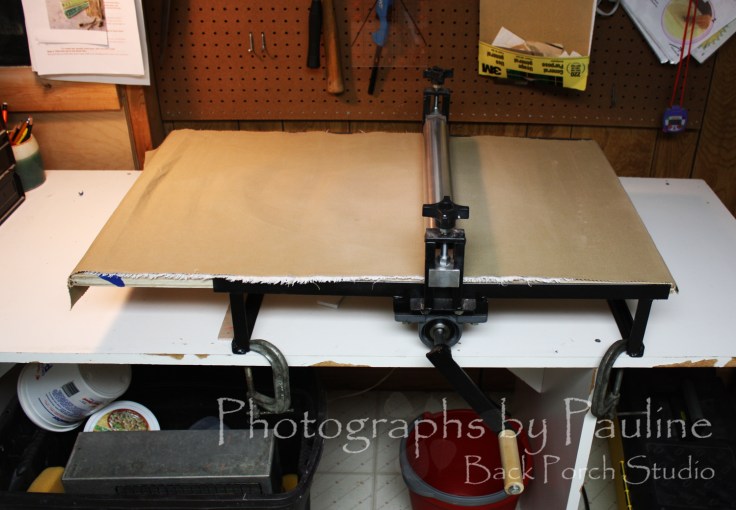
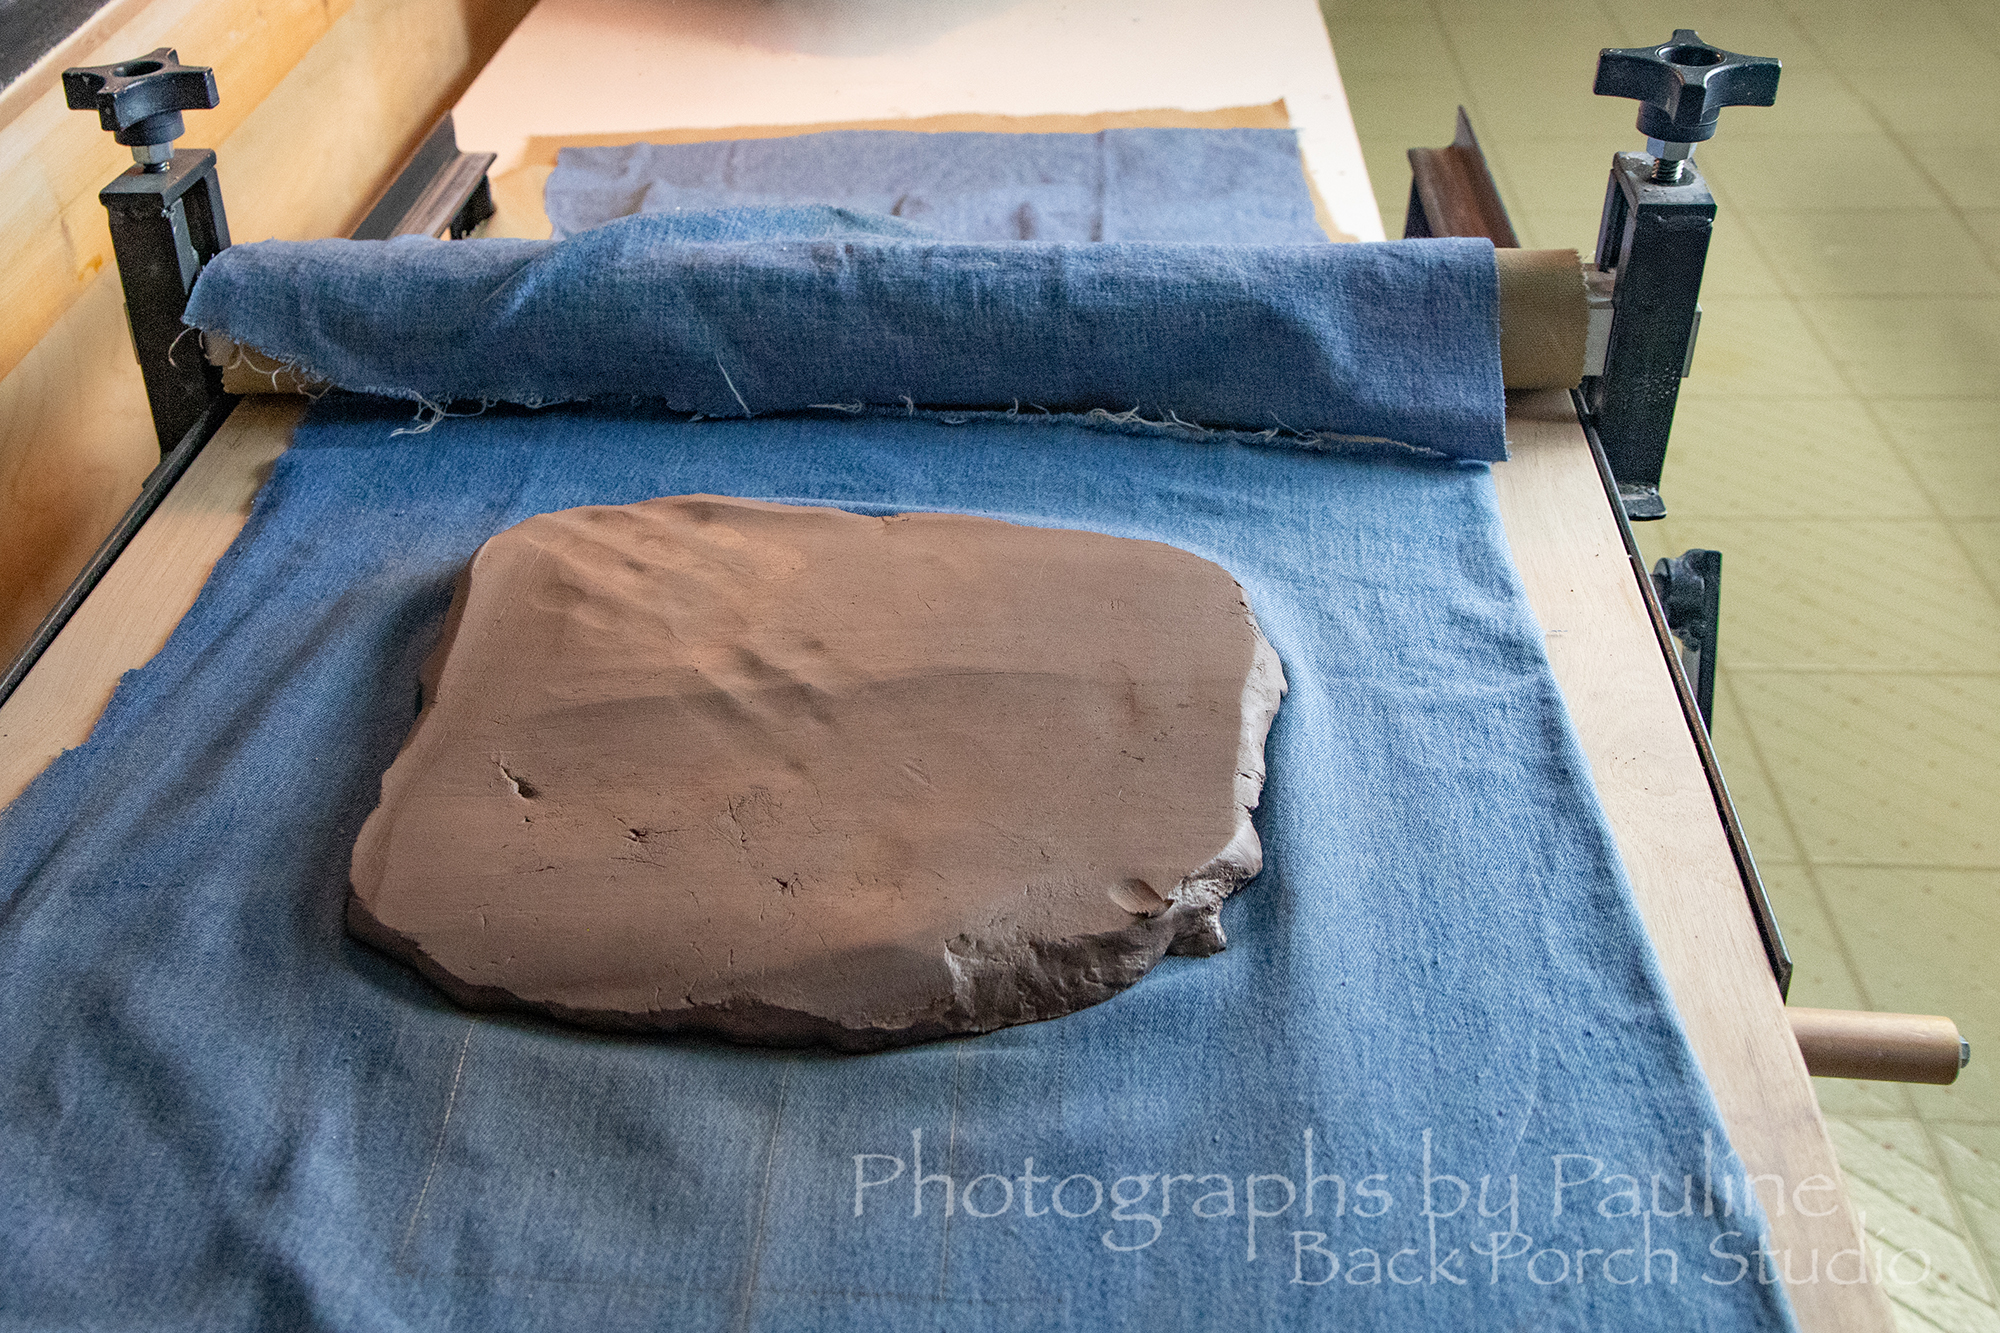
I place clay onto the slab roller in between two pieces of cotton fabric to prevent clay sicking to the flat surface underneath and the metal roller on top. Turning the handle (seen on the right hand side) on the slab roller feeds the clay through the roller. With each pass through under the roller, I decrease the thickness setting by adjusting the two black knobs on top.
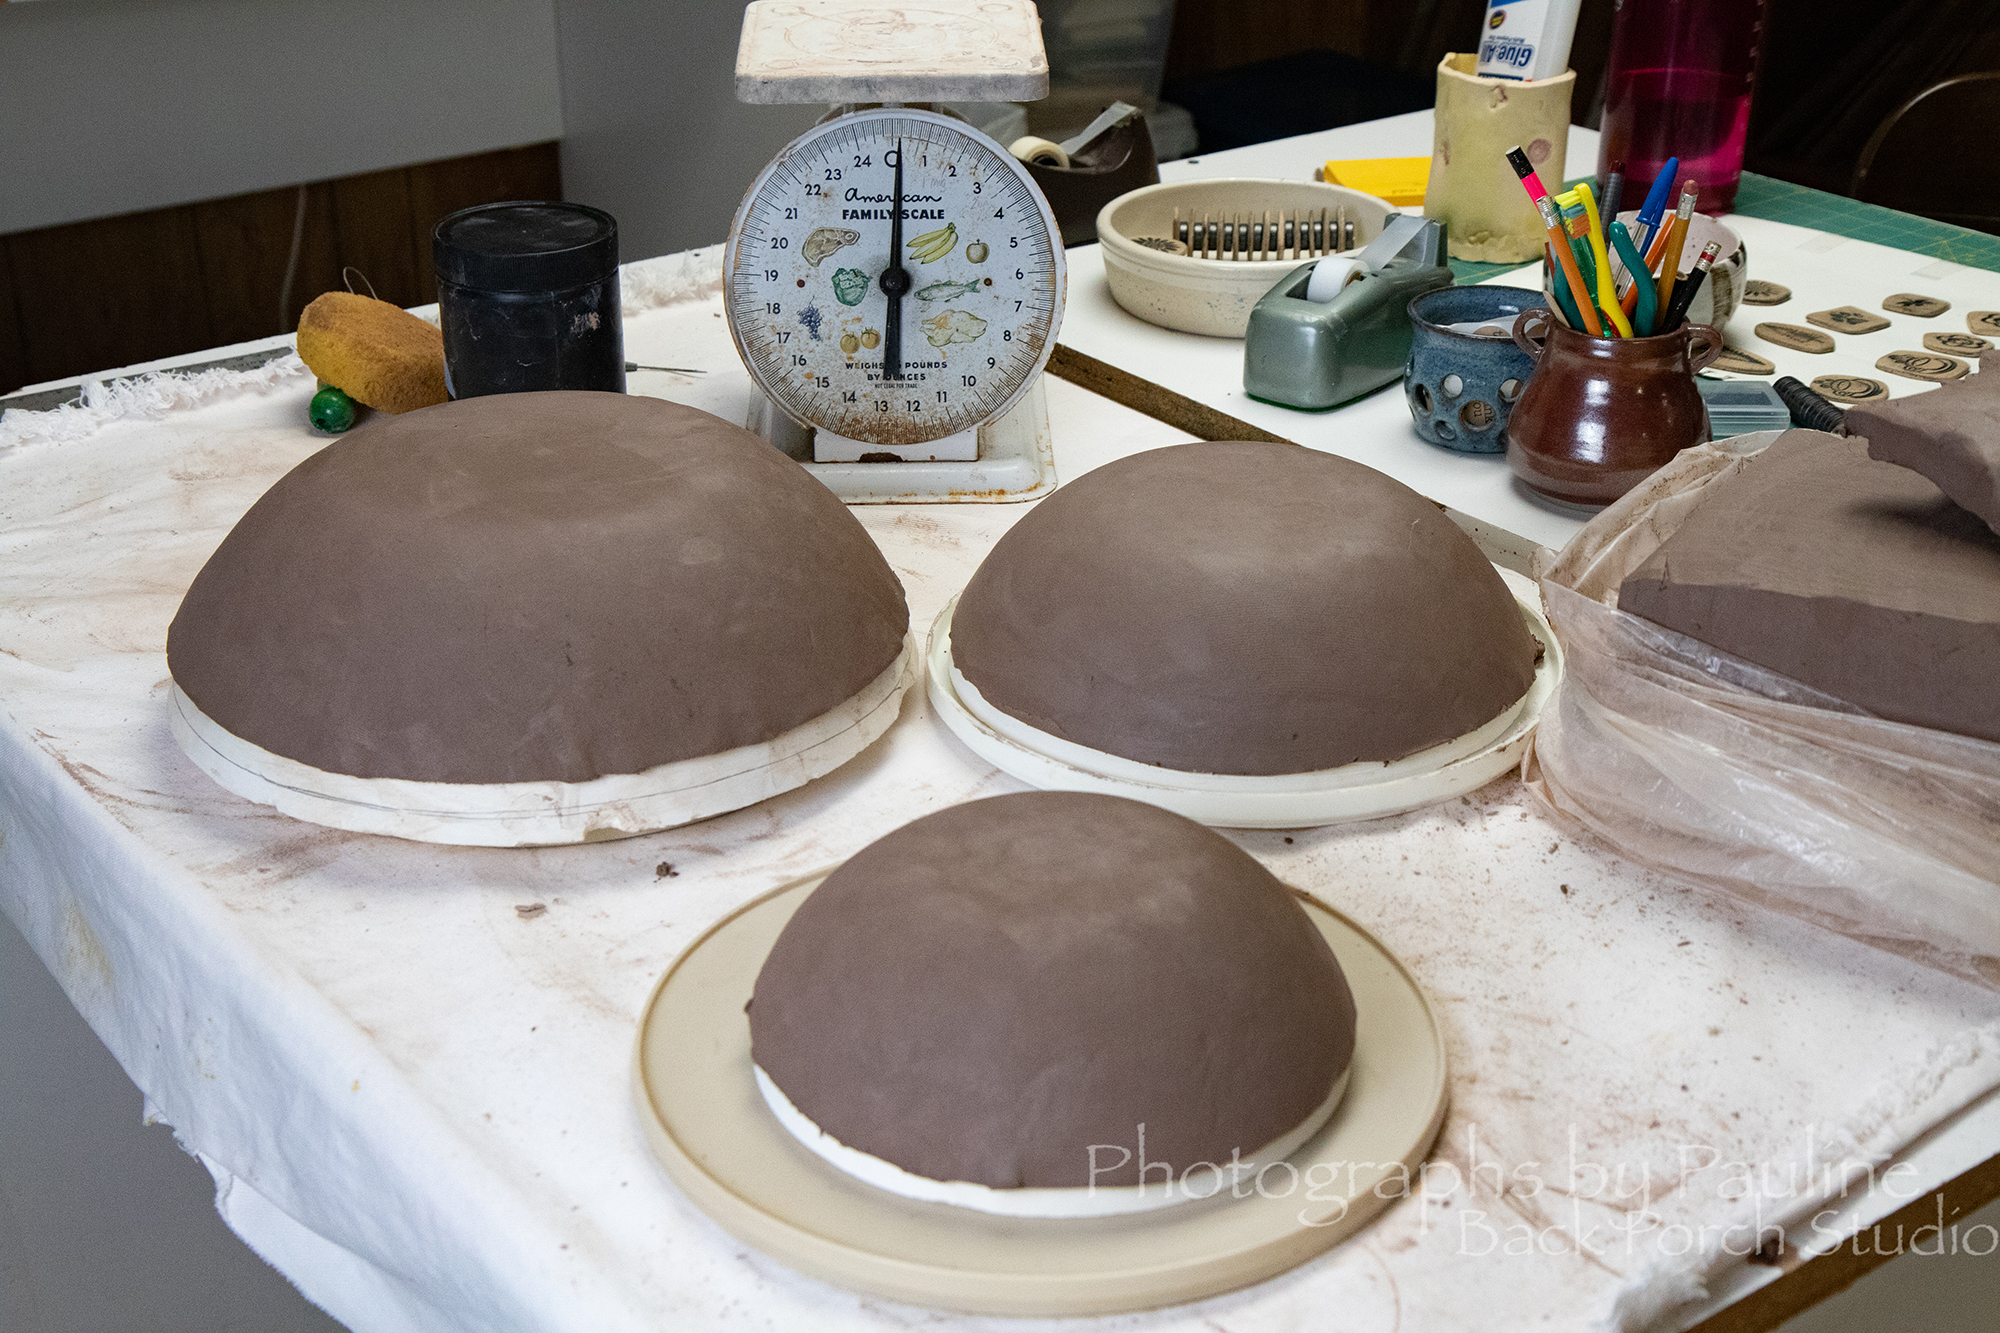
When I reach the desired thickness, I drape a slab of clay over one of the hump molds. Because I am making a set of three, I go through this process three times.
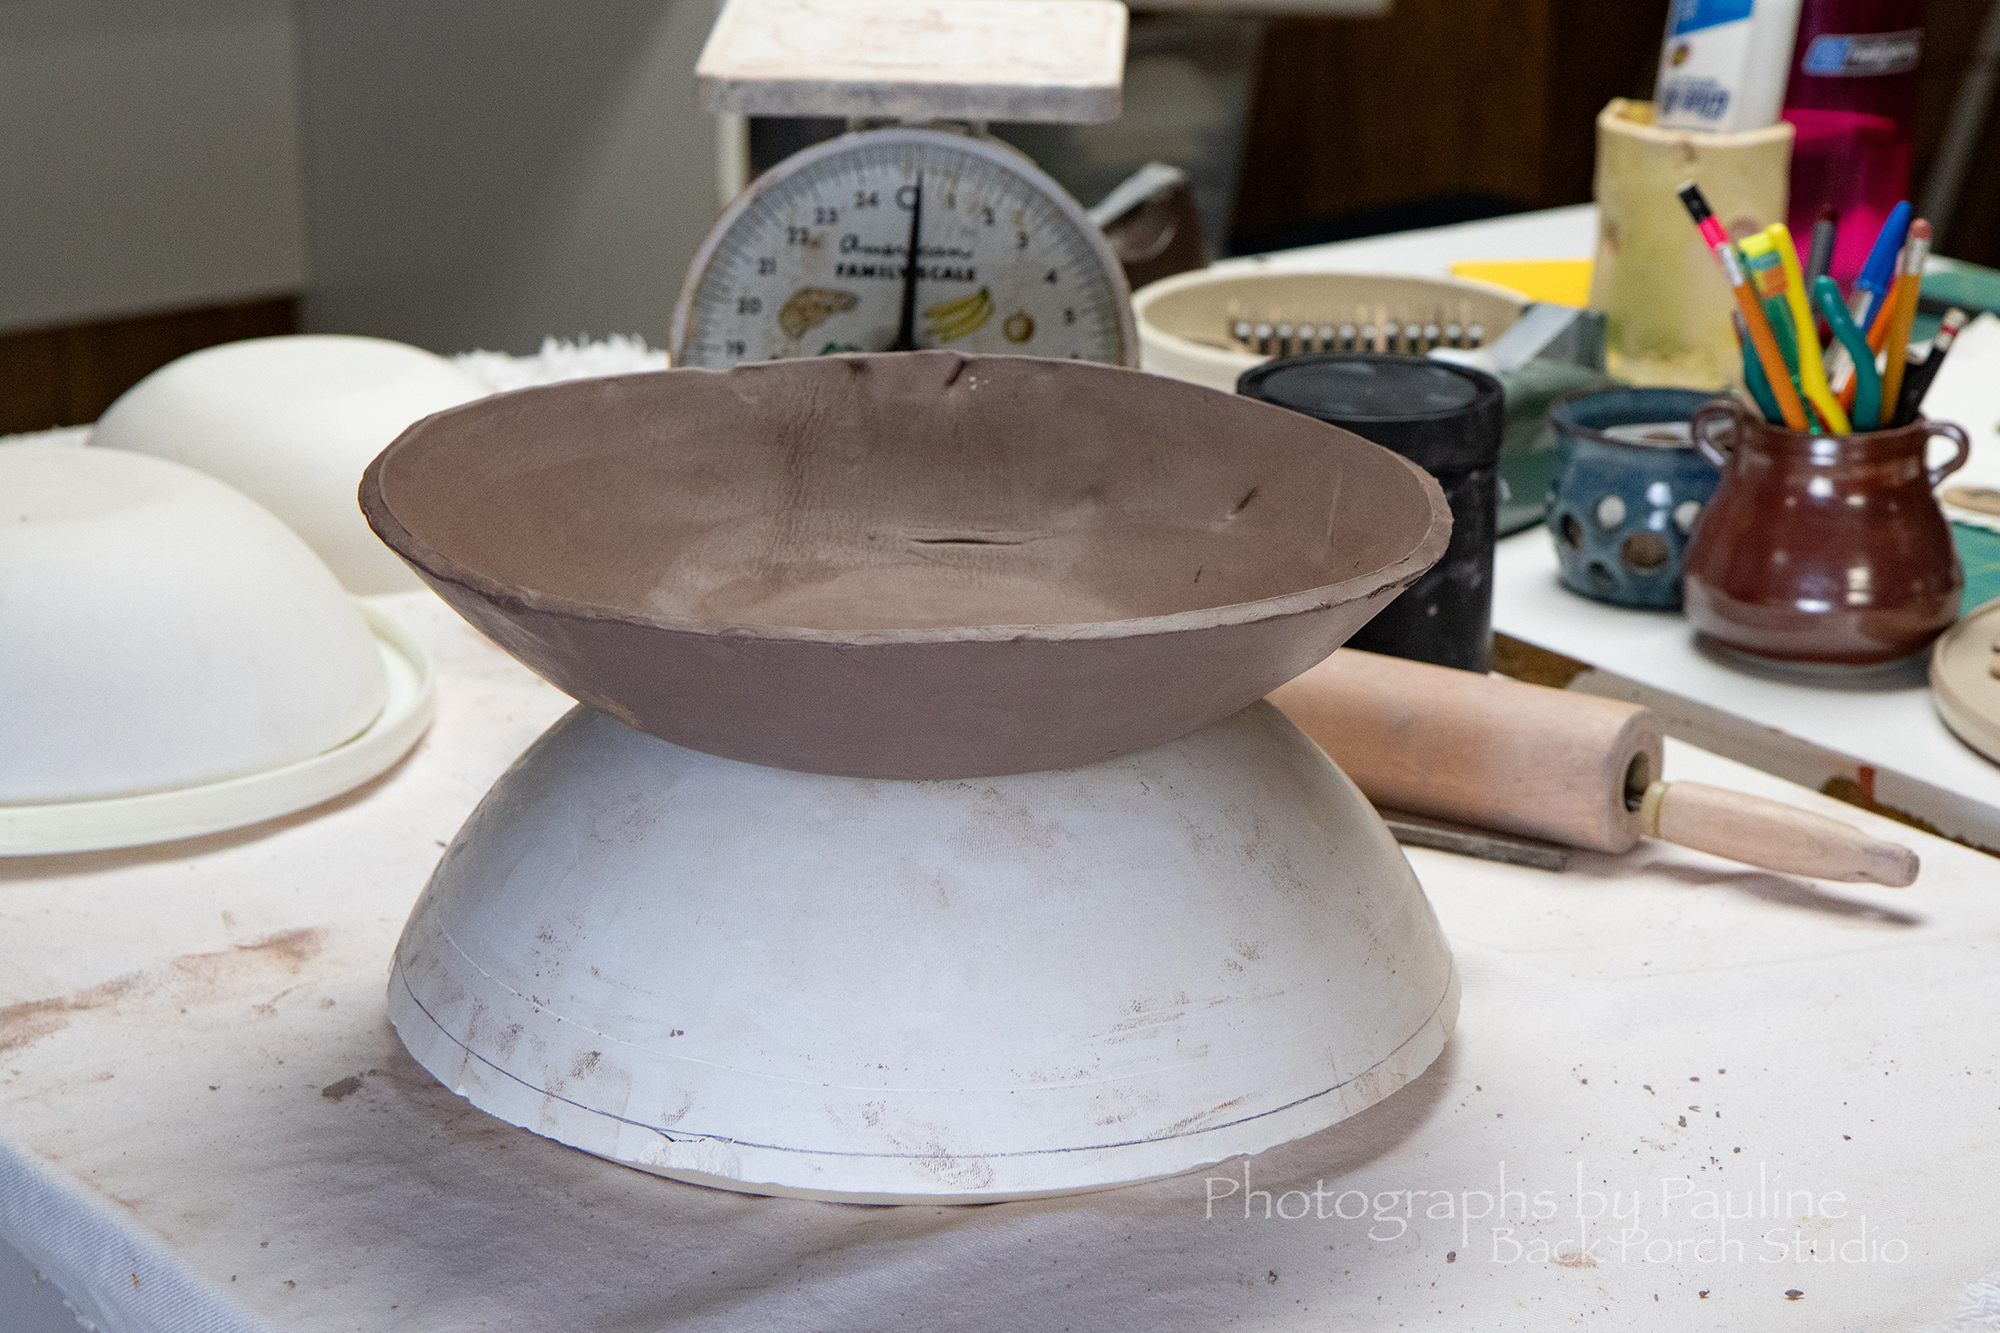
The plaster hump mold wicks the moister from the clay and within an hour or so, the bowl is hard enough to take off the mold.
Tah-dah! A set of unfinished nesting bowls!
At this point, it’s time to refine the rims making them rounder and thinner, then smoothing any rough areas in the body of the bowls.
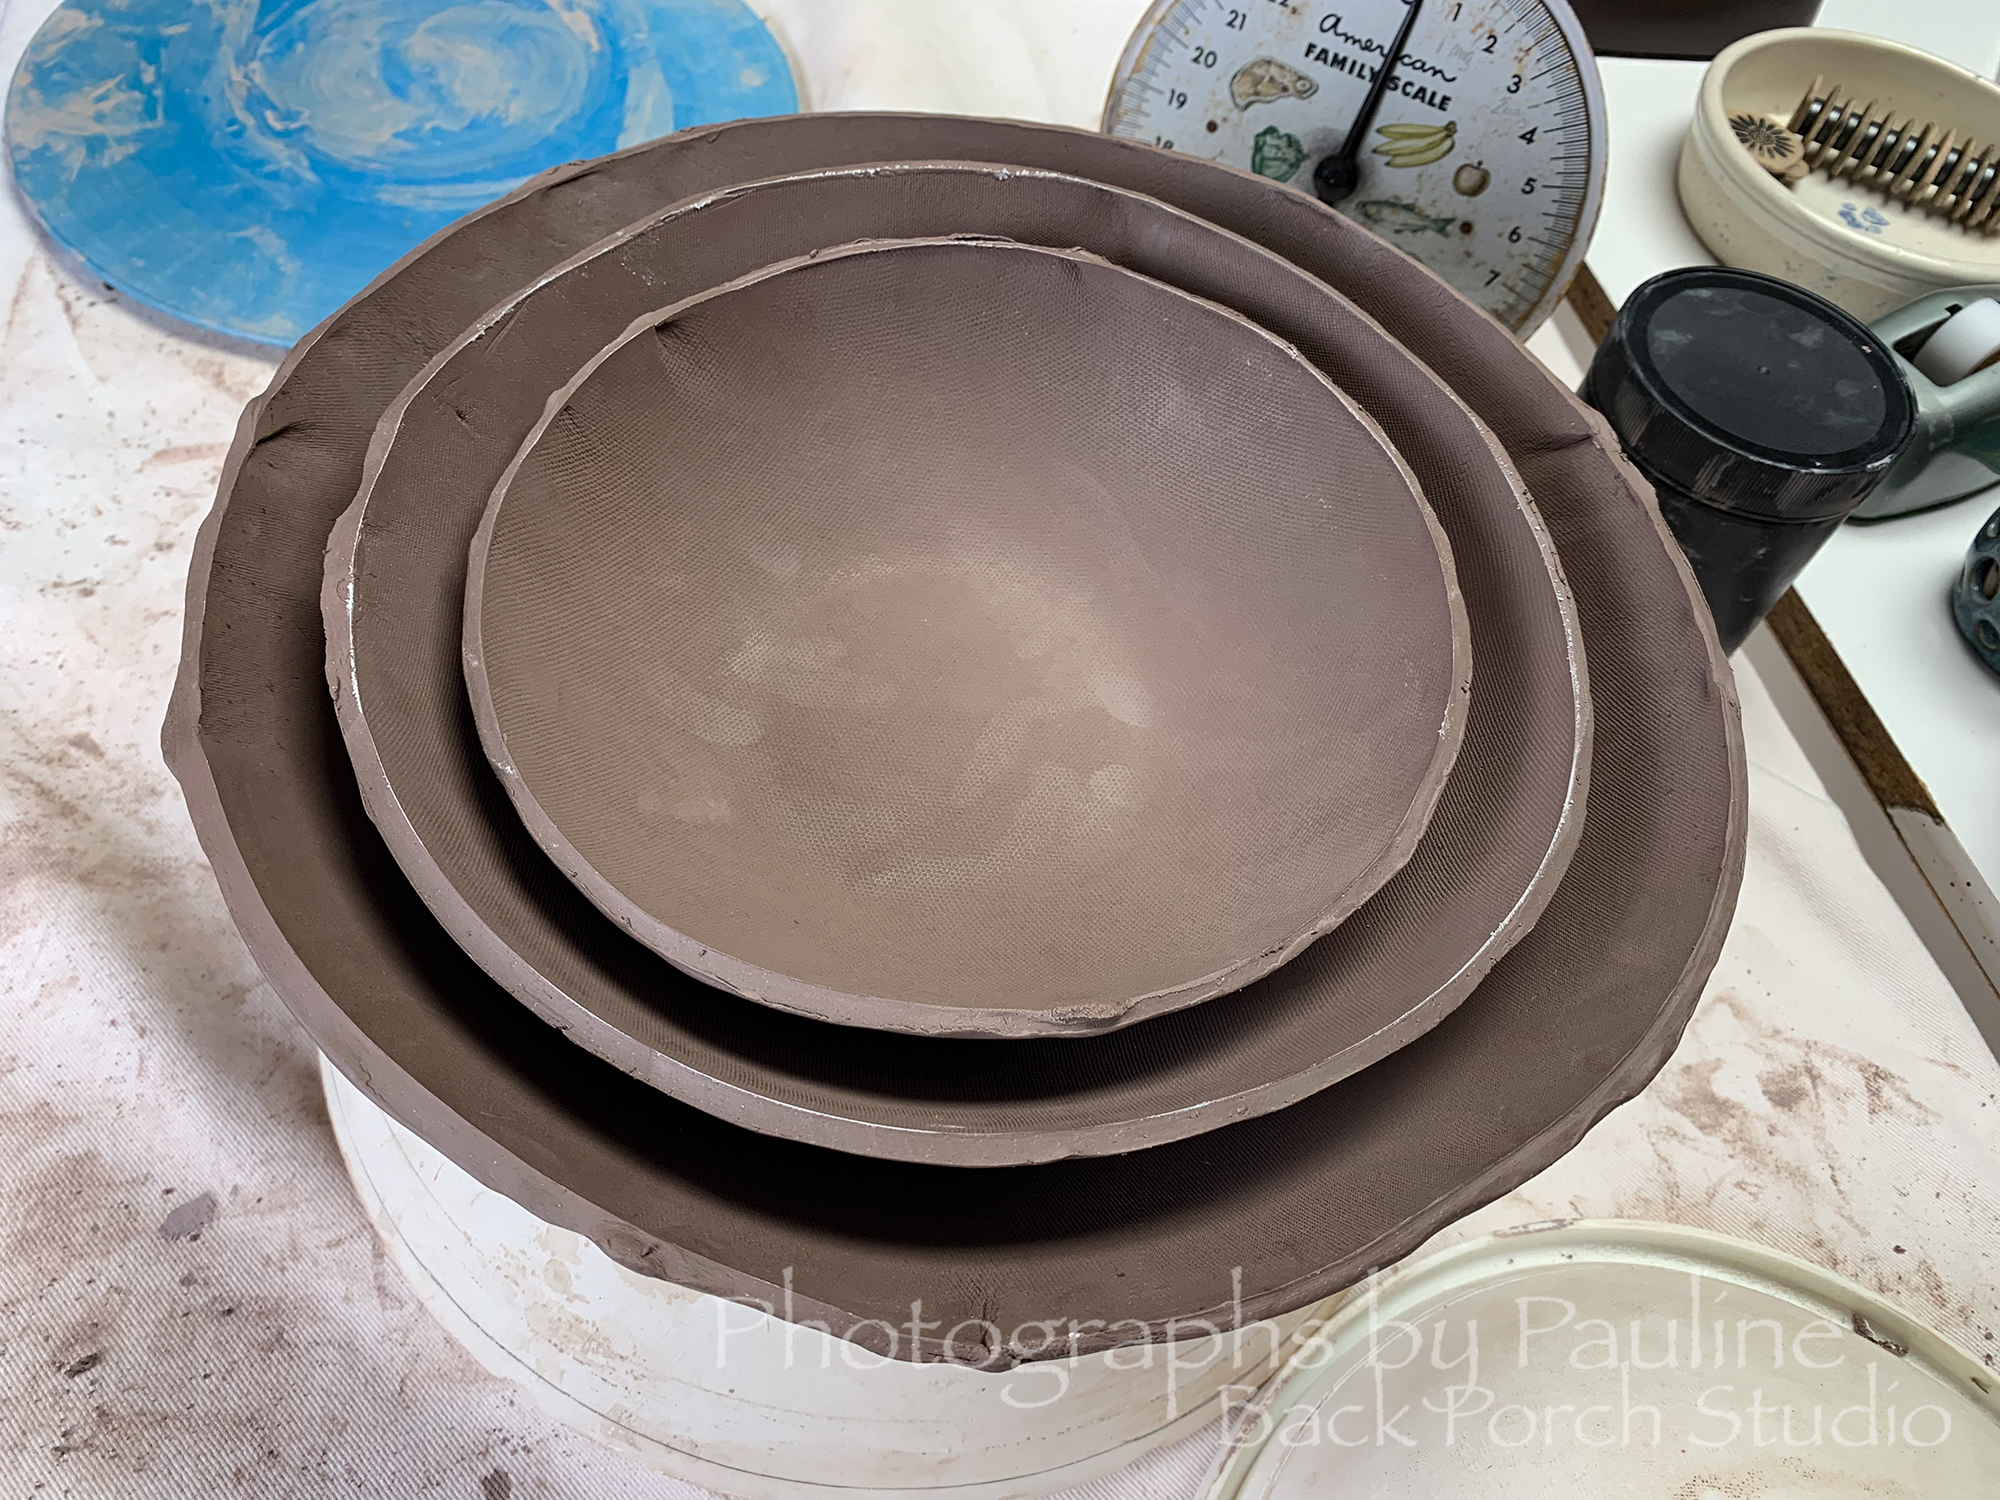
After that, the bowls are wrapped in plastic and set aside to dry slowly. If they dry too fast, cracks may occur as well as warping.
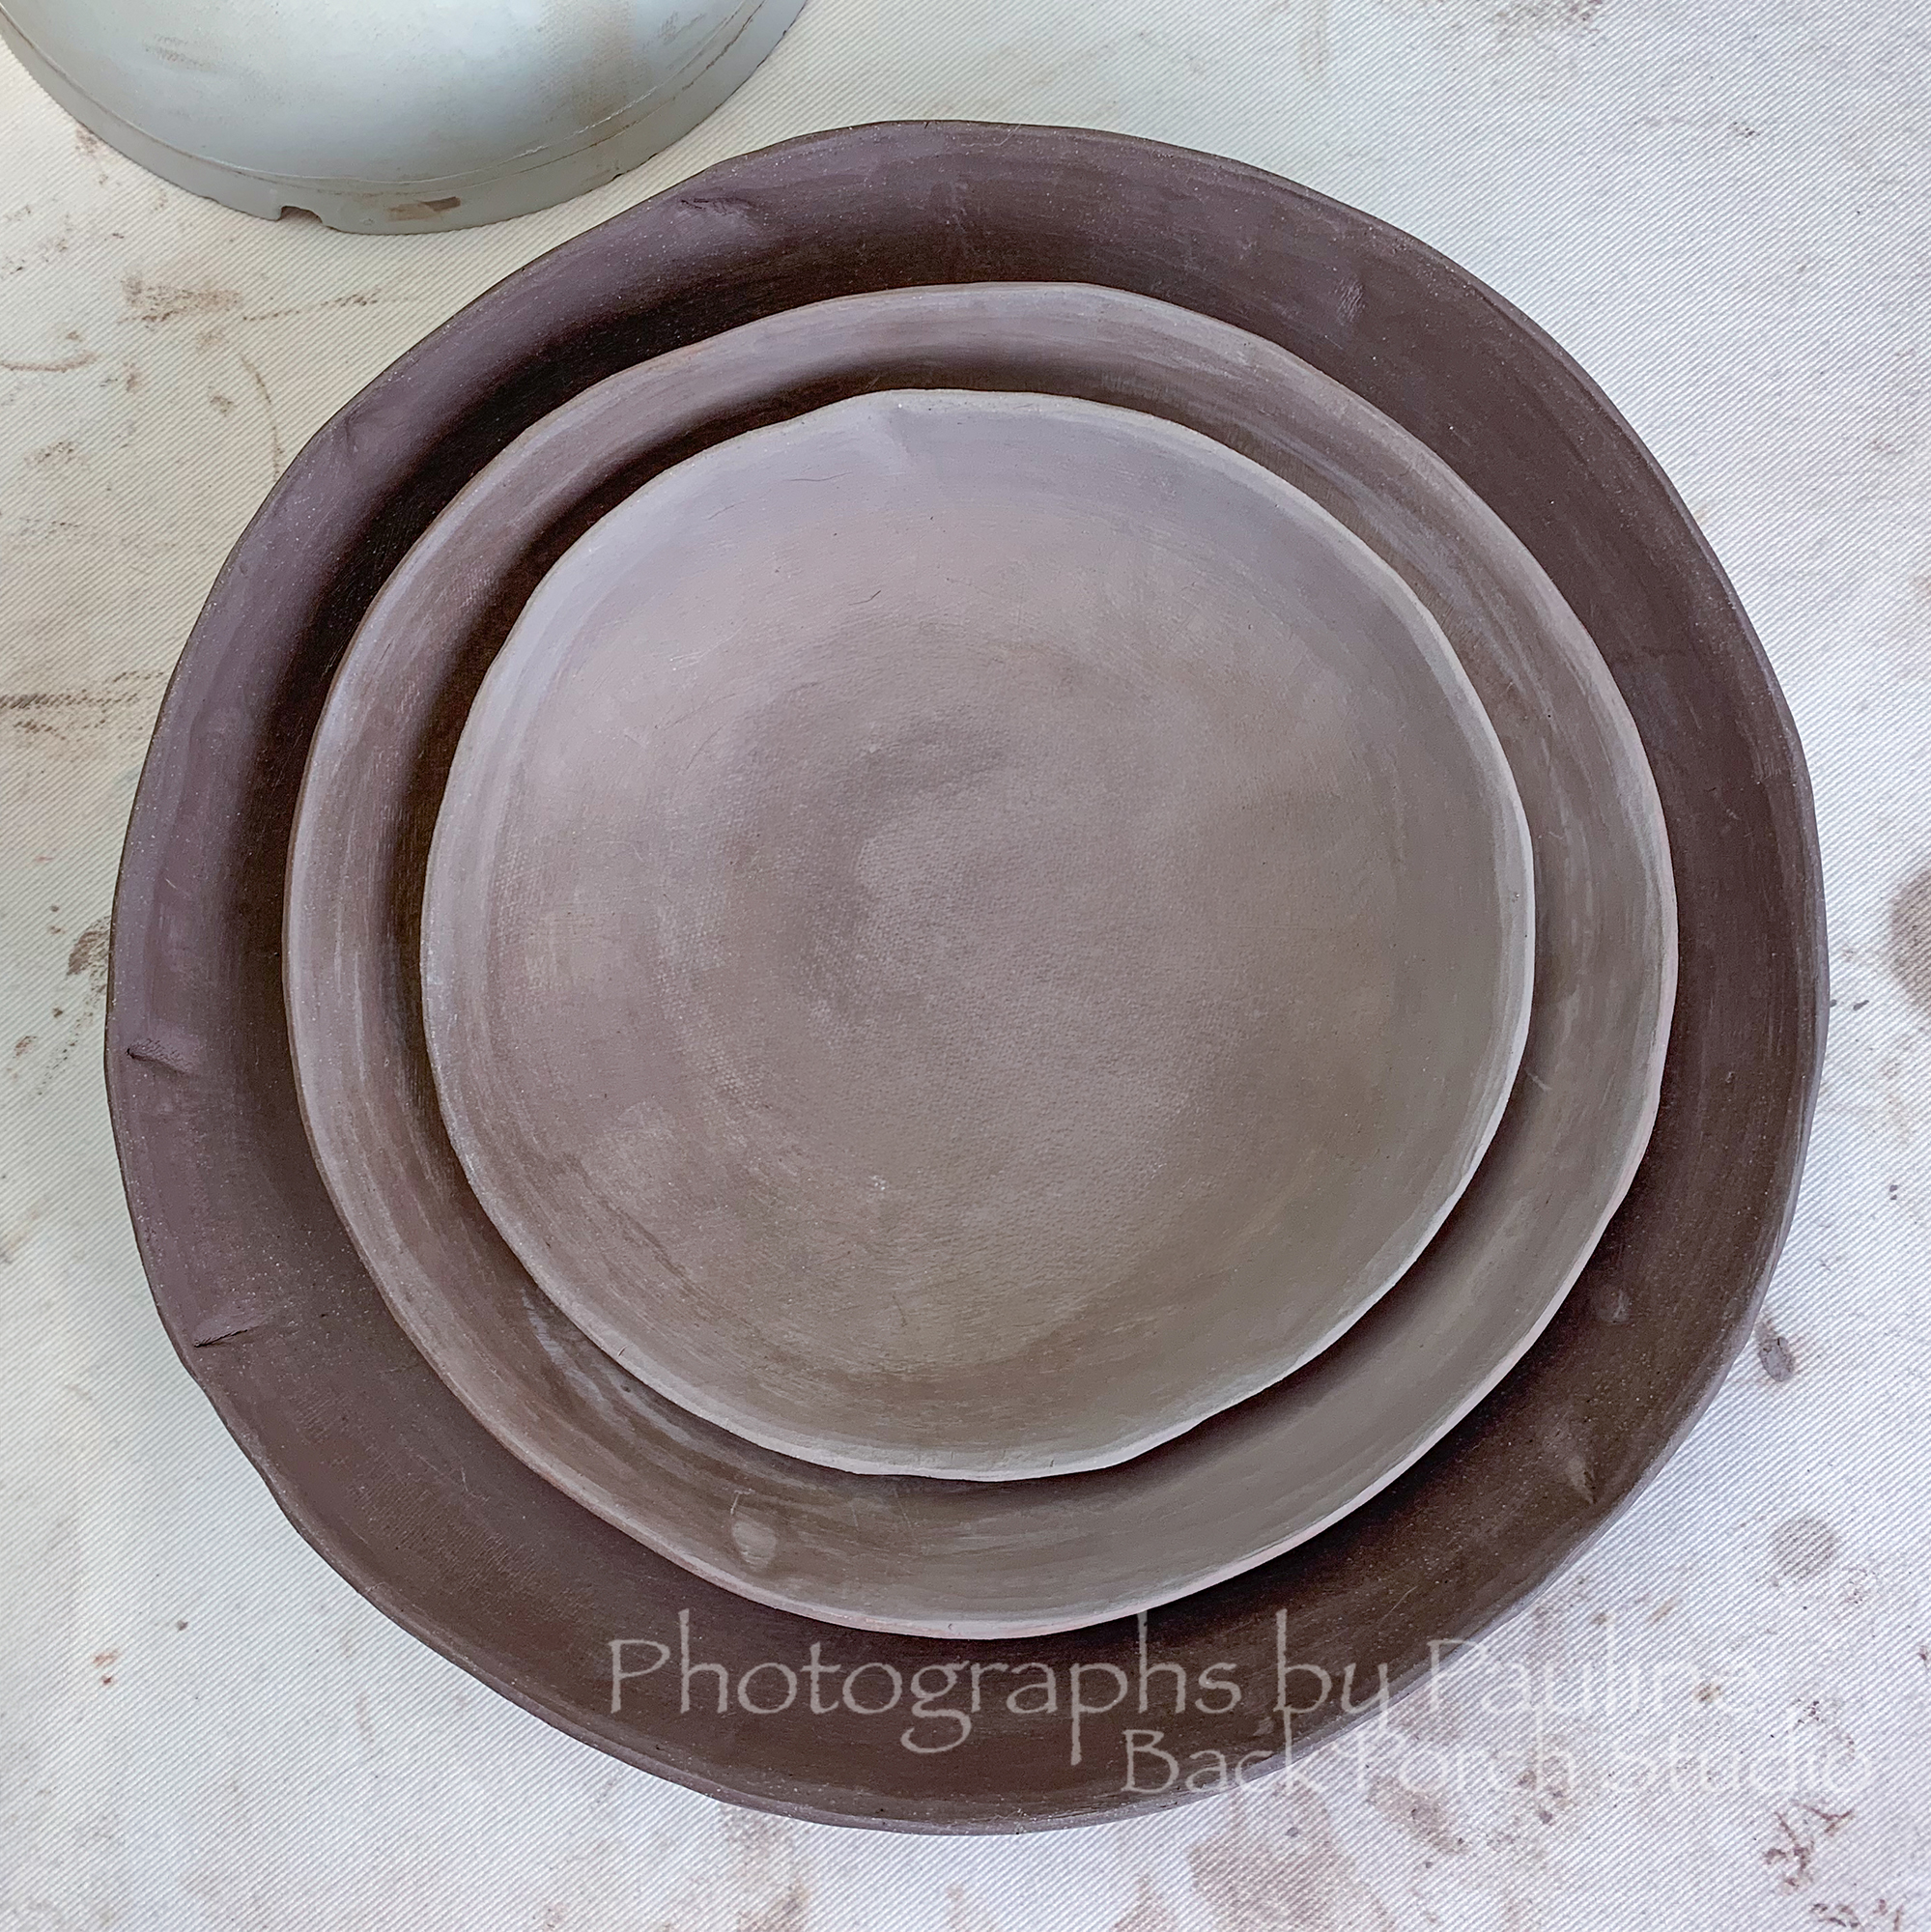
I checked on the bowls today and pictured below is their current state. The smallest bowl is almost dry as you can see by the lighter color. The middle bowl is semi dry. I can see that there is some warping in the middle bowl, which suggests that the bowl is drying too fast, the clay slab needed to be a bit thicker, or both.The largest bowl is still damp and will take another week to completely dry.
I did leave behind some “imperfections” in the clay such as small finger nicks and indentations giving each bowl an accidental organic signature!
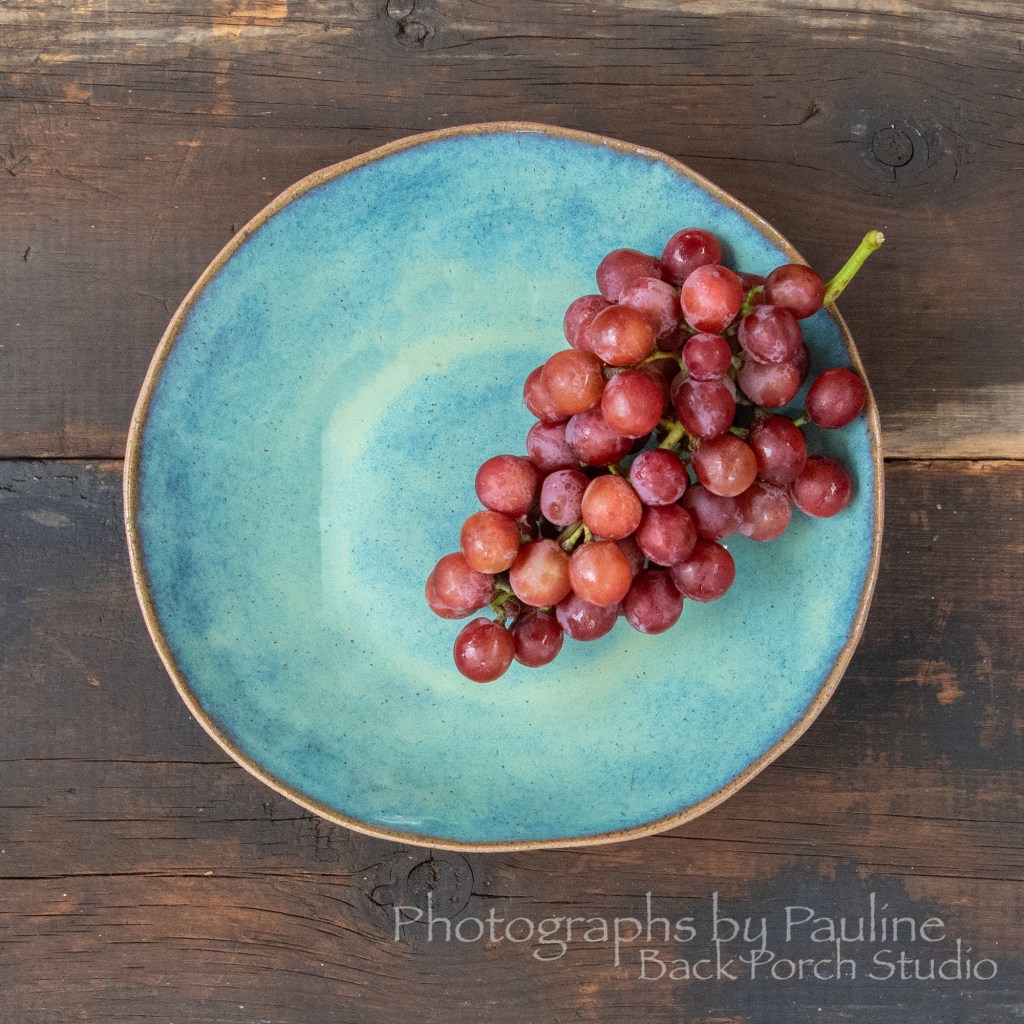
Below are a few of the extra large hand-built serving bowls that I have made over the years.


My goal this year is to add extra large hand-built nesting bowls to my inventory for my shop on Etsy.
“Pottery is considered the only poetry that can be touched.” — Source unknown

Definitely one of a kind items. I’m sure they really sell well!!! I have a potter who lives near me and I have bought a lot of his work.
LikeLiked by 1 person
Thank you Vero!
LikeLiked by 1 person
Love these Pauline, such a great idea. Hope you sell loads and loads!
LikeLiked by 1 person
I hope so too! ☺️
LikeLiked by 1 person