Last week I finally was able to get back behind the wheel and I started making mugs – the mug body. Now it’s time to add the handles.
There are so many ways to make handles. After trying several different techniques, I found a method that works best for me.
I use a tool by potter Tony Ferguson to extract handles from clay. I start with a wedged soft “brick” of clay that is a little wider and longer than the handle I want to make then position the tool perpendicular to the clay brick and pull it through the clay toward me in a slow steady motion. When I reach the end of the brick with the tool, I open up the brick to reveal the newly formed handle then carefully lift the handle out of the brick.
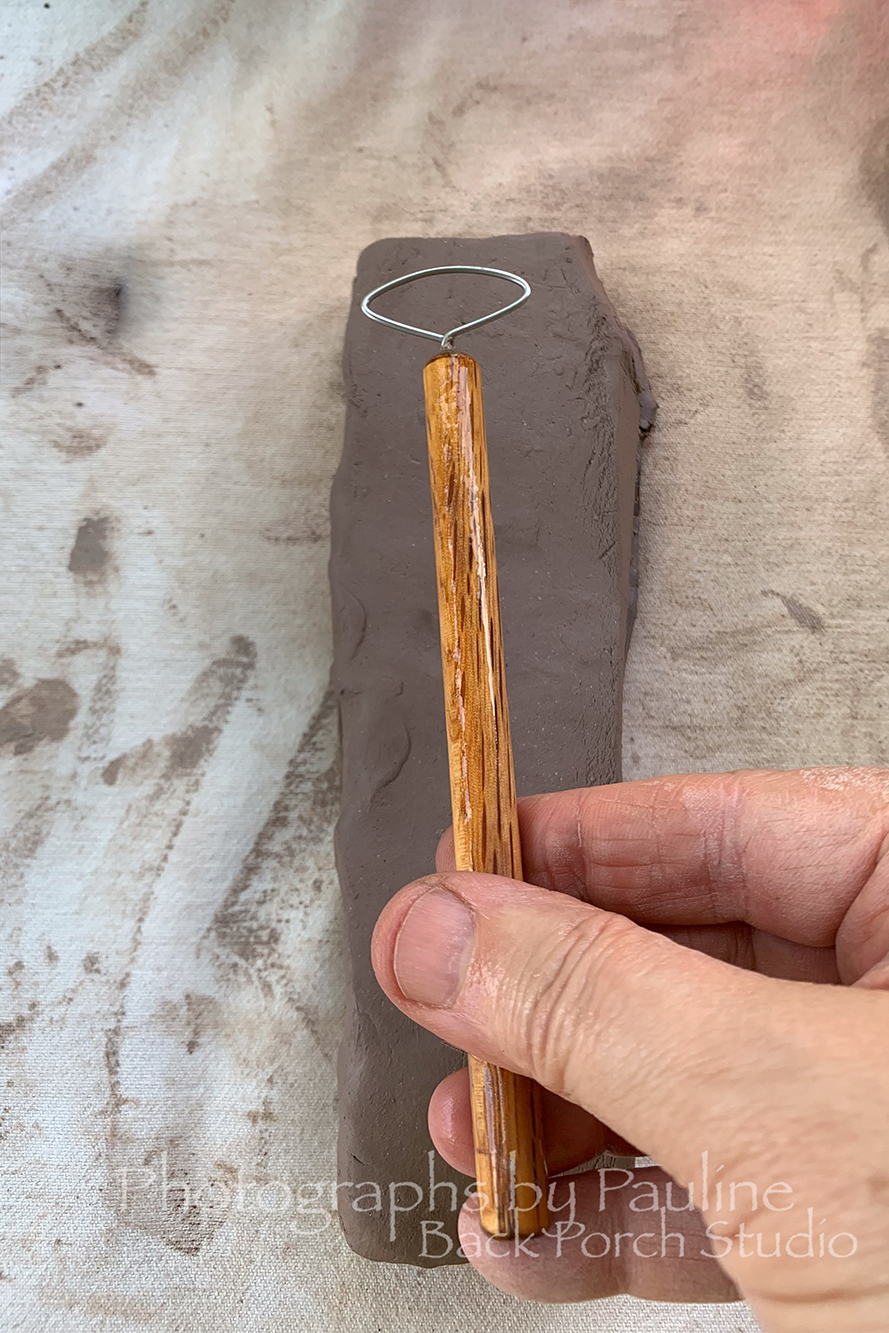
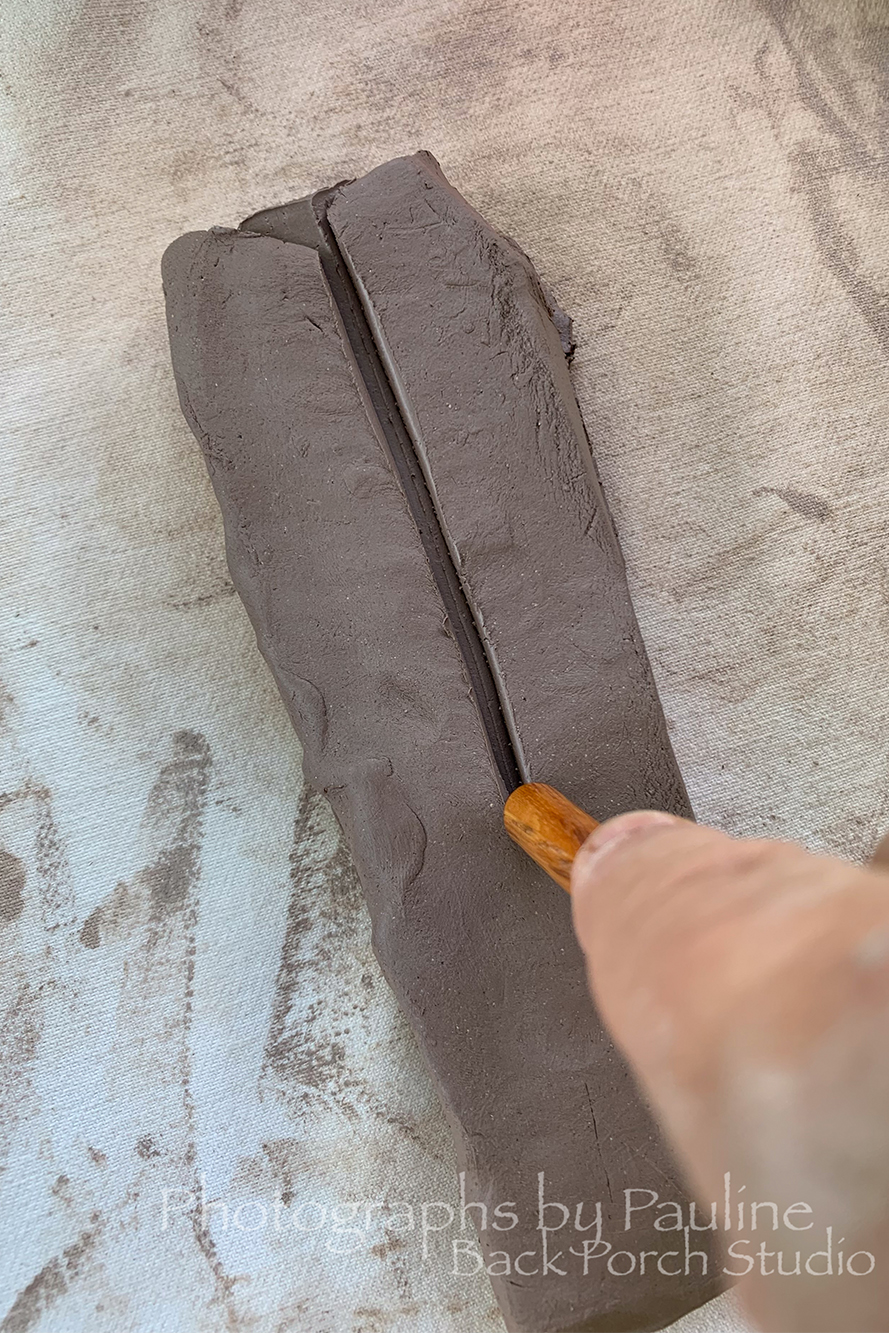
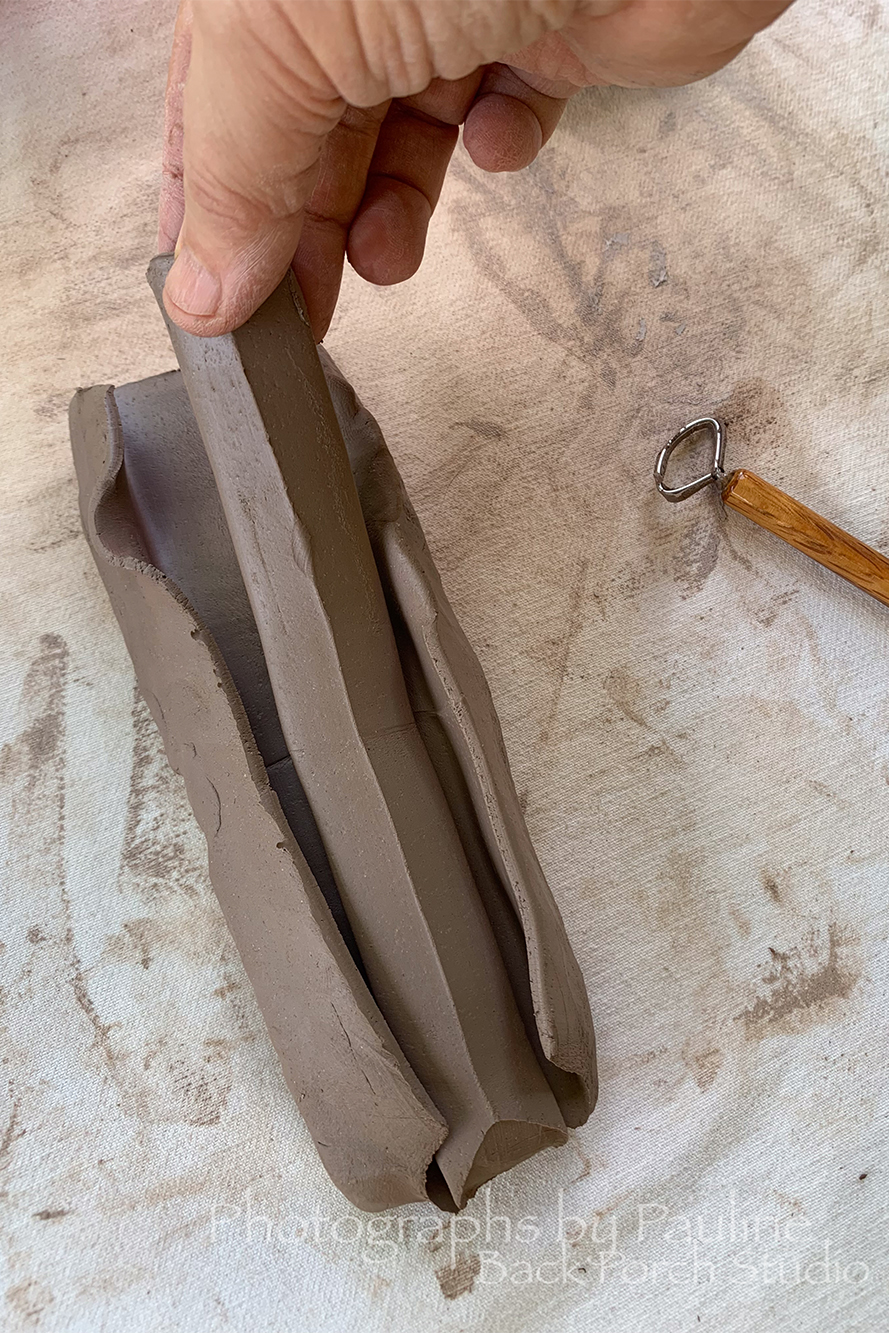
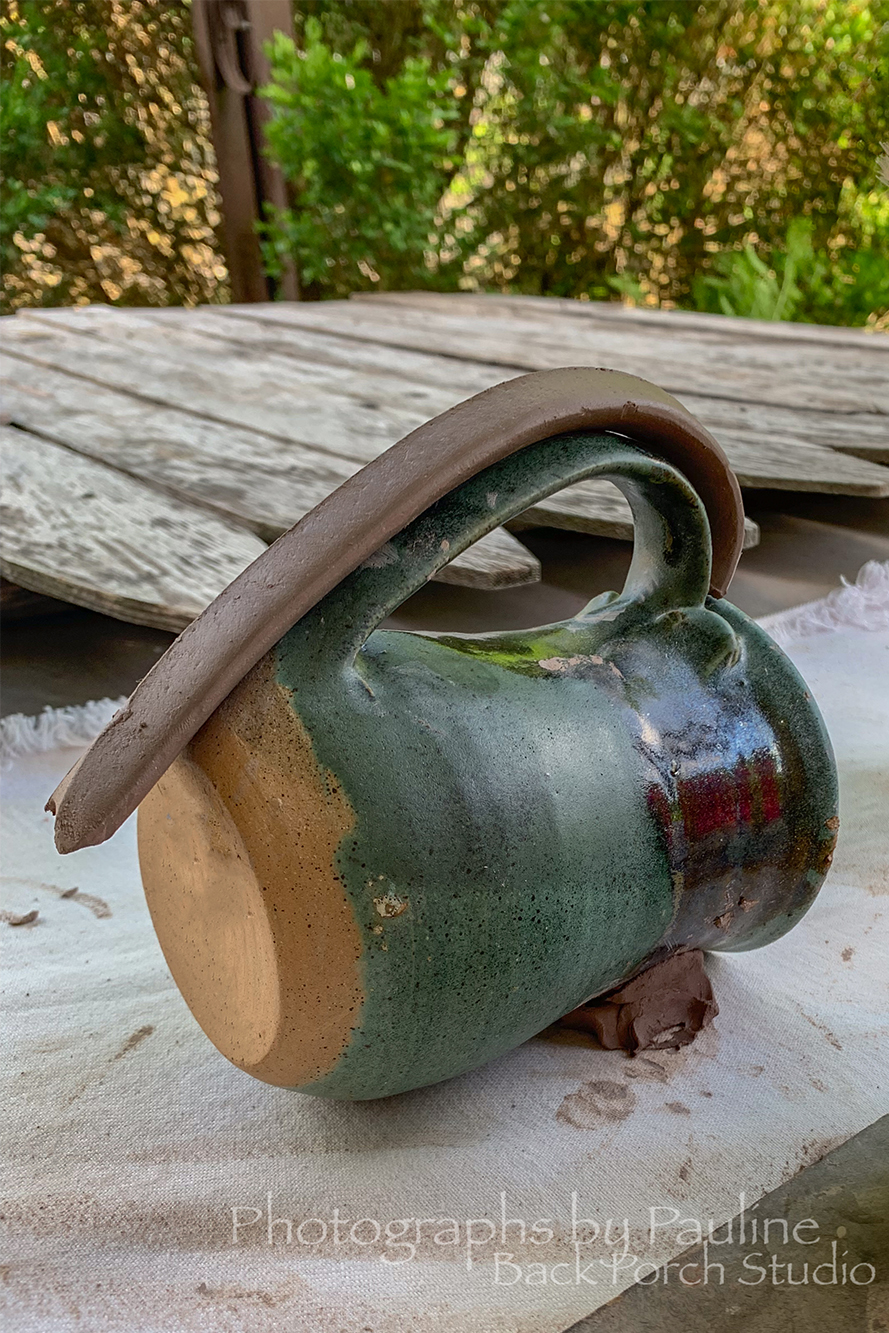
The next step is shaping the handle and I do this by placing the extruded handle onto my makeshift handle mold – another mug! LOL
Seriously, I really liked the shape of the handle on this particular mug so I set the mug on its side and steady it with wet clay then place the newly extruded handle on top of the mug’s handle.
The newly extruded handle needs to set up (dry just a little bit) to a soft leather-hard state before attaching it to the mug.
Leather-hard: clay stiff enough to hold its shape and be handled without deforming, yet still retains enough moisture to be workable.
Timing is everything when attaching handles to mugs. Both mug and handle need to be at the right dampness. Not too wet. Not too dry. But just right: leather-hard.
Once the handle and mug body are leather-hard, it’s time to attach handle.
First, I check the handle for placement and size.
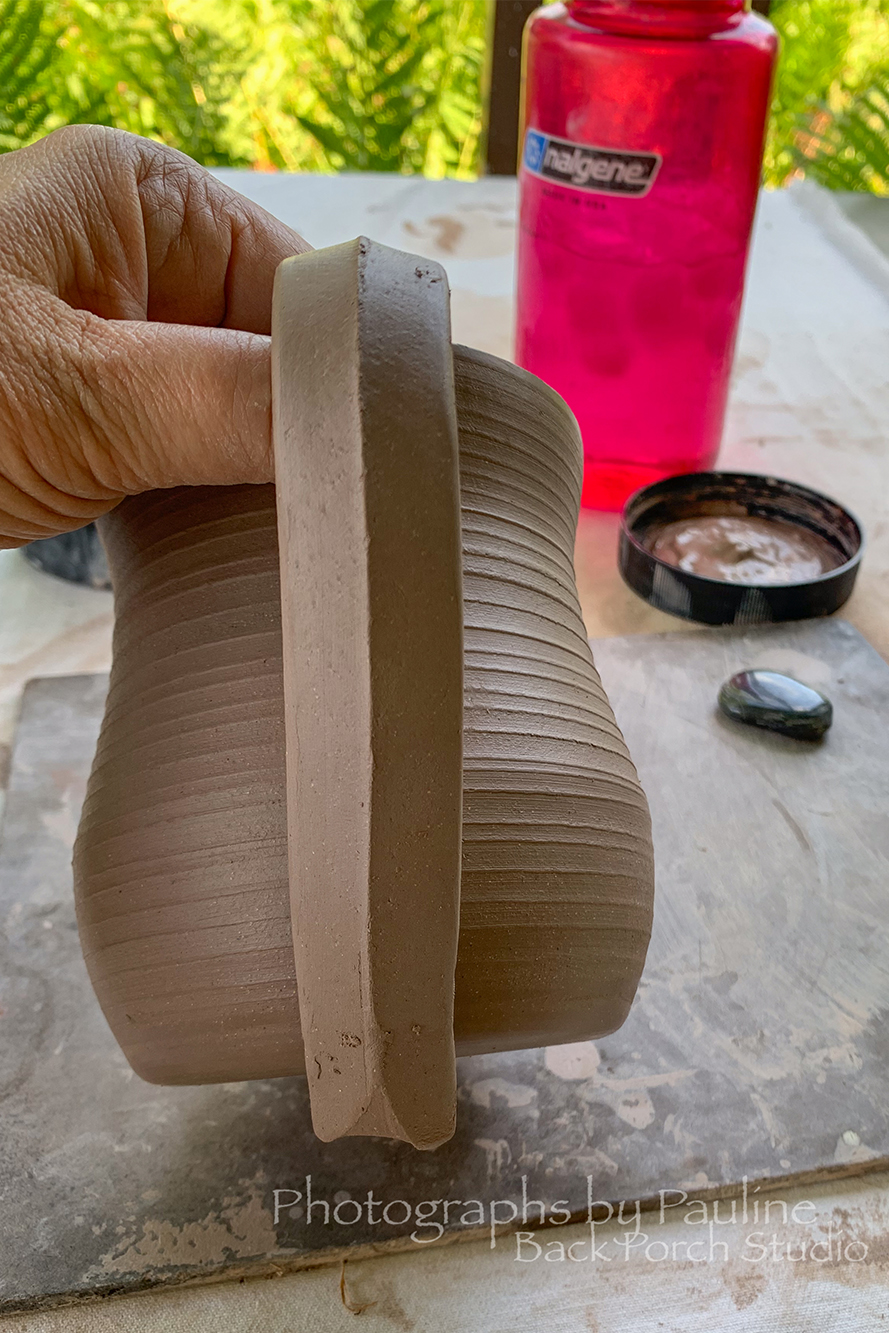
This handle, is a wee too long, so I just cut off the excess then I mark where the handle is going to go.
If the handle is too short, I will have to pull another handle with my handle tool.
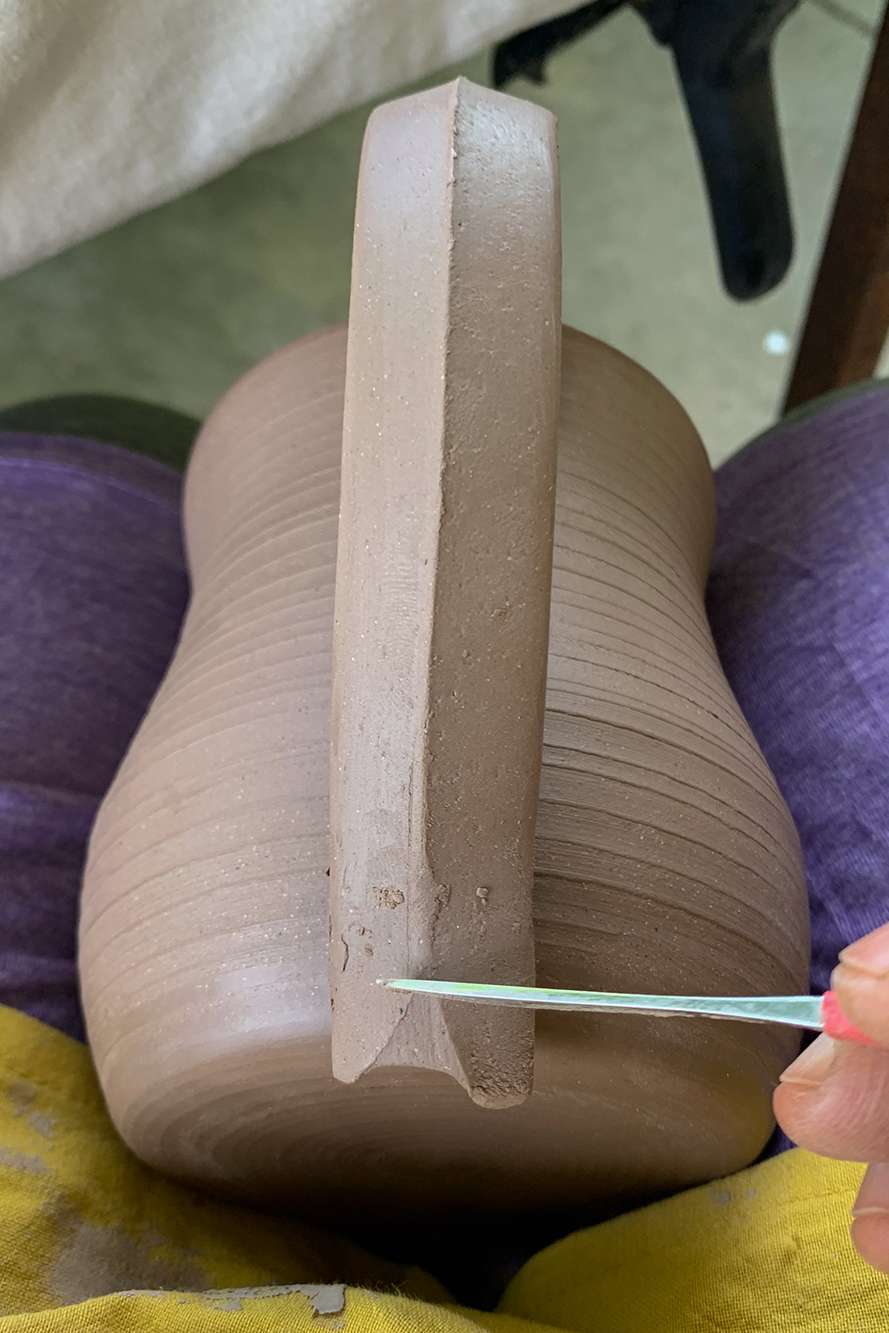
Next is the process called “score and slip“.
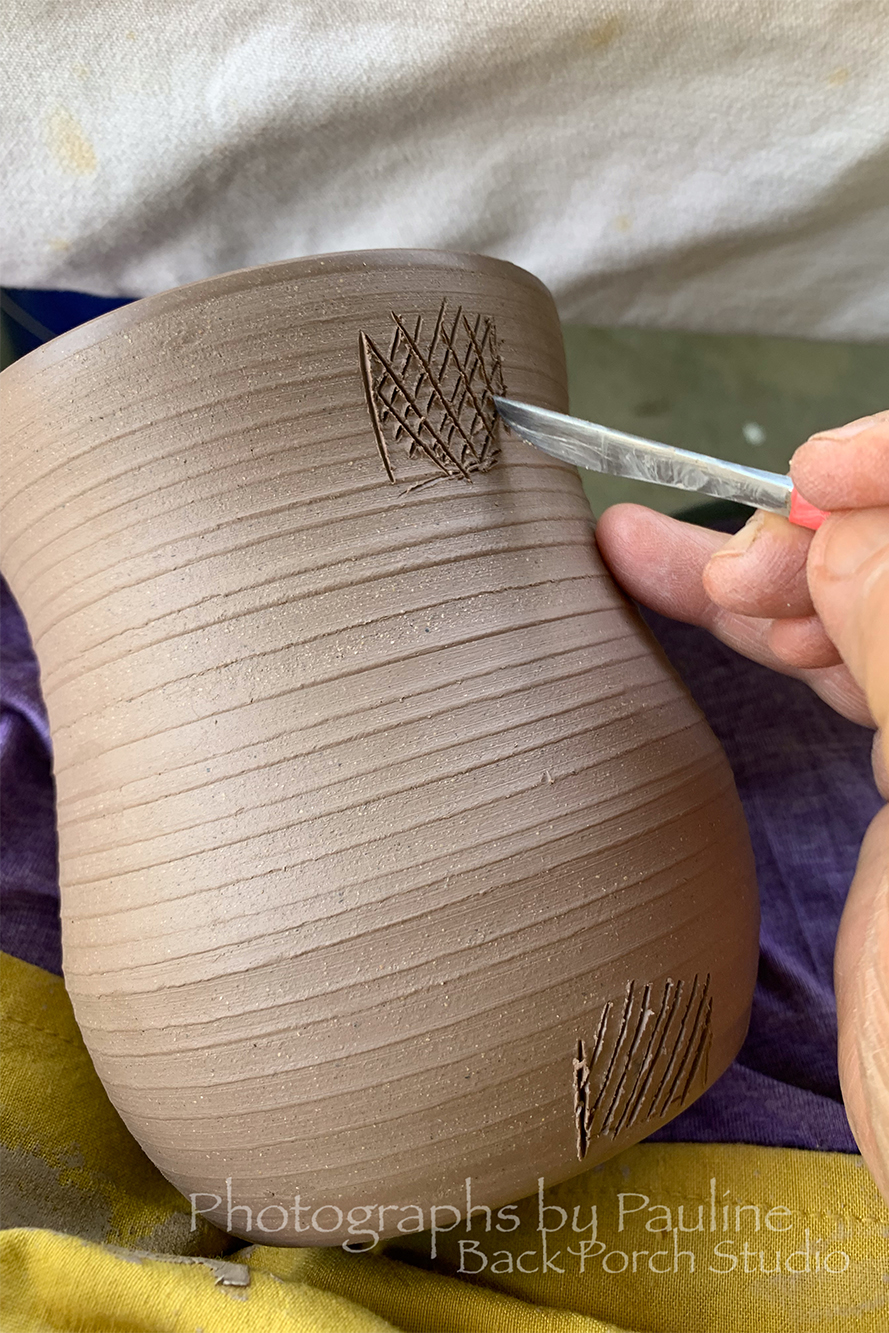
To score the clay, I use my needle tool to scratch crisscross rough lines into both the mug body and the ends of the handle where they will connect.
Slip is a creamy mixture of clay and water that acts as glue. I brush the slip onto the scored areas of the mug and handle.
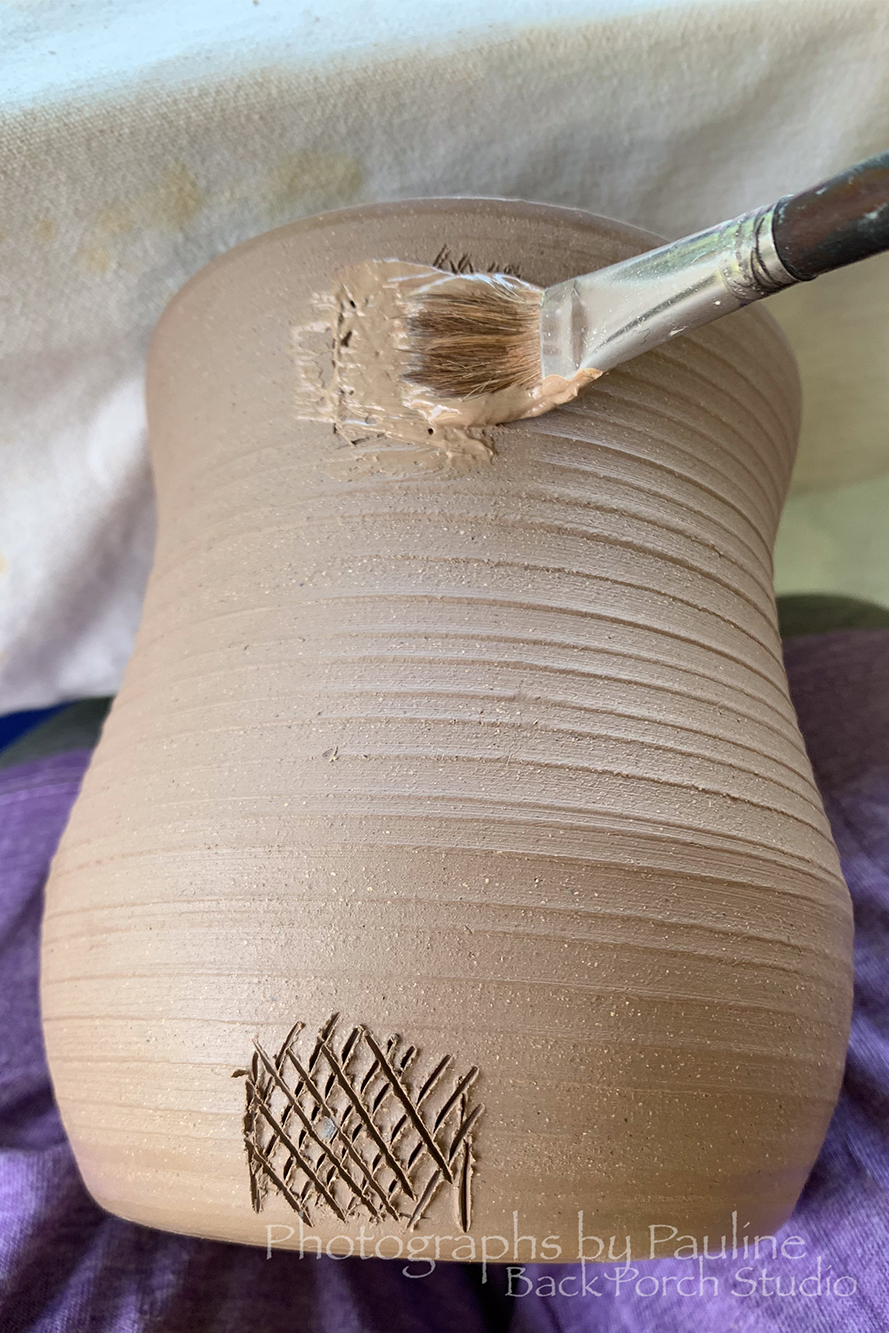
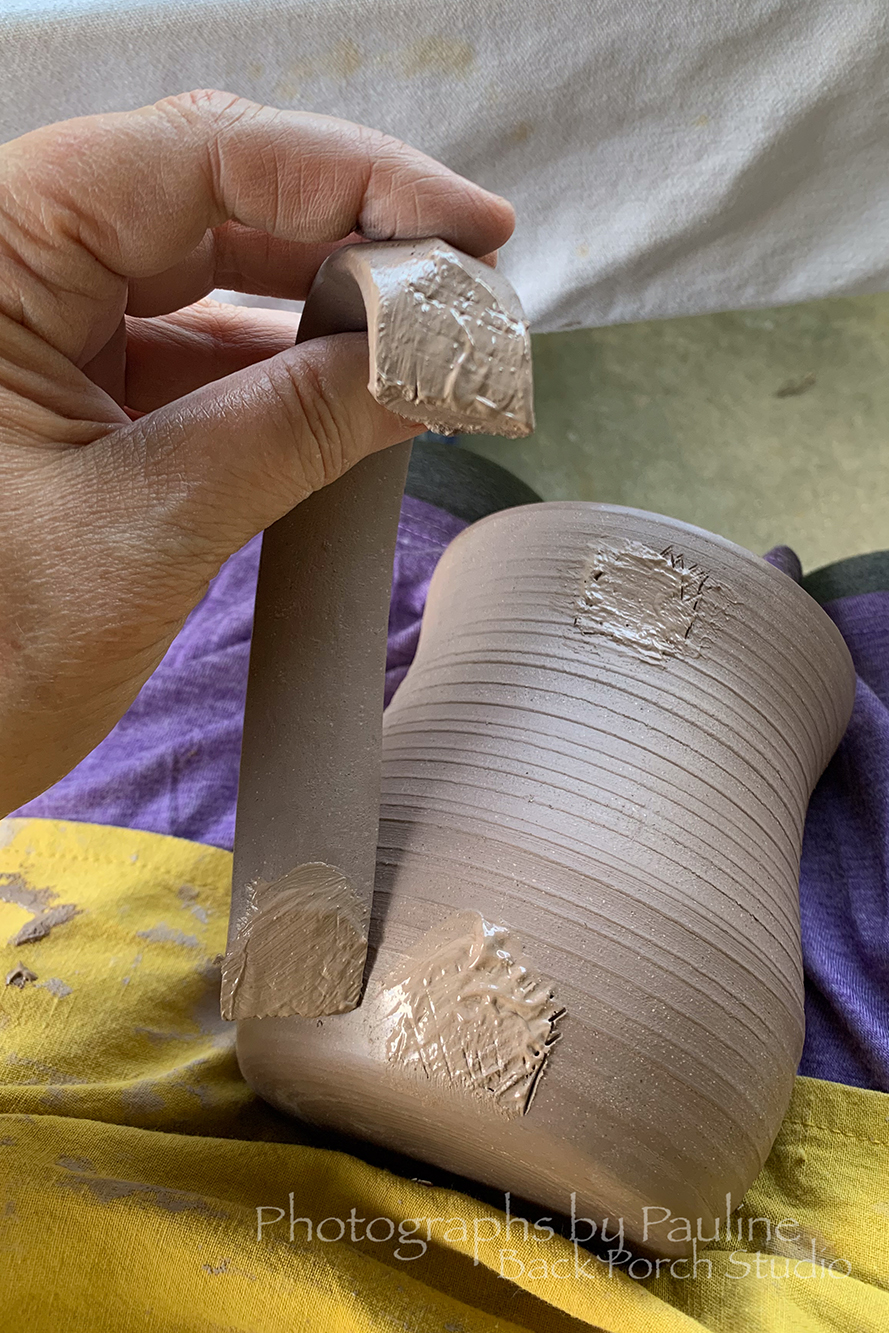
Now it is time to press the handle and mug body together firmly locking them into place. Once the handle is attached, I smooth out the seam with my finger blending excess clay from the handle into the mug creating a seamless joint which makes the handle look as if it grew naturally from the mug body.
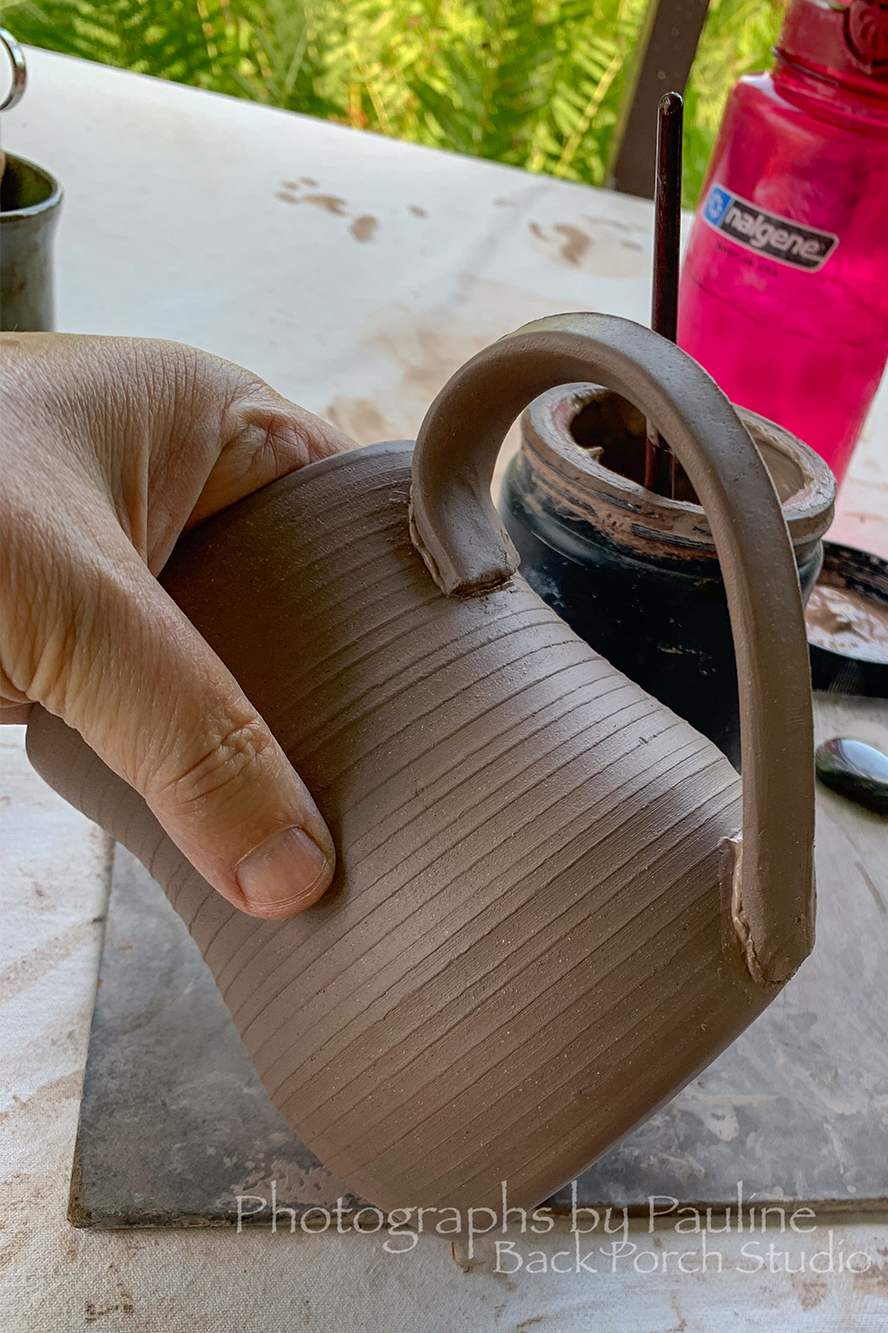
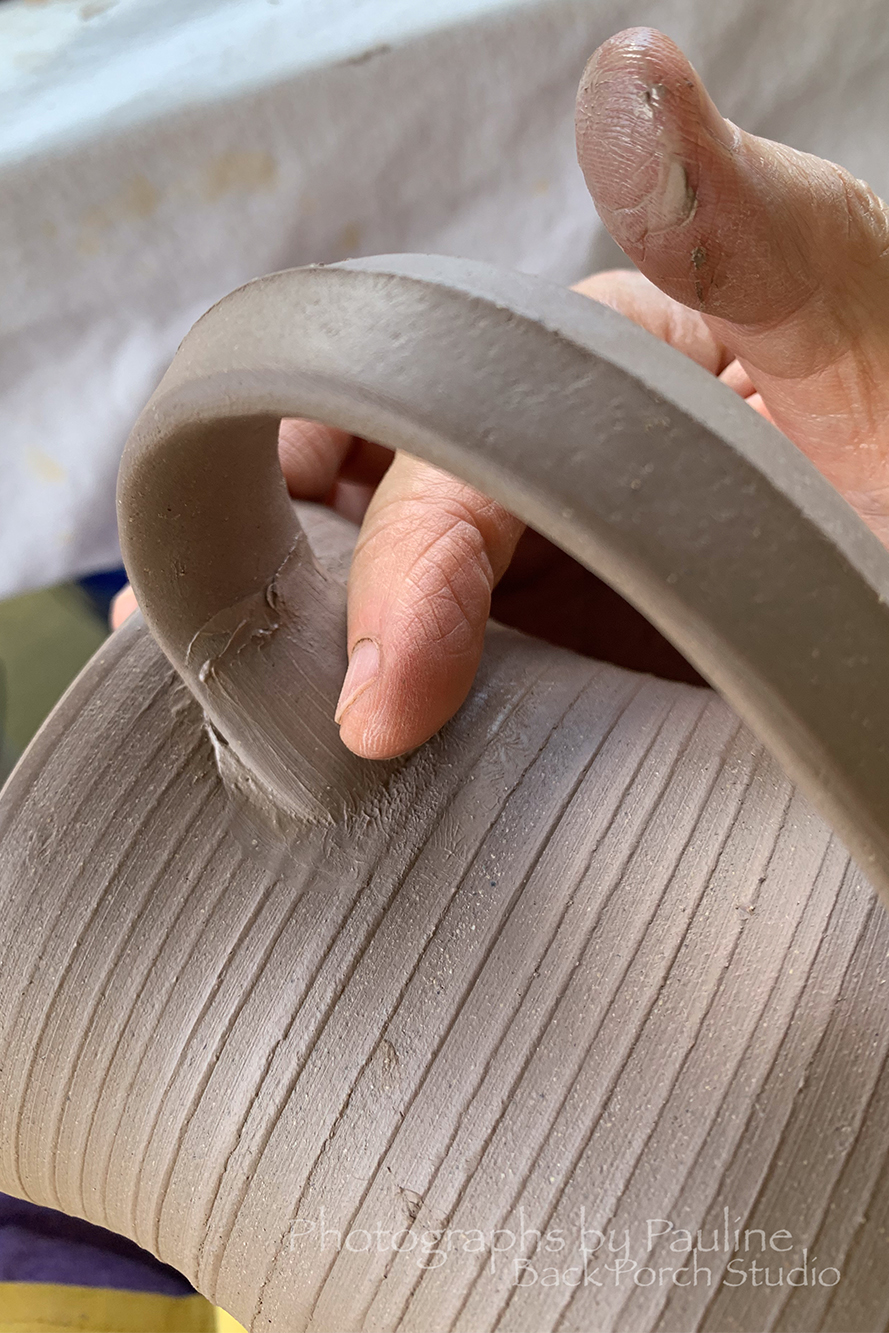
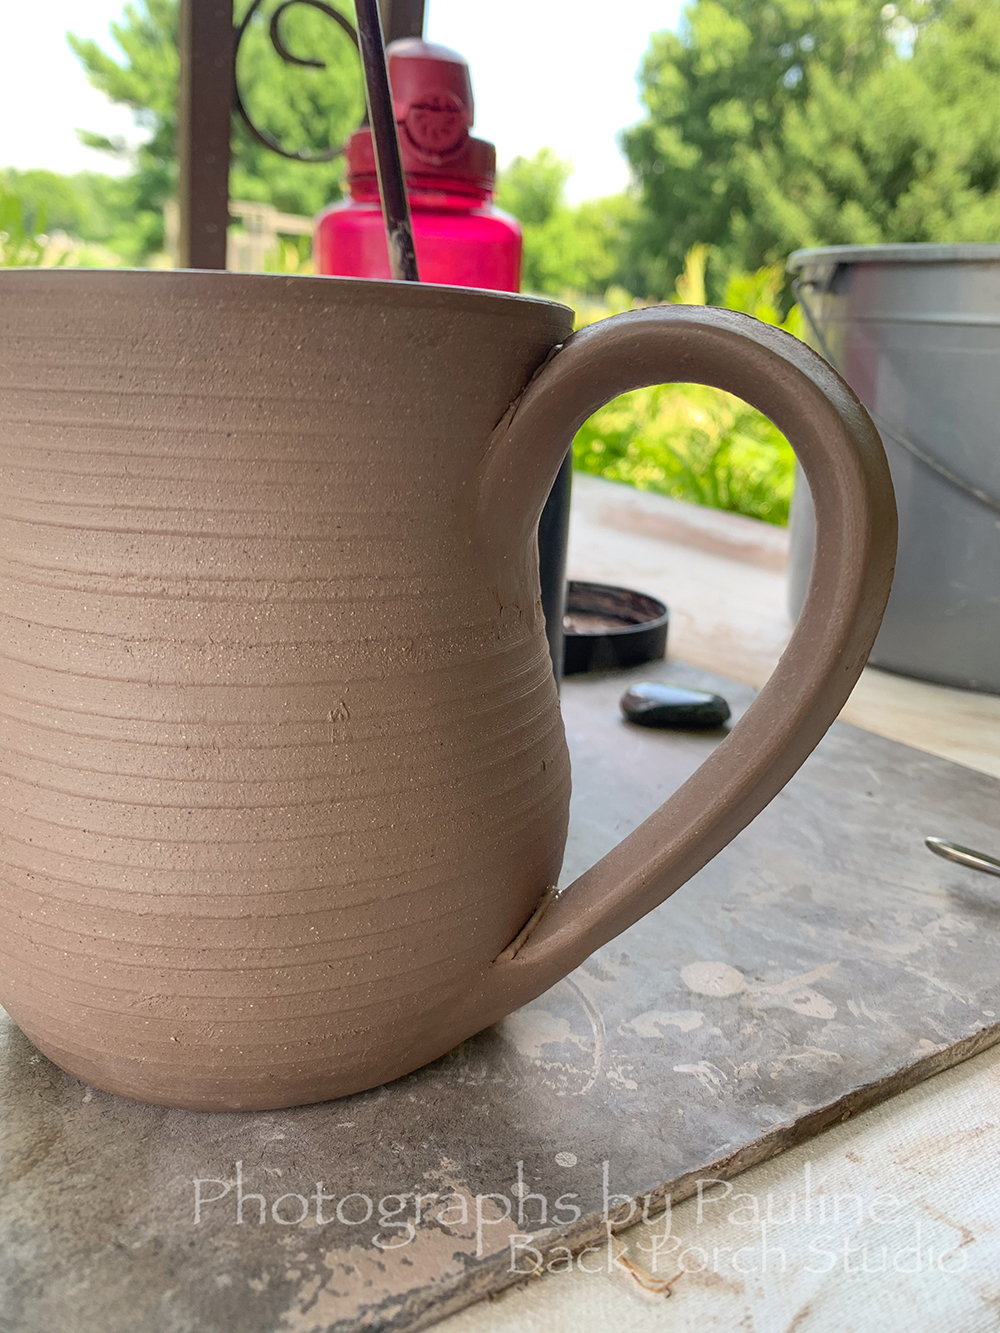
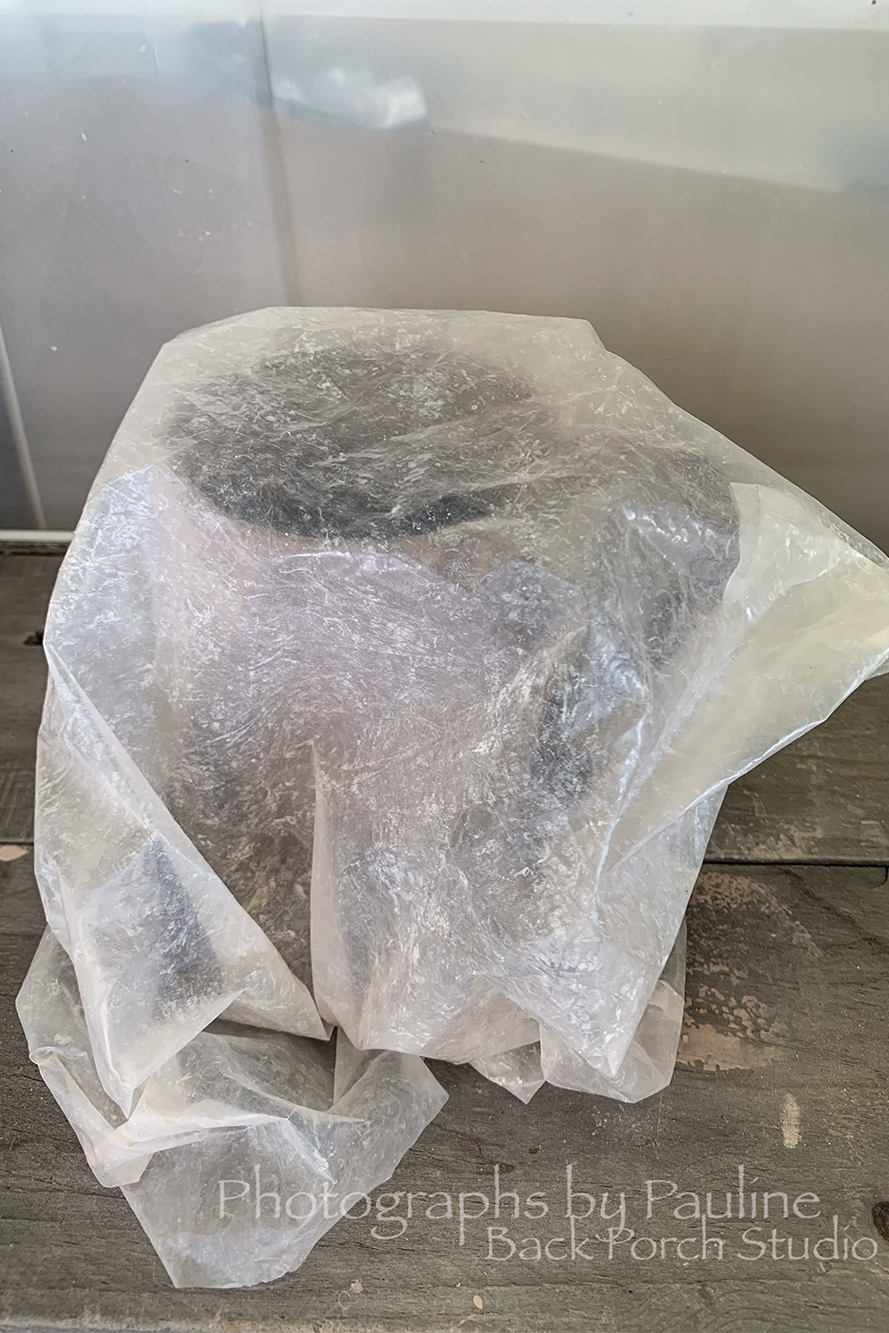
After the handle is attached to the mug, the mug is set to slowly dry in a damp box where humidity can be controlled.
I use a rubbermaid bin as my damp box. I cover the mugs in plastic and place them in the damp box and over a period of days I check the mug and handle joints.
The point is to have the mug and the handle dry slowly and evenly at the same pace. If they dry too fast or unevenly, handles tend to crack away from or completely off the mug which is not good thing.
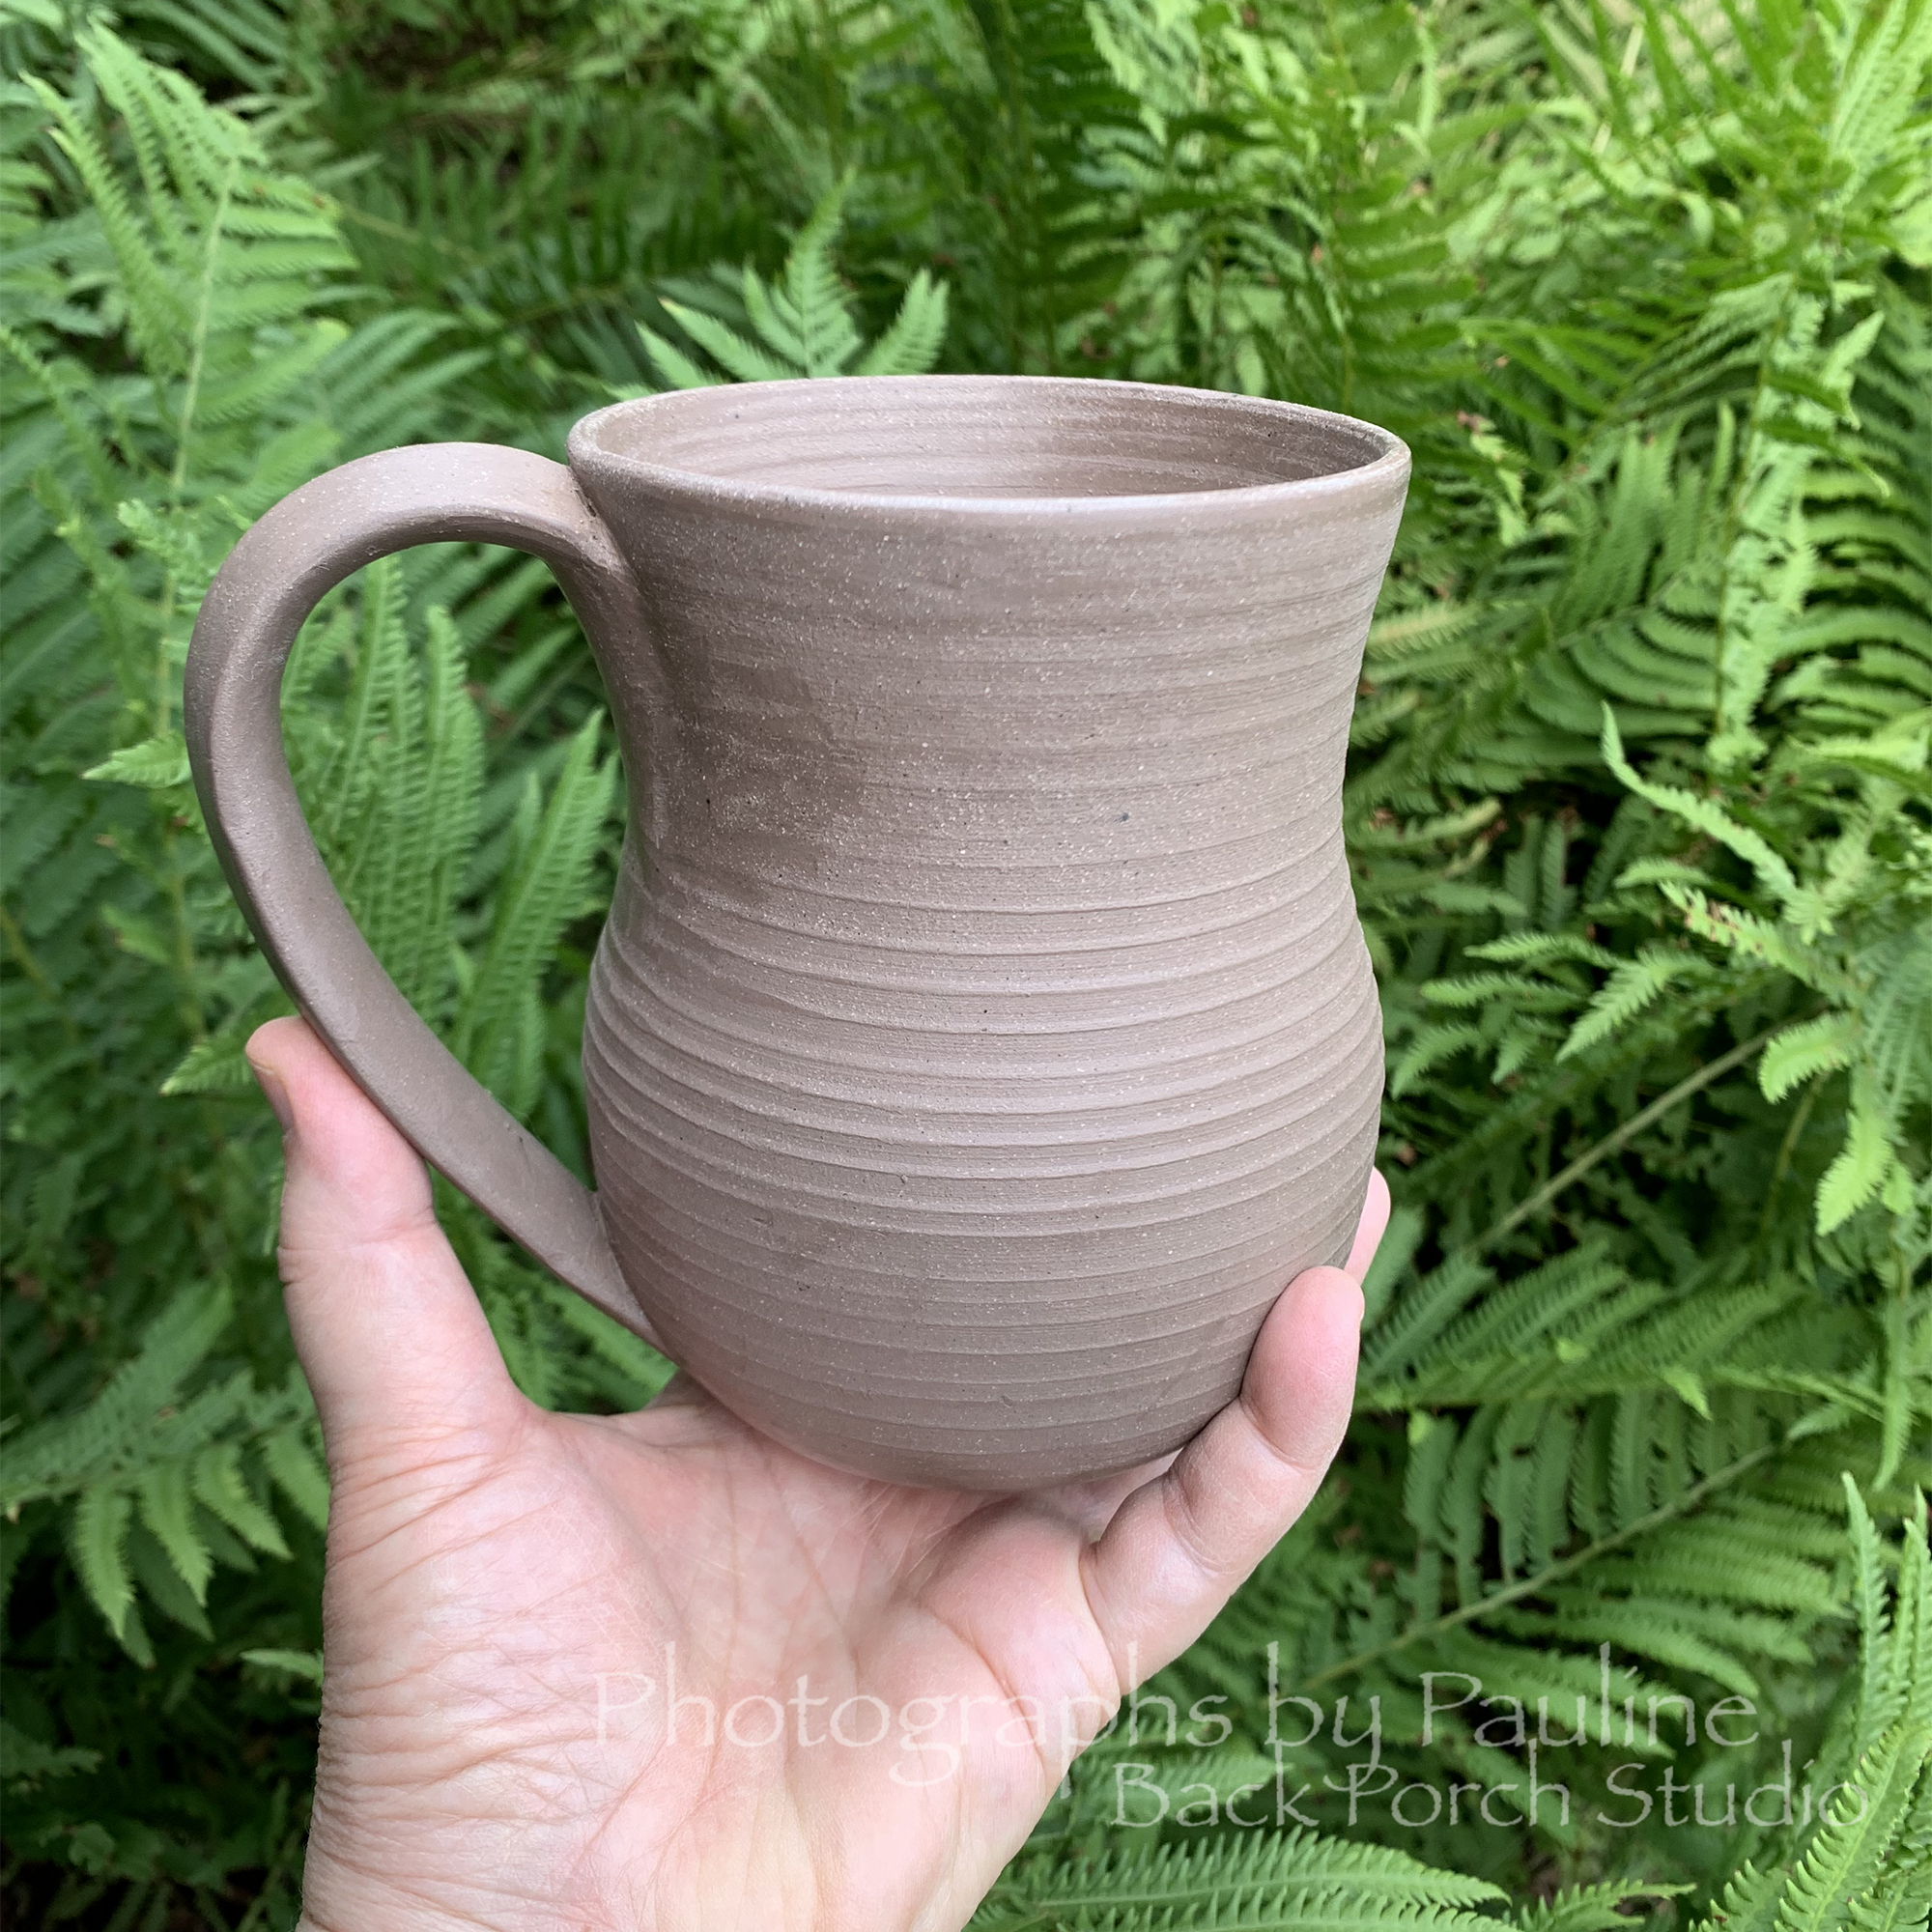
After the mug has been allowed to dry in the damp box, it needs to air dry slowly outside the damp box until the mug becomes bone dry.
Bone dry pottery is called greenware. Pottery is very fragile at this stage and is ready for the first of two firings.
The whole drying process, from damp box to completely air dried, takes about two weeks.
So I will have to wait until the end of July before I can glaze these mugs.
“Anyone who has worked with clay knows there is a lot of process involved. Certain things need to be done at certain times.”
~Meagan Chaney Gumpert


Nice mug. Interesting to read about the whole process behind it.
LikeLiked by 1 person
Thank you! It is a lot of work and I used to not like making mugs because . . . handles! LOL After twenty years, I think I found something that works and I find it is not so much a challenge or a chore anymore.
LikeLiked by 1 person
I was especially interested in this step, to see how the handle was made to look like it was part of the mug the whole time. Very interesting. I have had some store-bought mugs where, after time, the handle just broke off. But I do often put my mugs in the dishwasher. Maybe that heat isn’t good for the finished product. Anyway, even though your mug isn’t glazed yet, it’s beautiful so far! Thank you for sharing. ☕️😁
LikeLiked by 1 person
Thanks Bridget!
I’m sorry your mug broke. ☹️ So yes, over time, the extreme heat and strong detergents from dishwashers can be harsh to pottery. Handwashing is preferred but not always practical. LOL
LikeLiked by 1 person
Ah good to know though! Thanks for the tip 😁
LikeLiked by 1 person
That was really cool seeing all the steps it takes, thanks for showing all of it!
LikeLiked by 1 person
Nice job! Like all experts, you make it look easy. 😉
LikeLiked by 1 person
Thank you Ann. 😊
LikeLiked by 1 person