Can you believe it is the end of July already?
Only 150 ’til Christmas!
This is the first summer since I started throwing over twenty years ago that I have made a conscious effort to abandon my usual throwing schedule and it has been quite freeing! Though I have not produced as much pottery as I have in the past, I have enjoyed simply throwing as the spirit moves me.
Speaking of pottery, I’ve been throwing mugs this month. So far, I have made 25 mugs that are currently in various stages of drying starting from wet to leather hard to bone dry. For me, the drying process takes about 3 weeks.
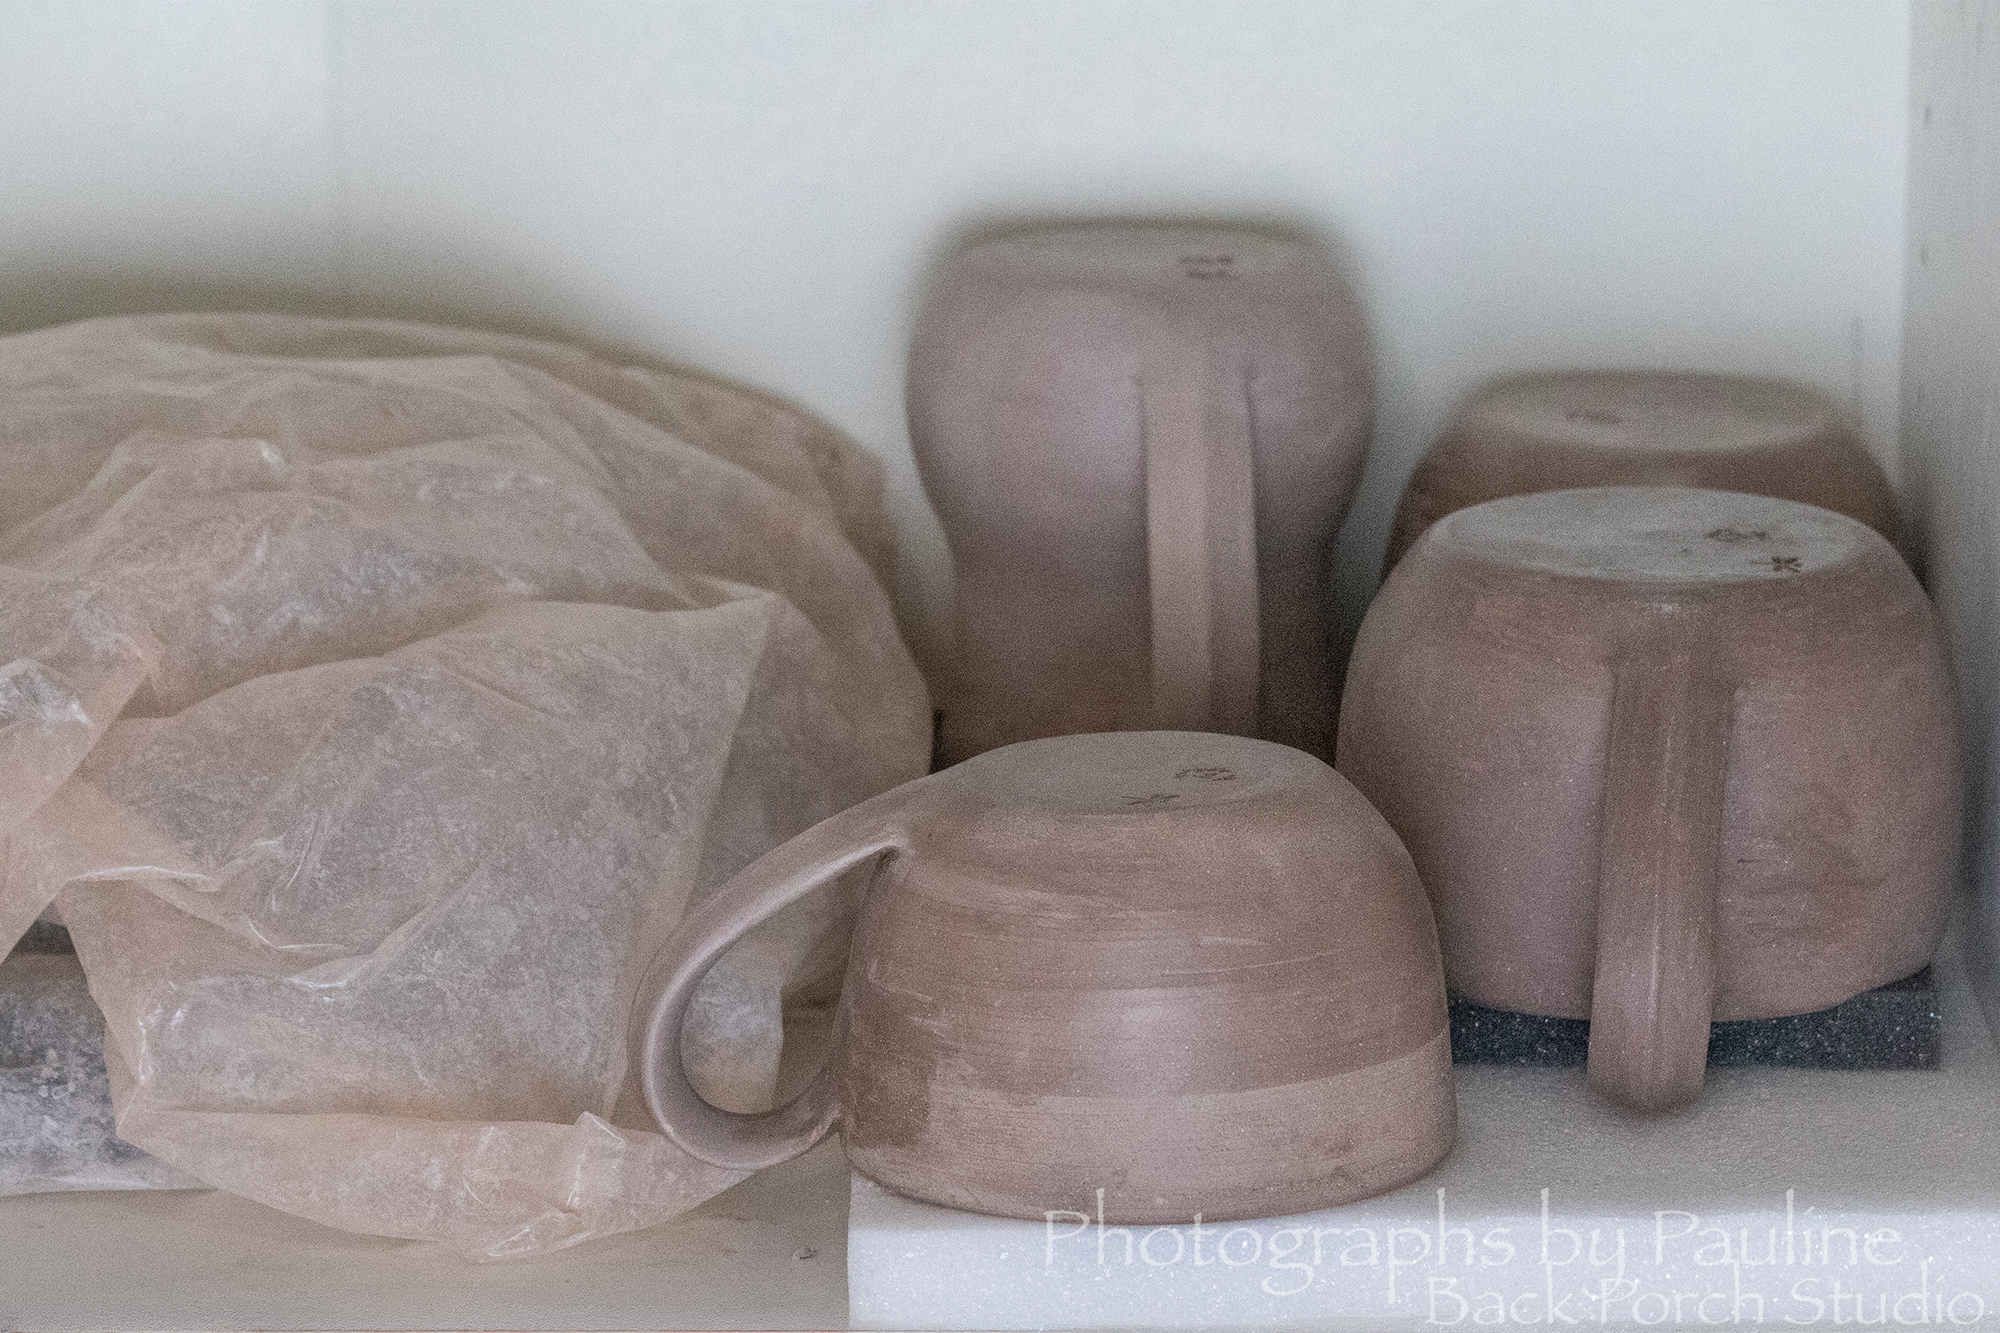
Pictured here are greenware mugs that are in various stages of drying. Under the plastic are leather hard mugs that I just added the handles. I place them under plastic to control the humidity and to slow the drying process. The mugs not under the plastic are also leather hard, but have dried slowly enough to move out from under the plastic to continue to dry. Though exposed, I tape a sheet of plastic on the shelf above and below creating a barrier slowing exposure to air.
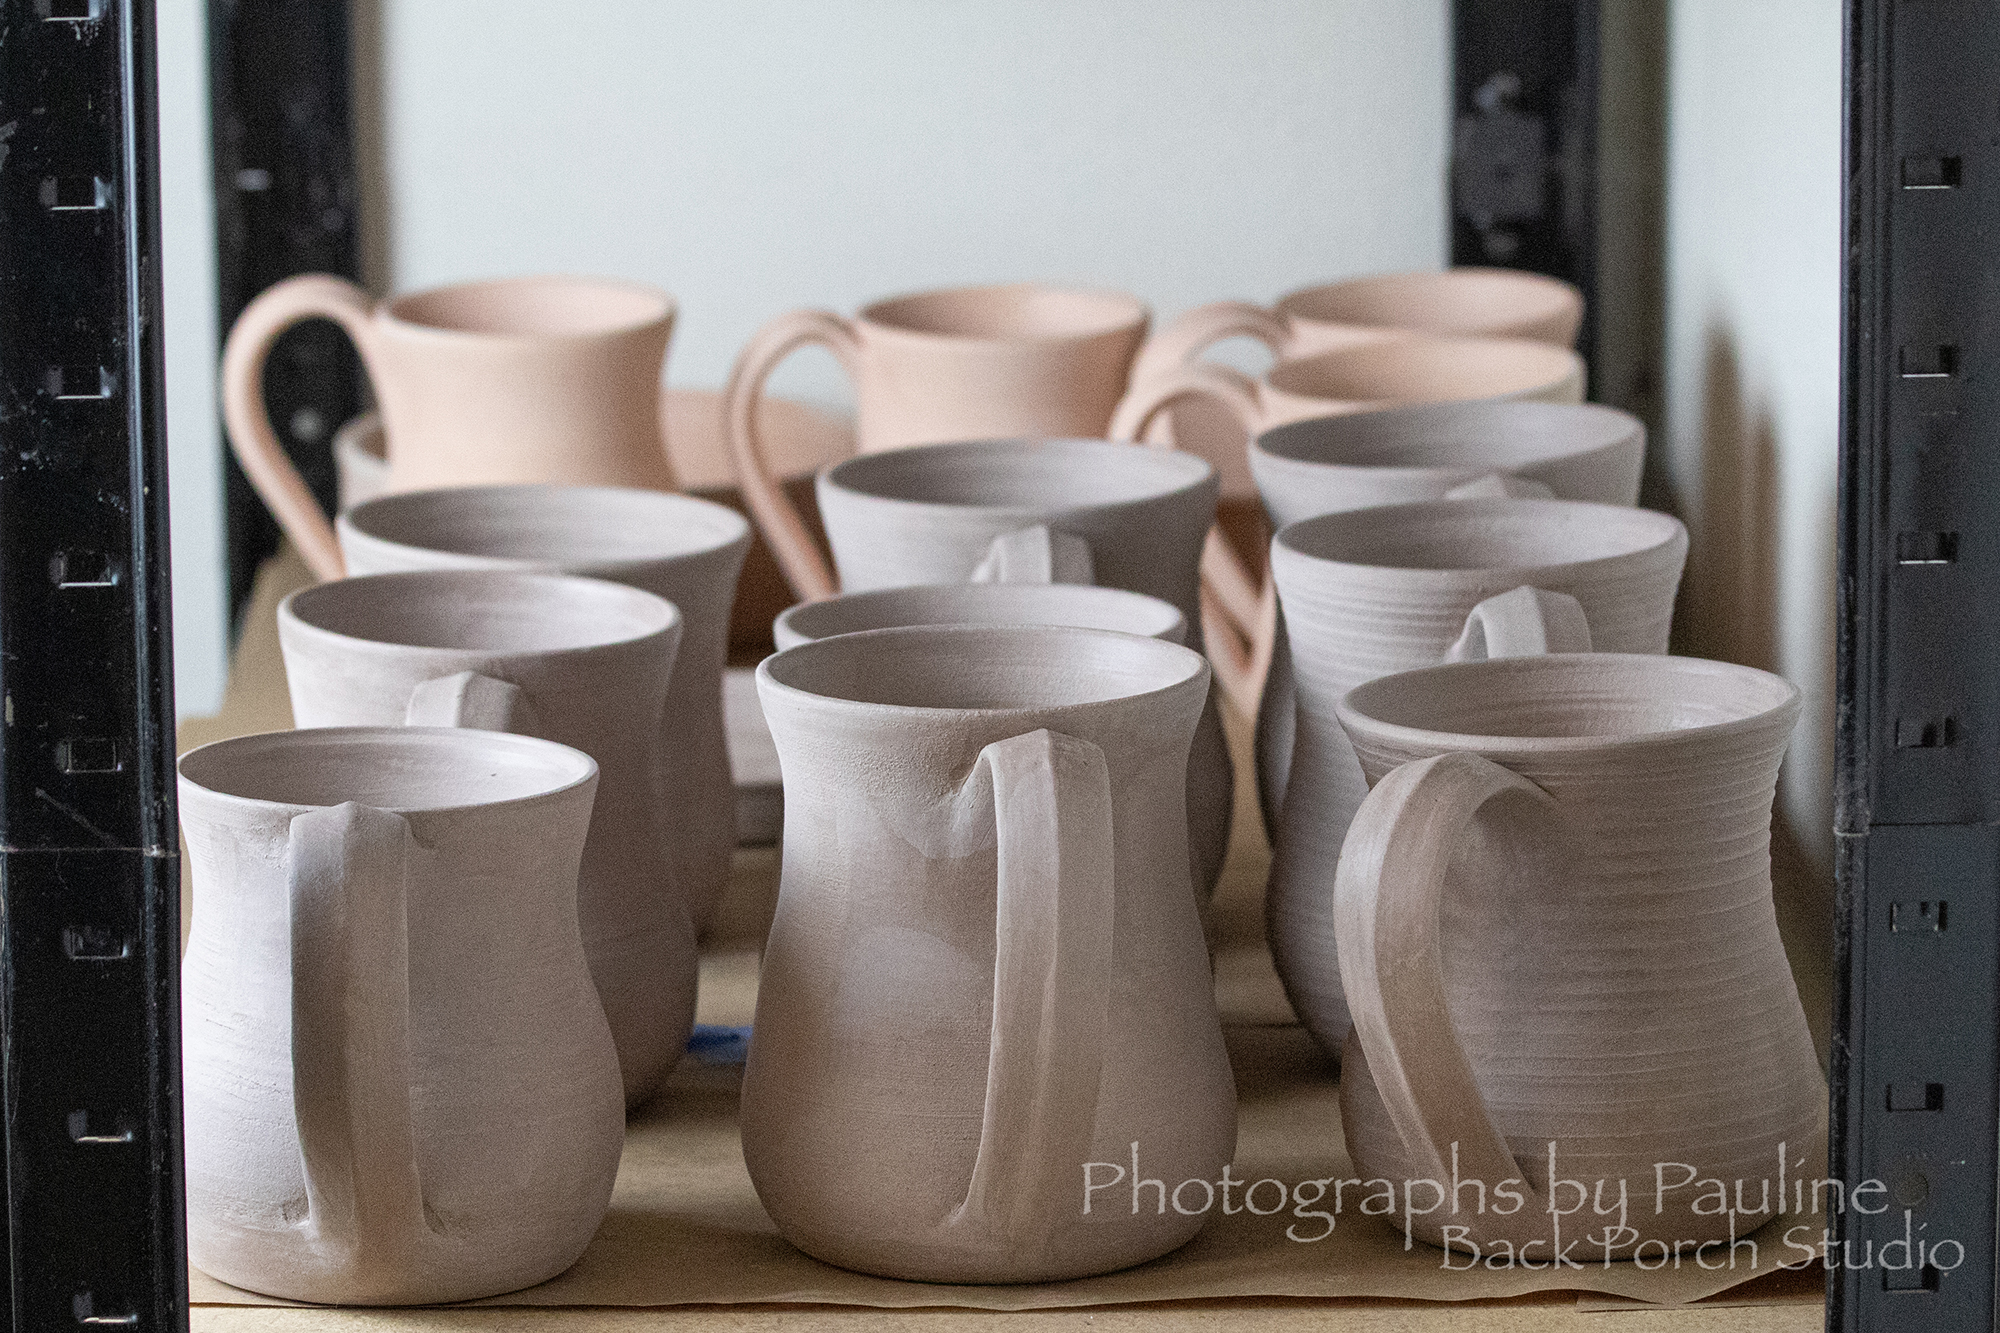
Pictured here are greenware mugs that are bone dry where all physical moisture has evaporated. The clay is much lighter in color and extremely brittle. At this stage they are ready for their first firing; a bisque firing that prepares the clay for glazing.
The pink mugs in the back have been through a bisque firing and are ready for glaze.
Why pottery needs to dry slowly: As moisture evaporates, clay shrinks. If the clay shrinks too quickly, cracks and warping can happen. Pottery with handles are extremely vulnerable! If the mug drys too fast, the handle pulls away from the body of the mug, cracks, or breaks off. Managing drying time by controlling the rate of drying is key to ensure slow and even evaporation of each piece.
Meanwhile . . .
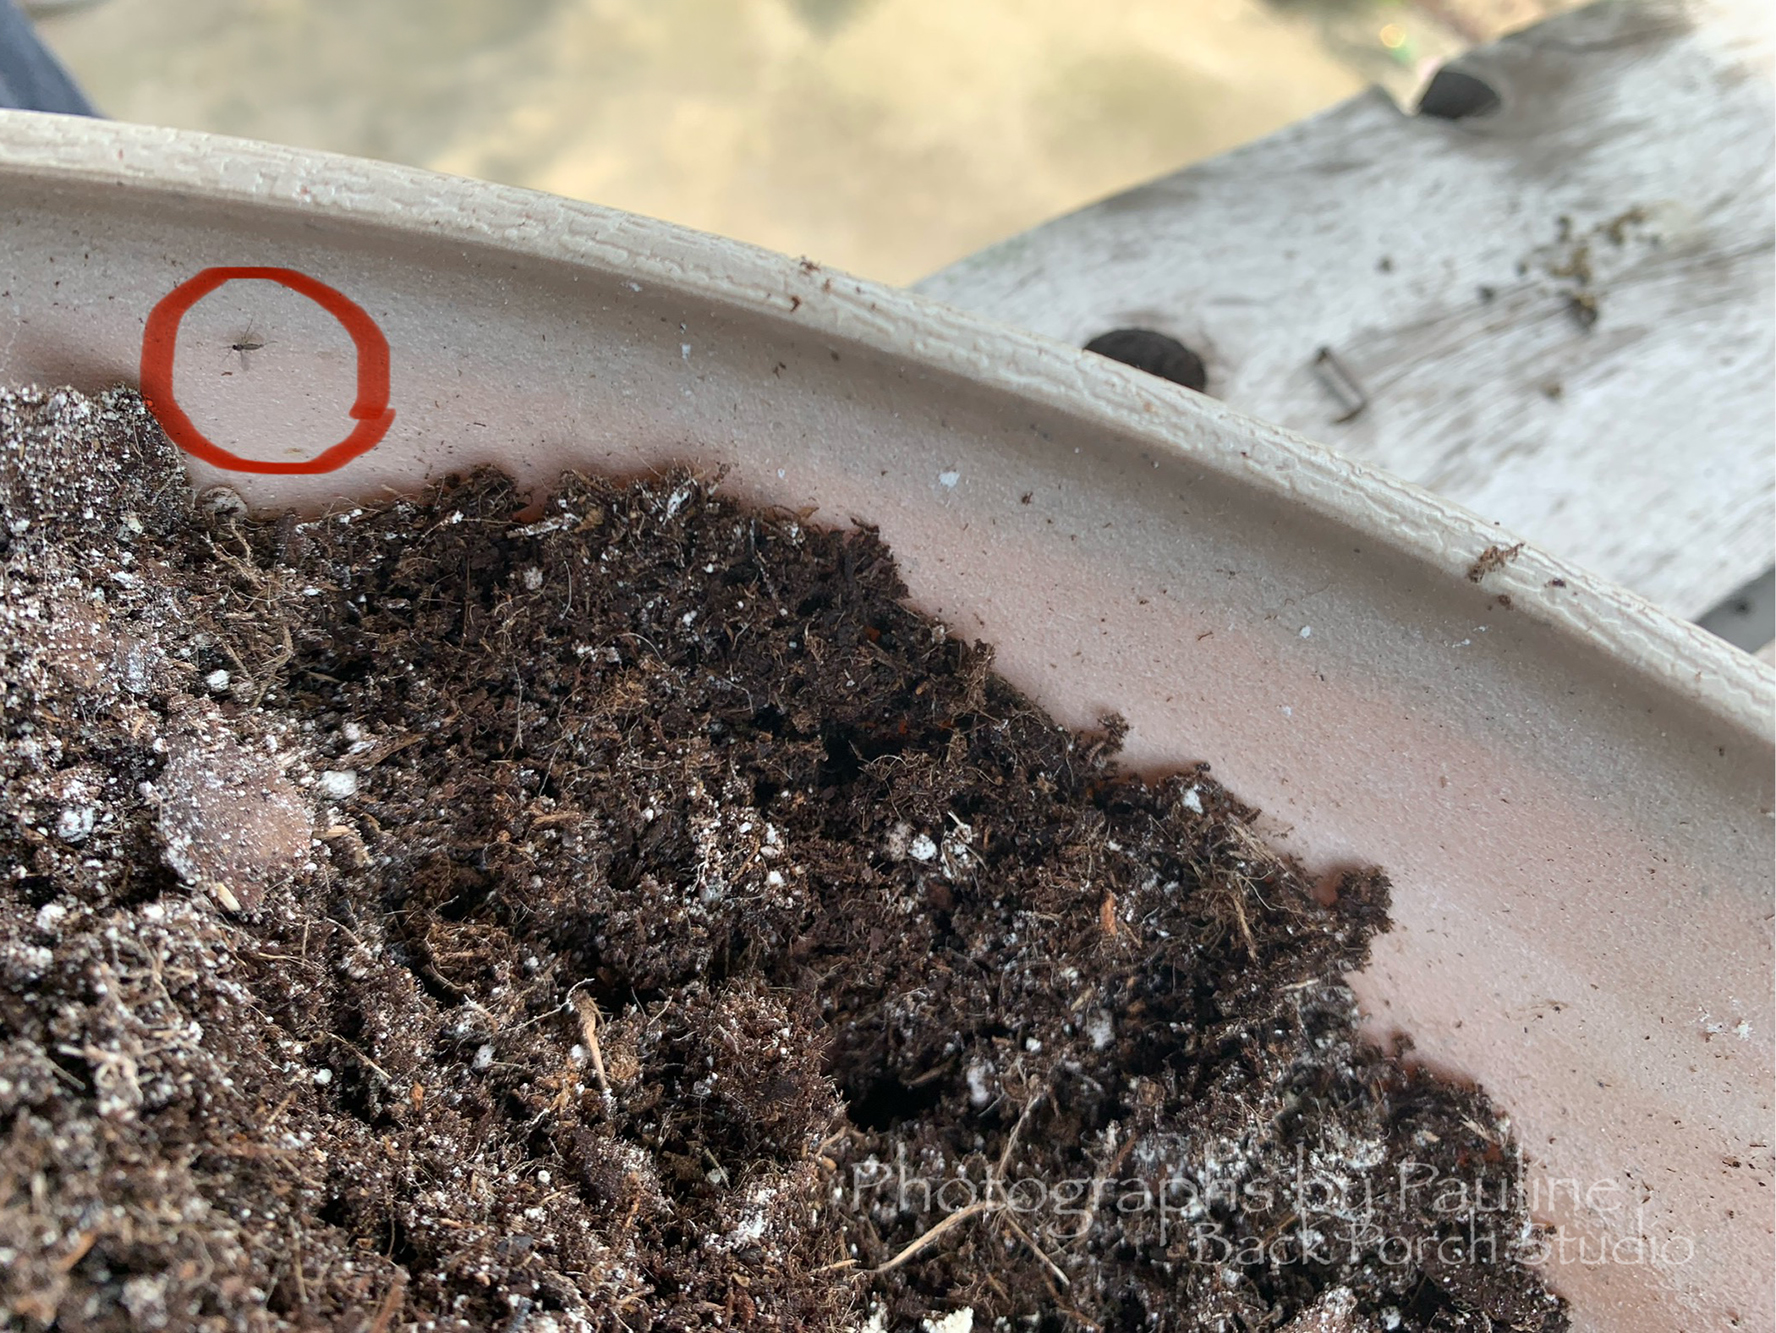
I discovered fungus gnats early this spring in several of my indoor plants.
A fungus gnat is a tiny, mosquito-like insect whose larvae feed on fungi and organic matter in damp soil. They are common pests of indoor houseplants, harmless to humans, and measure about 1/8 inch long. ~Wikipedia
Since my discovery of fungus gnats, I have lost three indoor plants while two remain. One seems unaffected. The other is taking refuge in a jar of water until I replant it in new un-infested soil . . .again.
What I have learned from this experience:
- Water plants from the bottom by adding water to a drip saucer or tray rather than water top down into the soil.
- Once you have an infestation, treat the soil. Pick your poison. Natural recipes can be found online using ingredients such as vinegar, neem oil, hydrogen peroxide etc. In my case, these natural recipes did not work and I lost three plants. My last choice was to use liquid Sevin dilution and that finally killed the fungus gnats.
- Another way to treat the soil is to bake the soil at 180 ° to 200 °F for 20 to 30 minutes giving the house a nice earthy smell. LOL This is highly recommended when you buy new soil for your houseplants because I learned that fungus gnats come in the new bags of soil (the source of my infestation)! You can also fill a bucket with new soil then pour boiling water into the bucket and let sit until cool.
The garden is thriving!
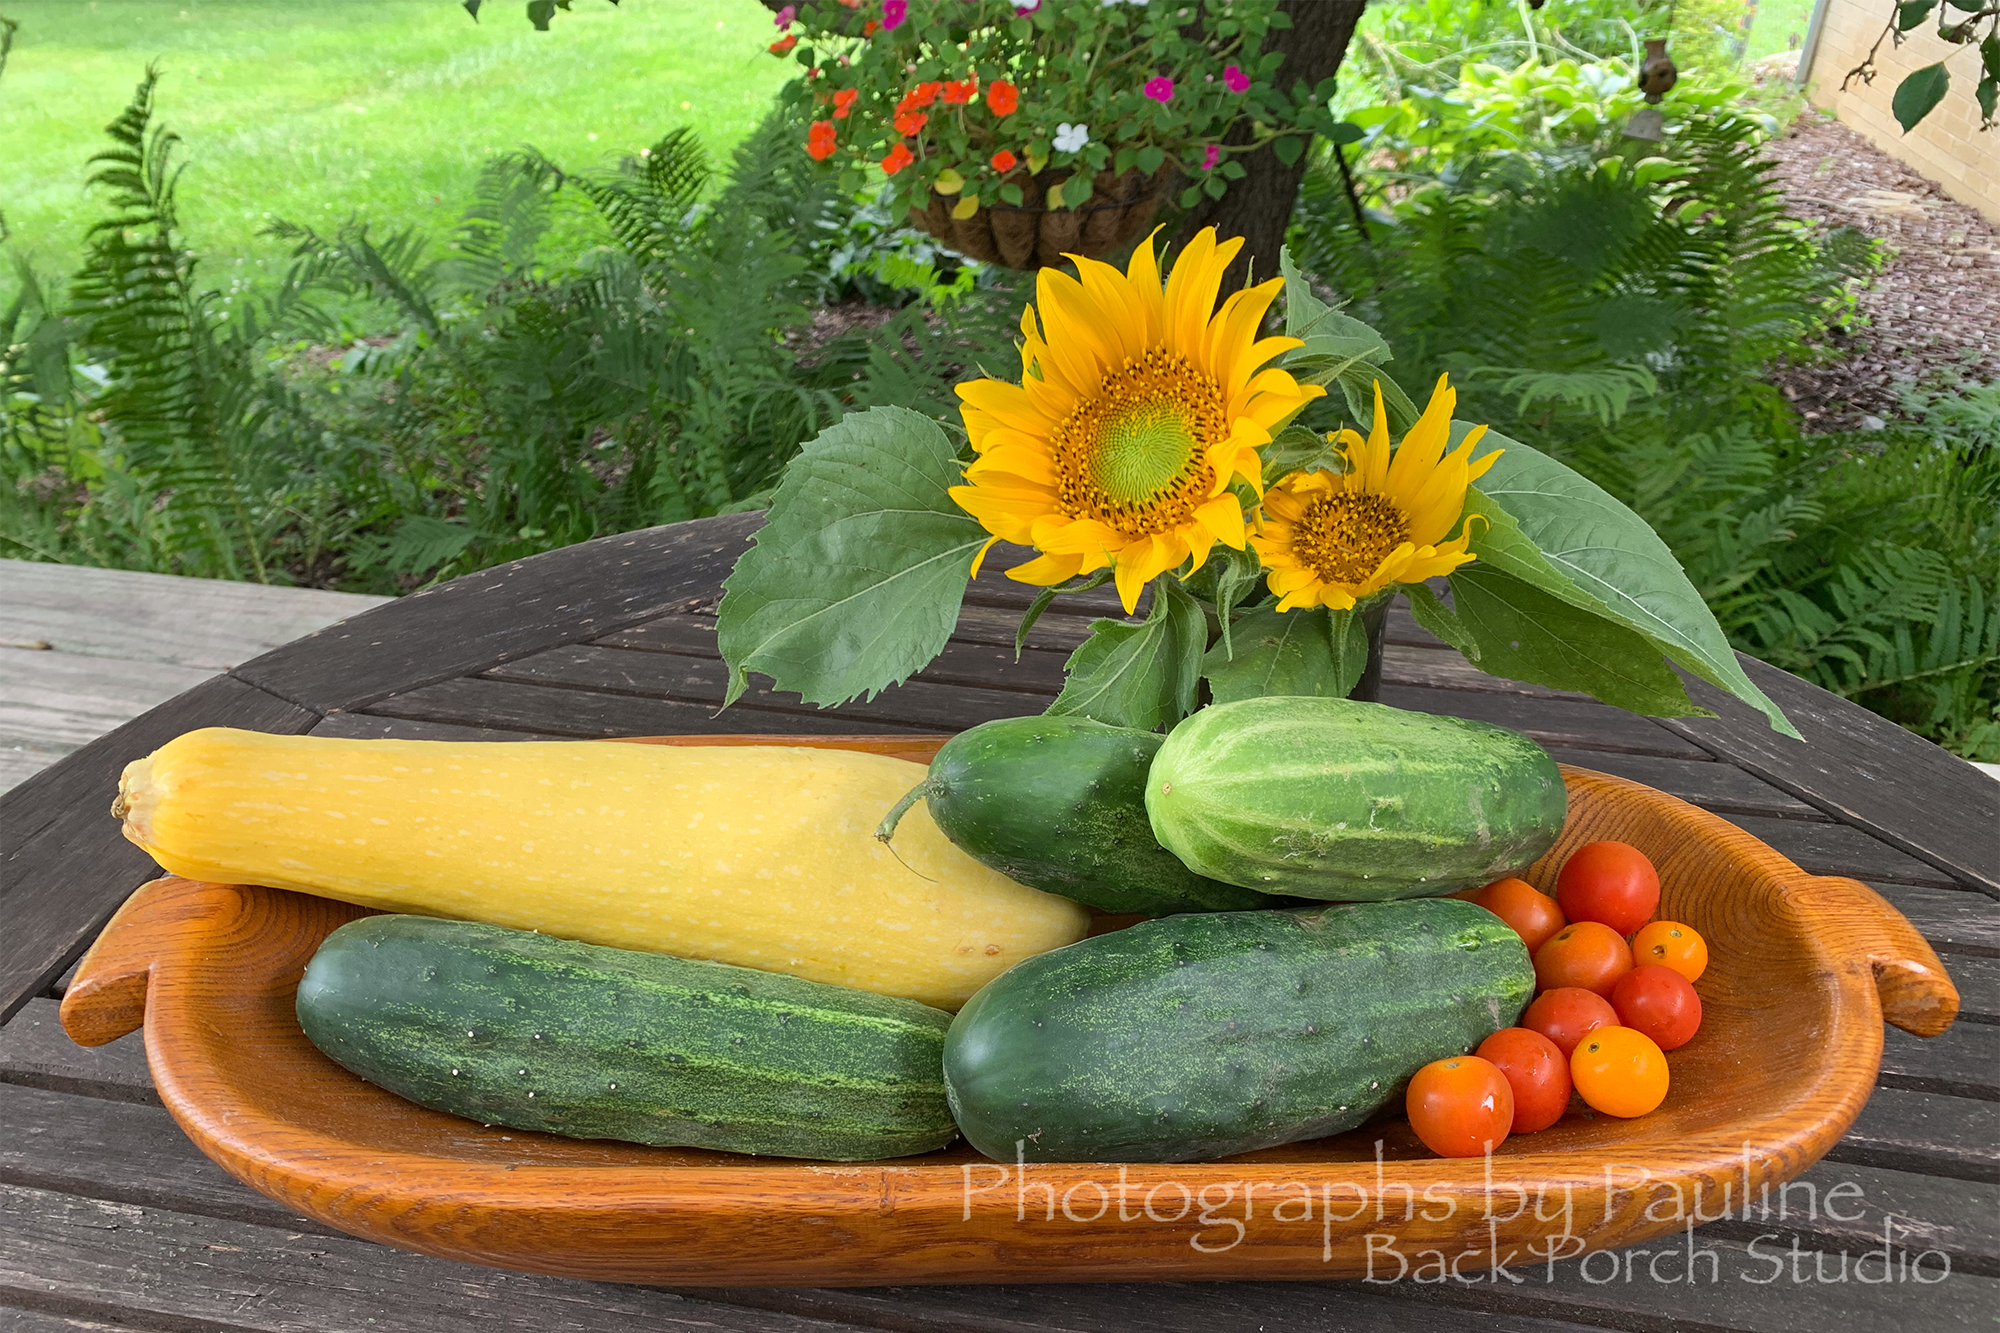
Yellow squash, cucumbers, cherry tomatoes tasted so much better than store bought!
Planted sunflowers too! Squirrel has not discovered them yet.
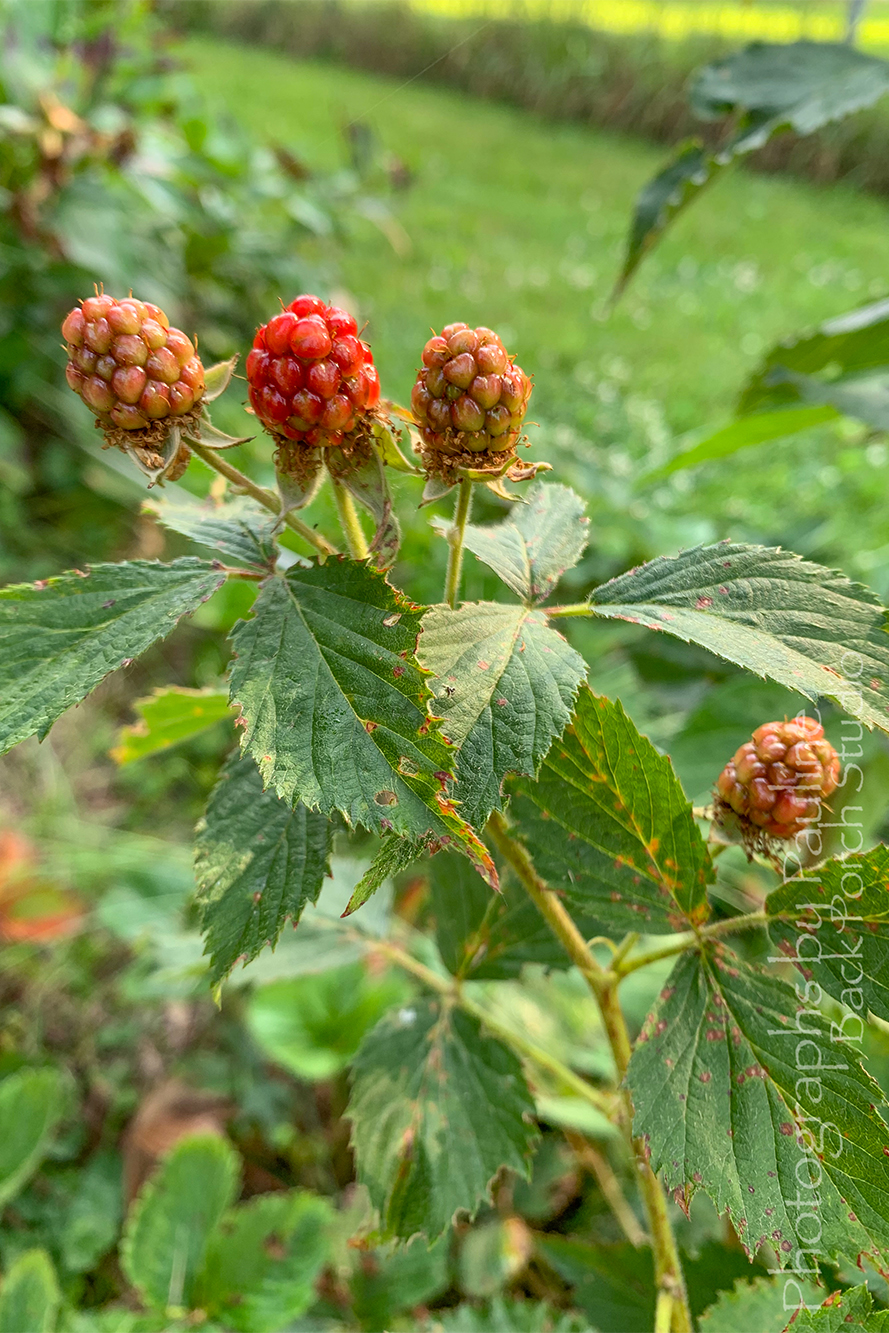
Soon we will have blackberries. I hope to be able to pick a handful or two before Squirrel finds them.
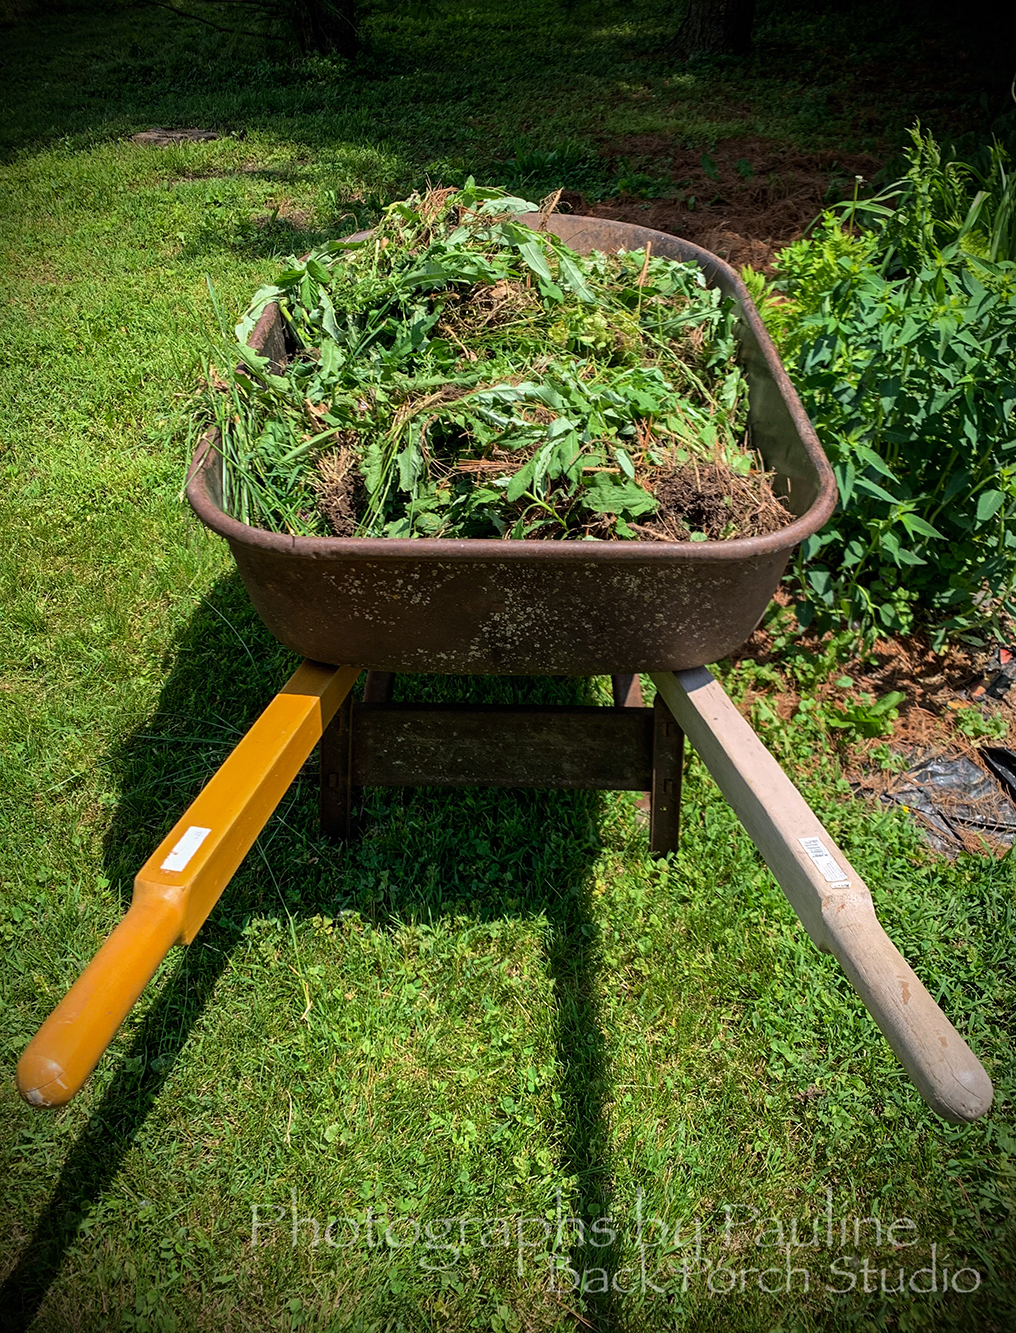
The weeds are thriving too! LOL
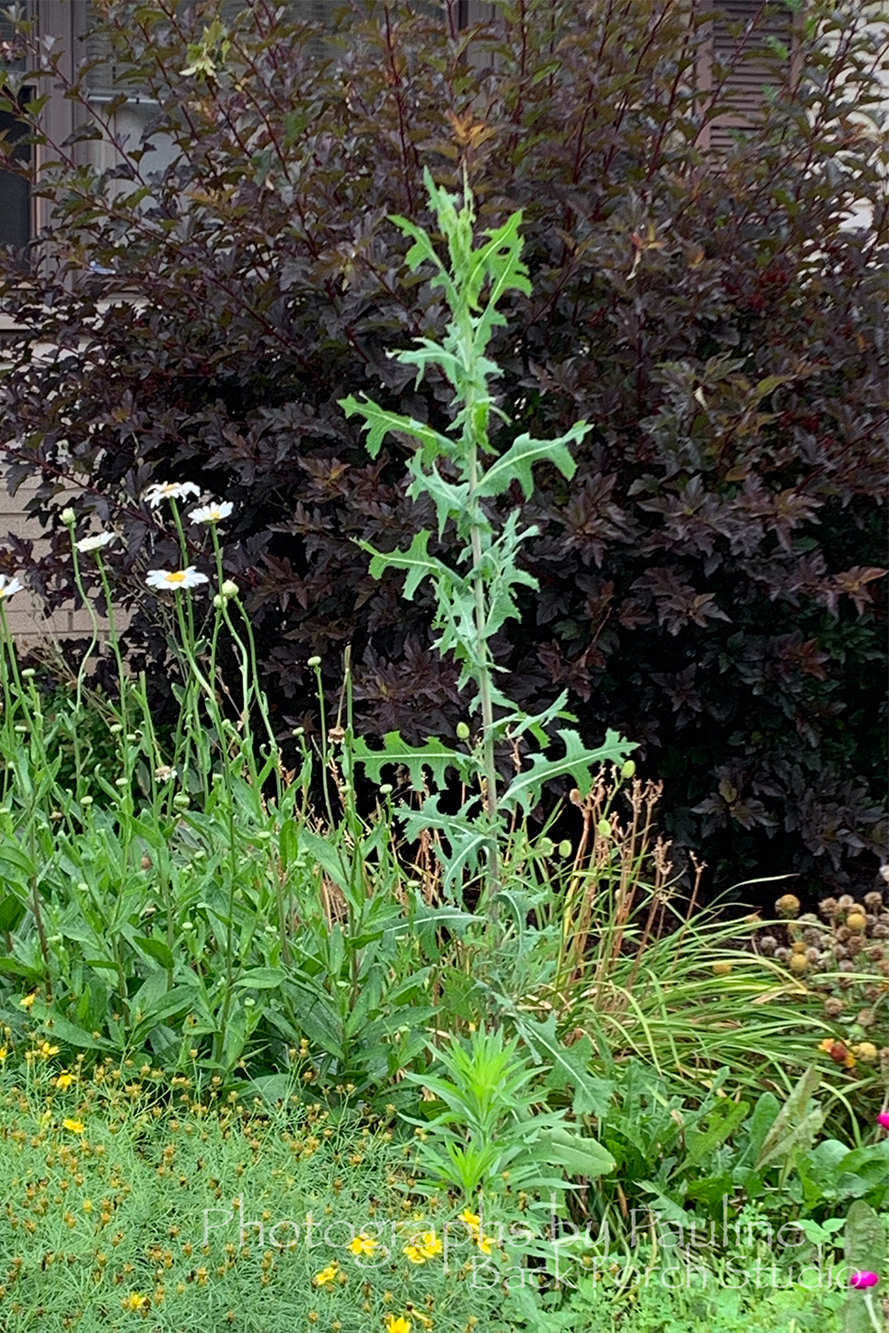
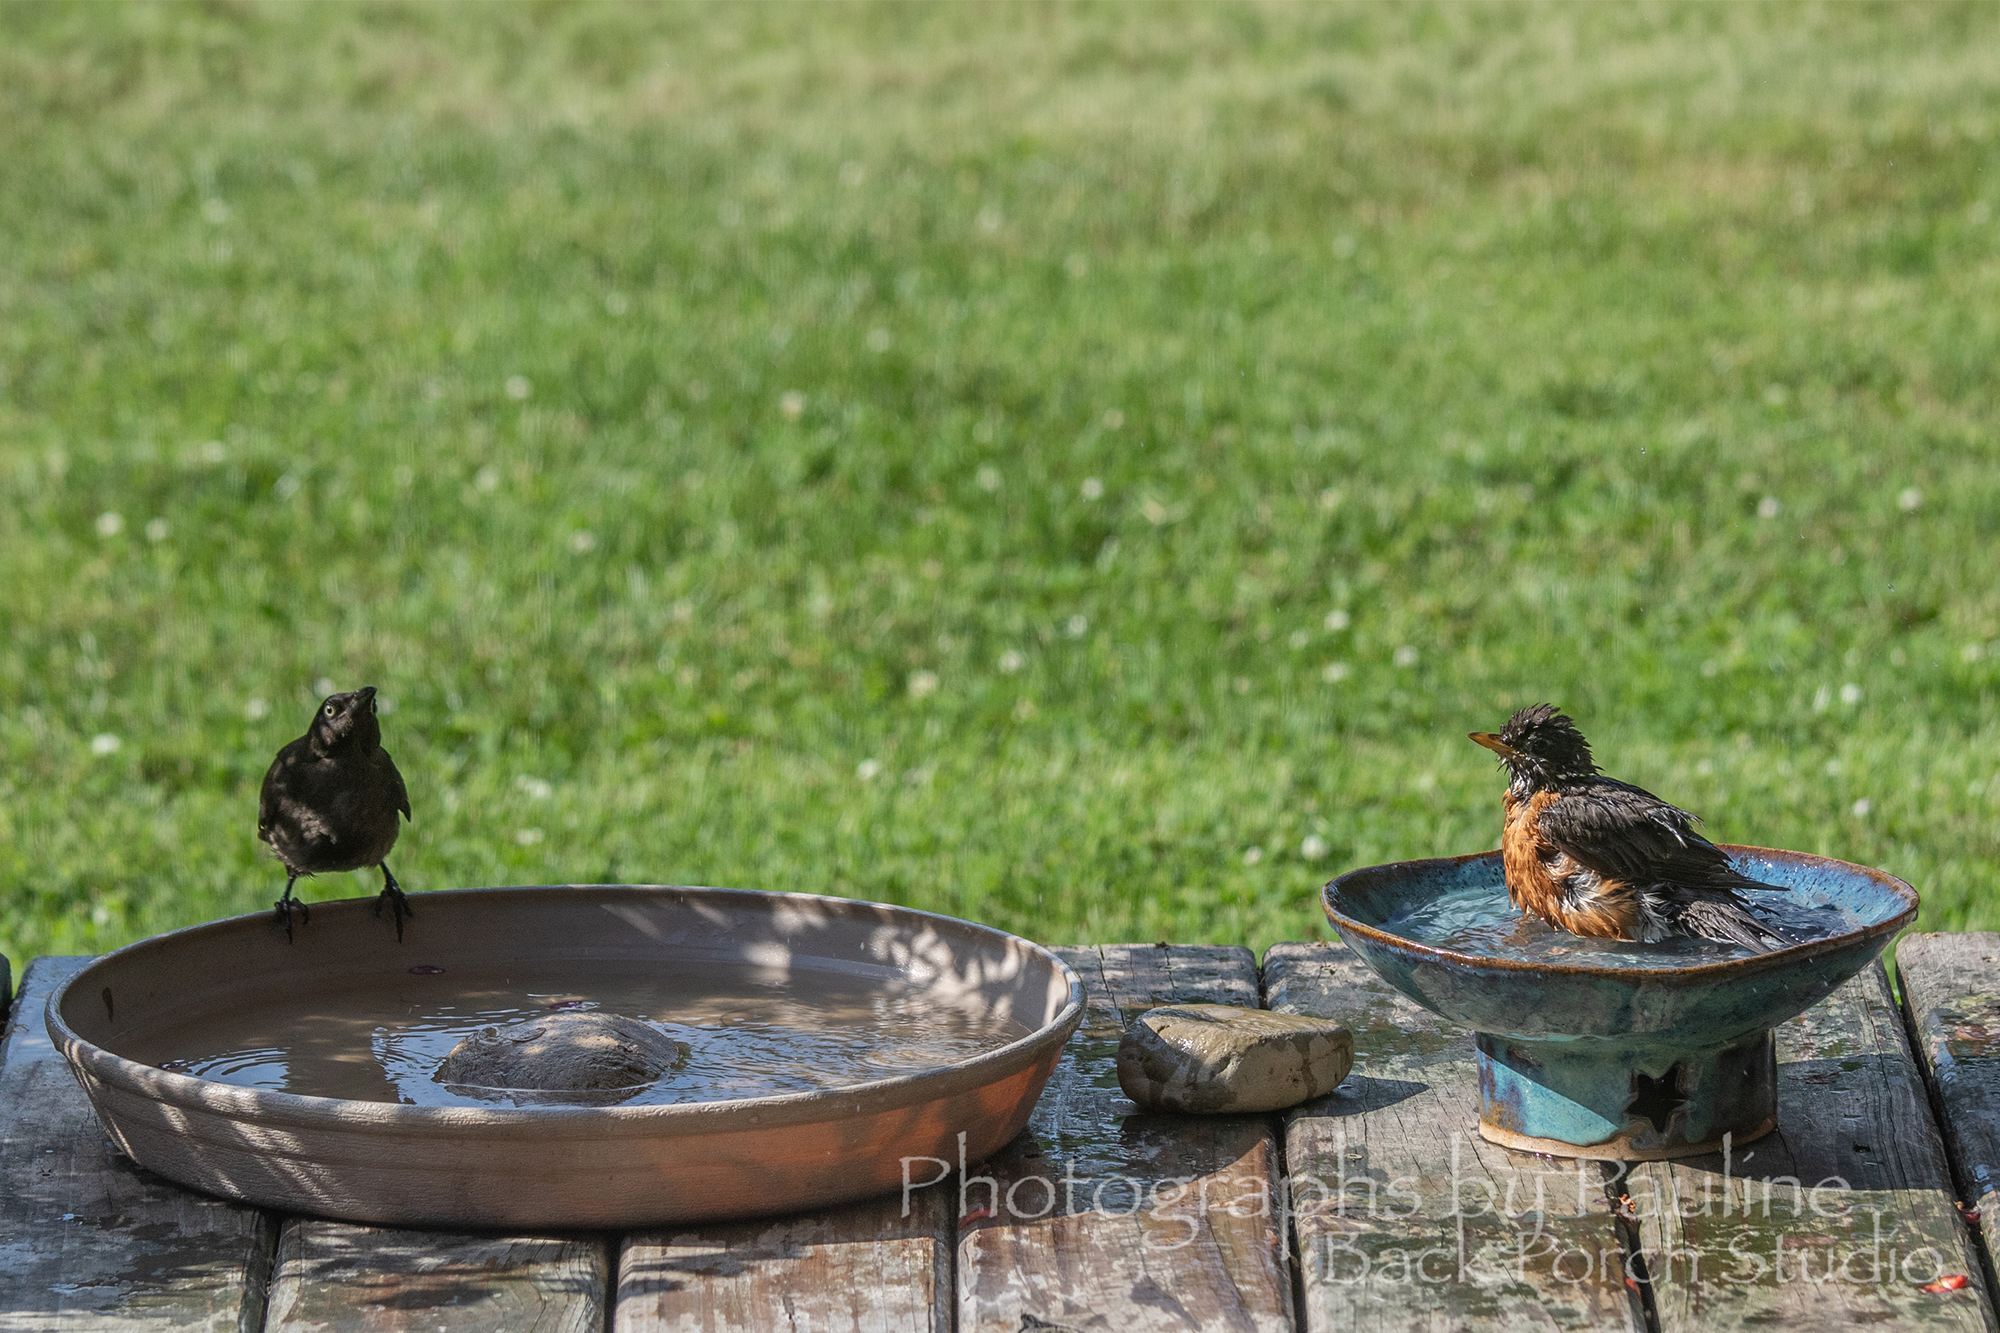
The birds have been enjoying the new watering hole on the back porch . . .
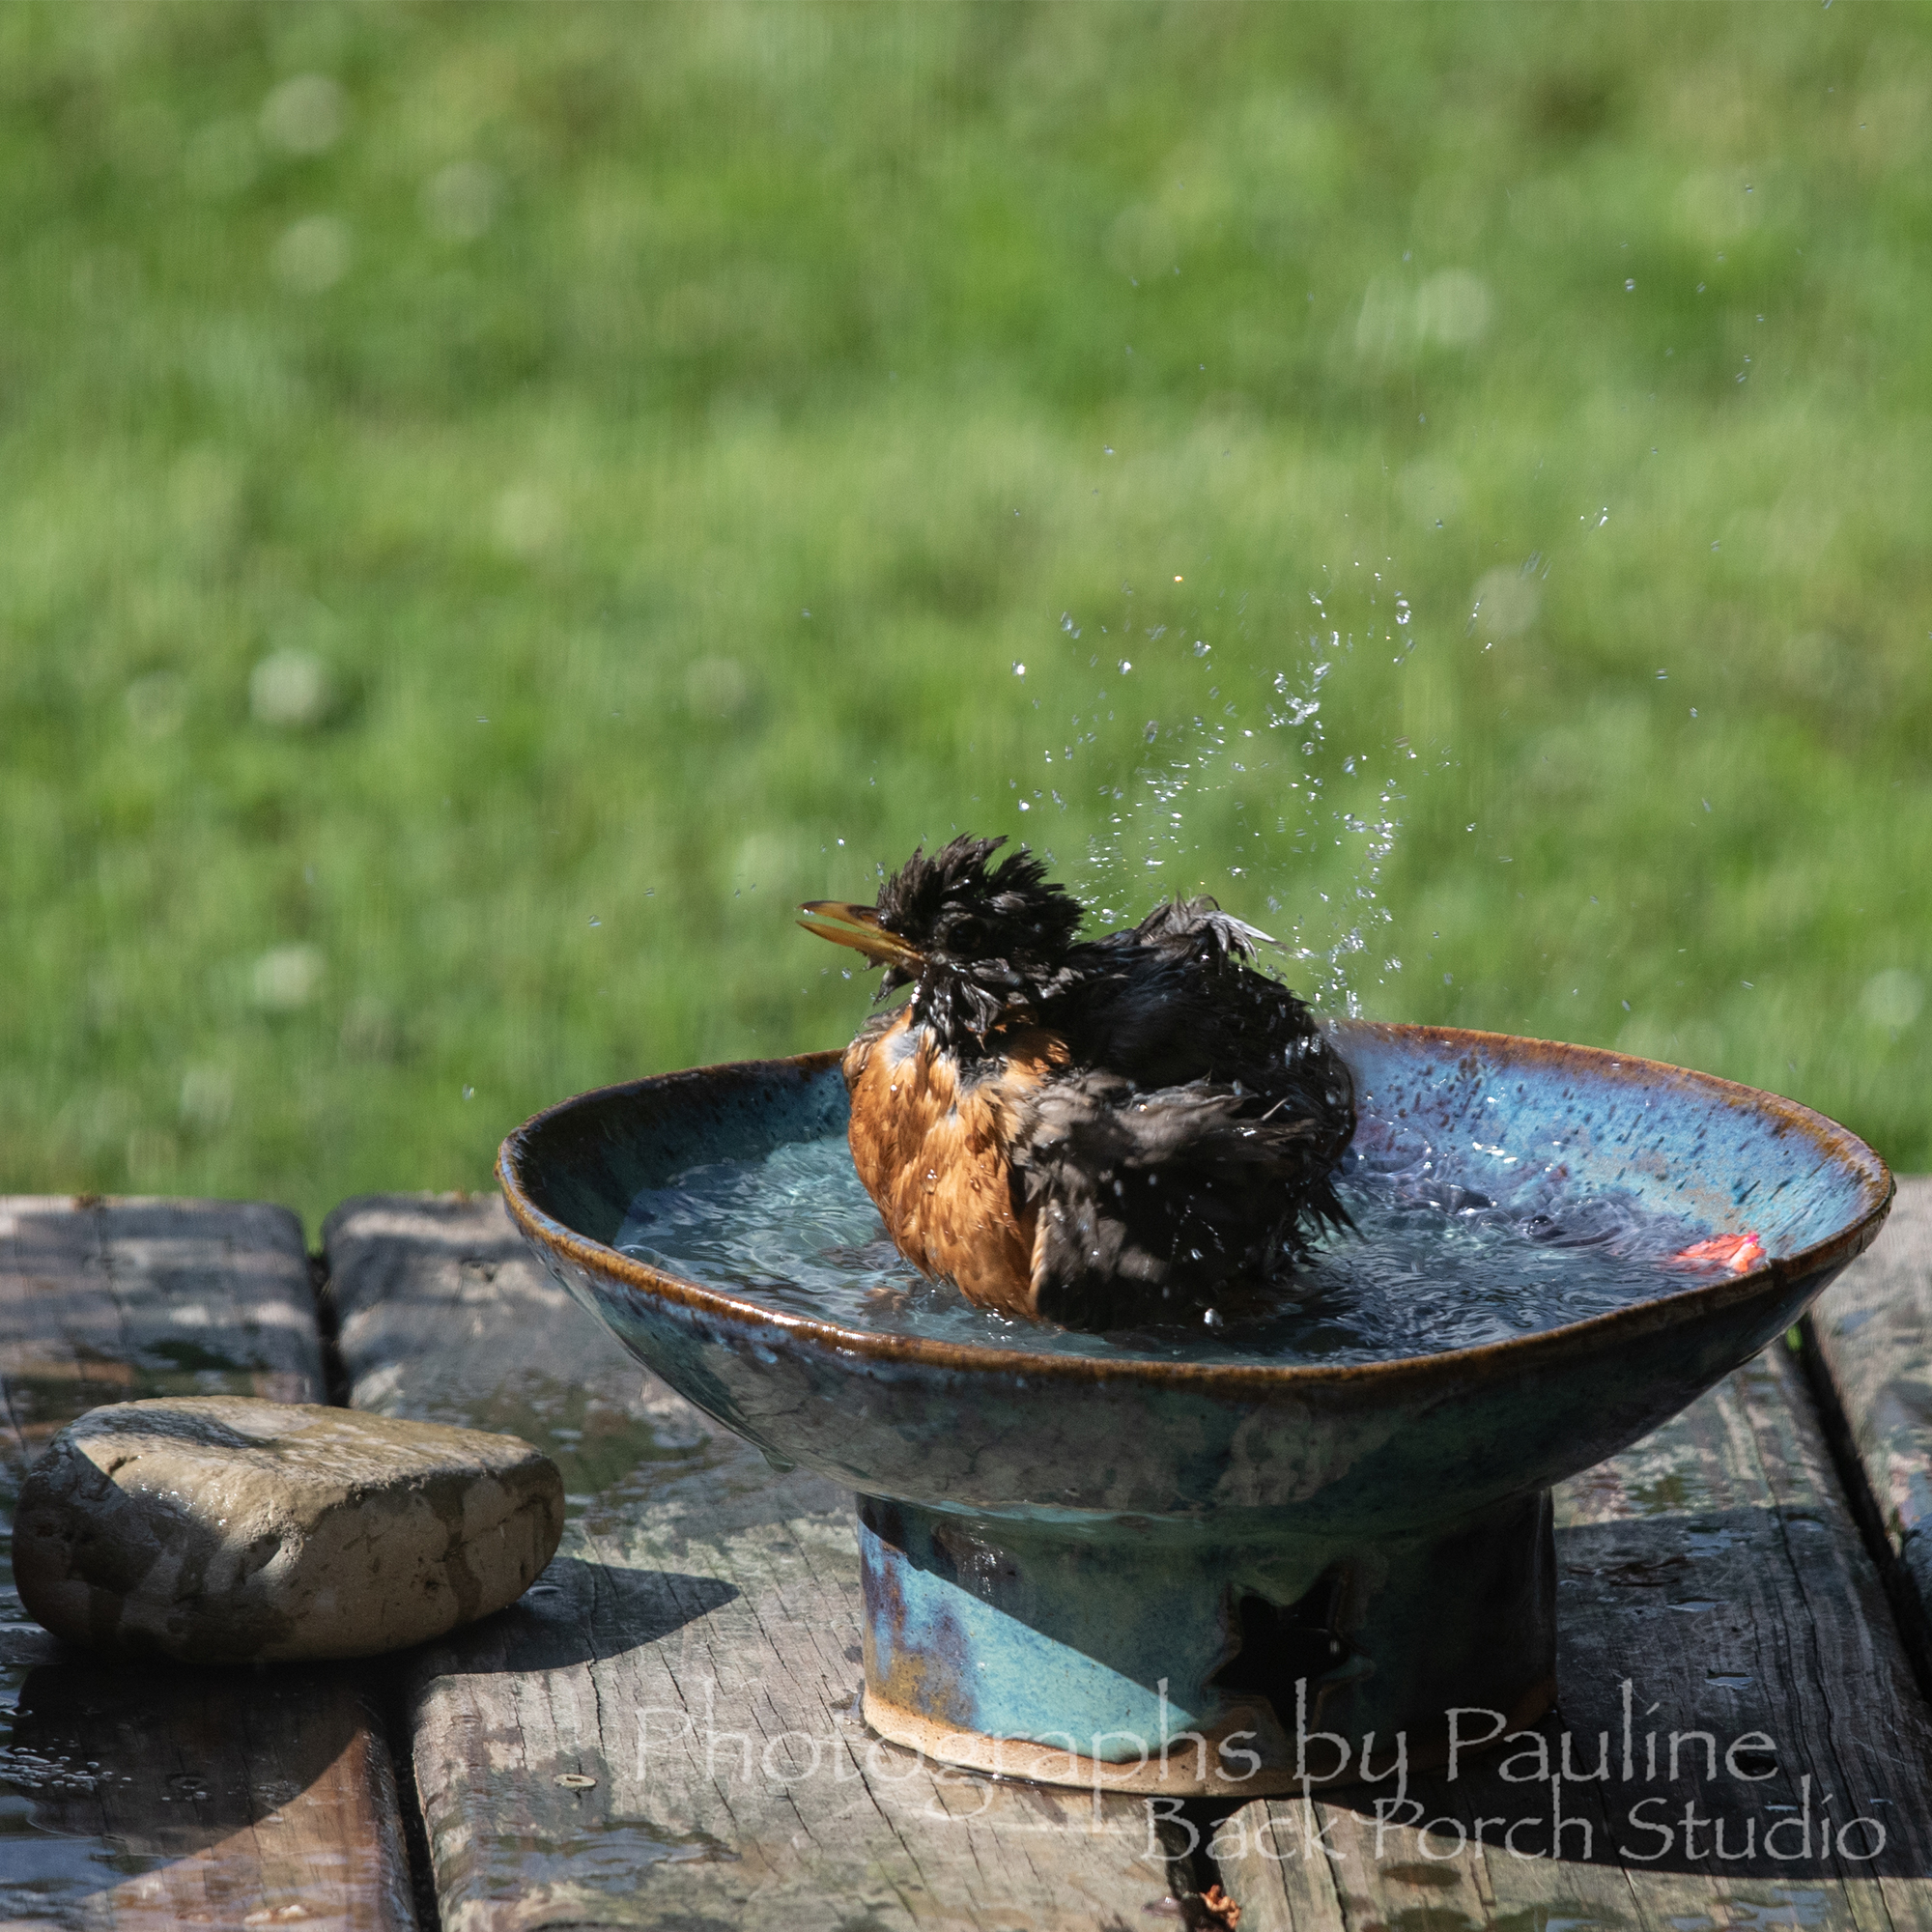
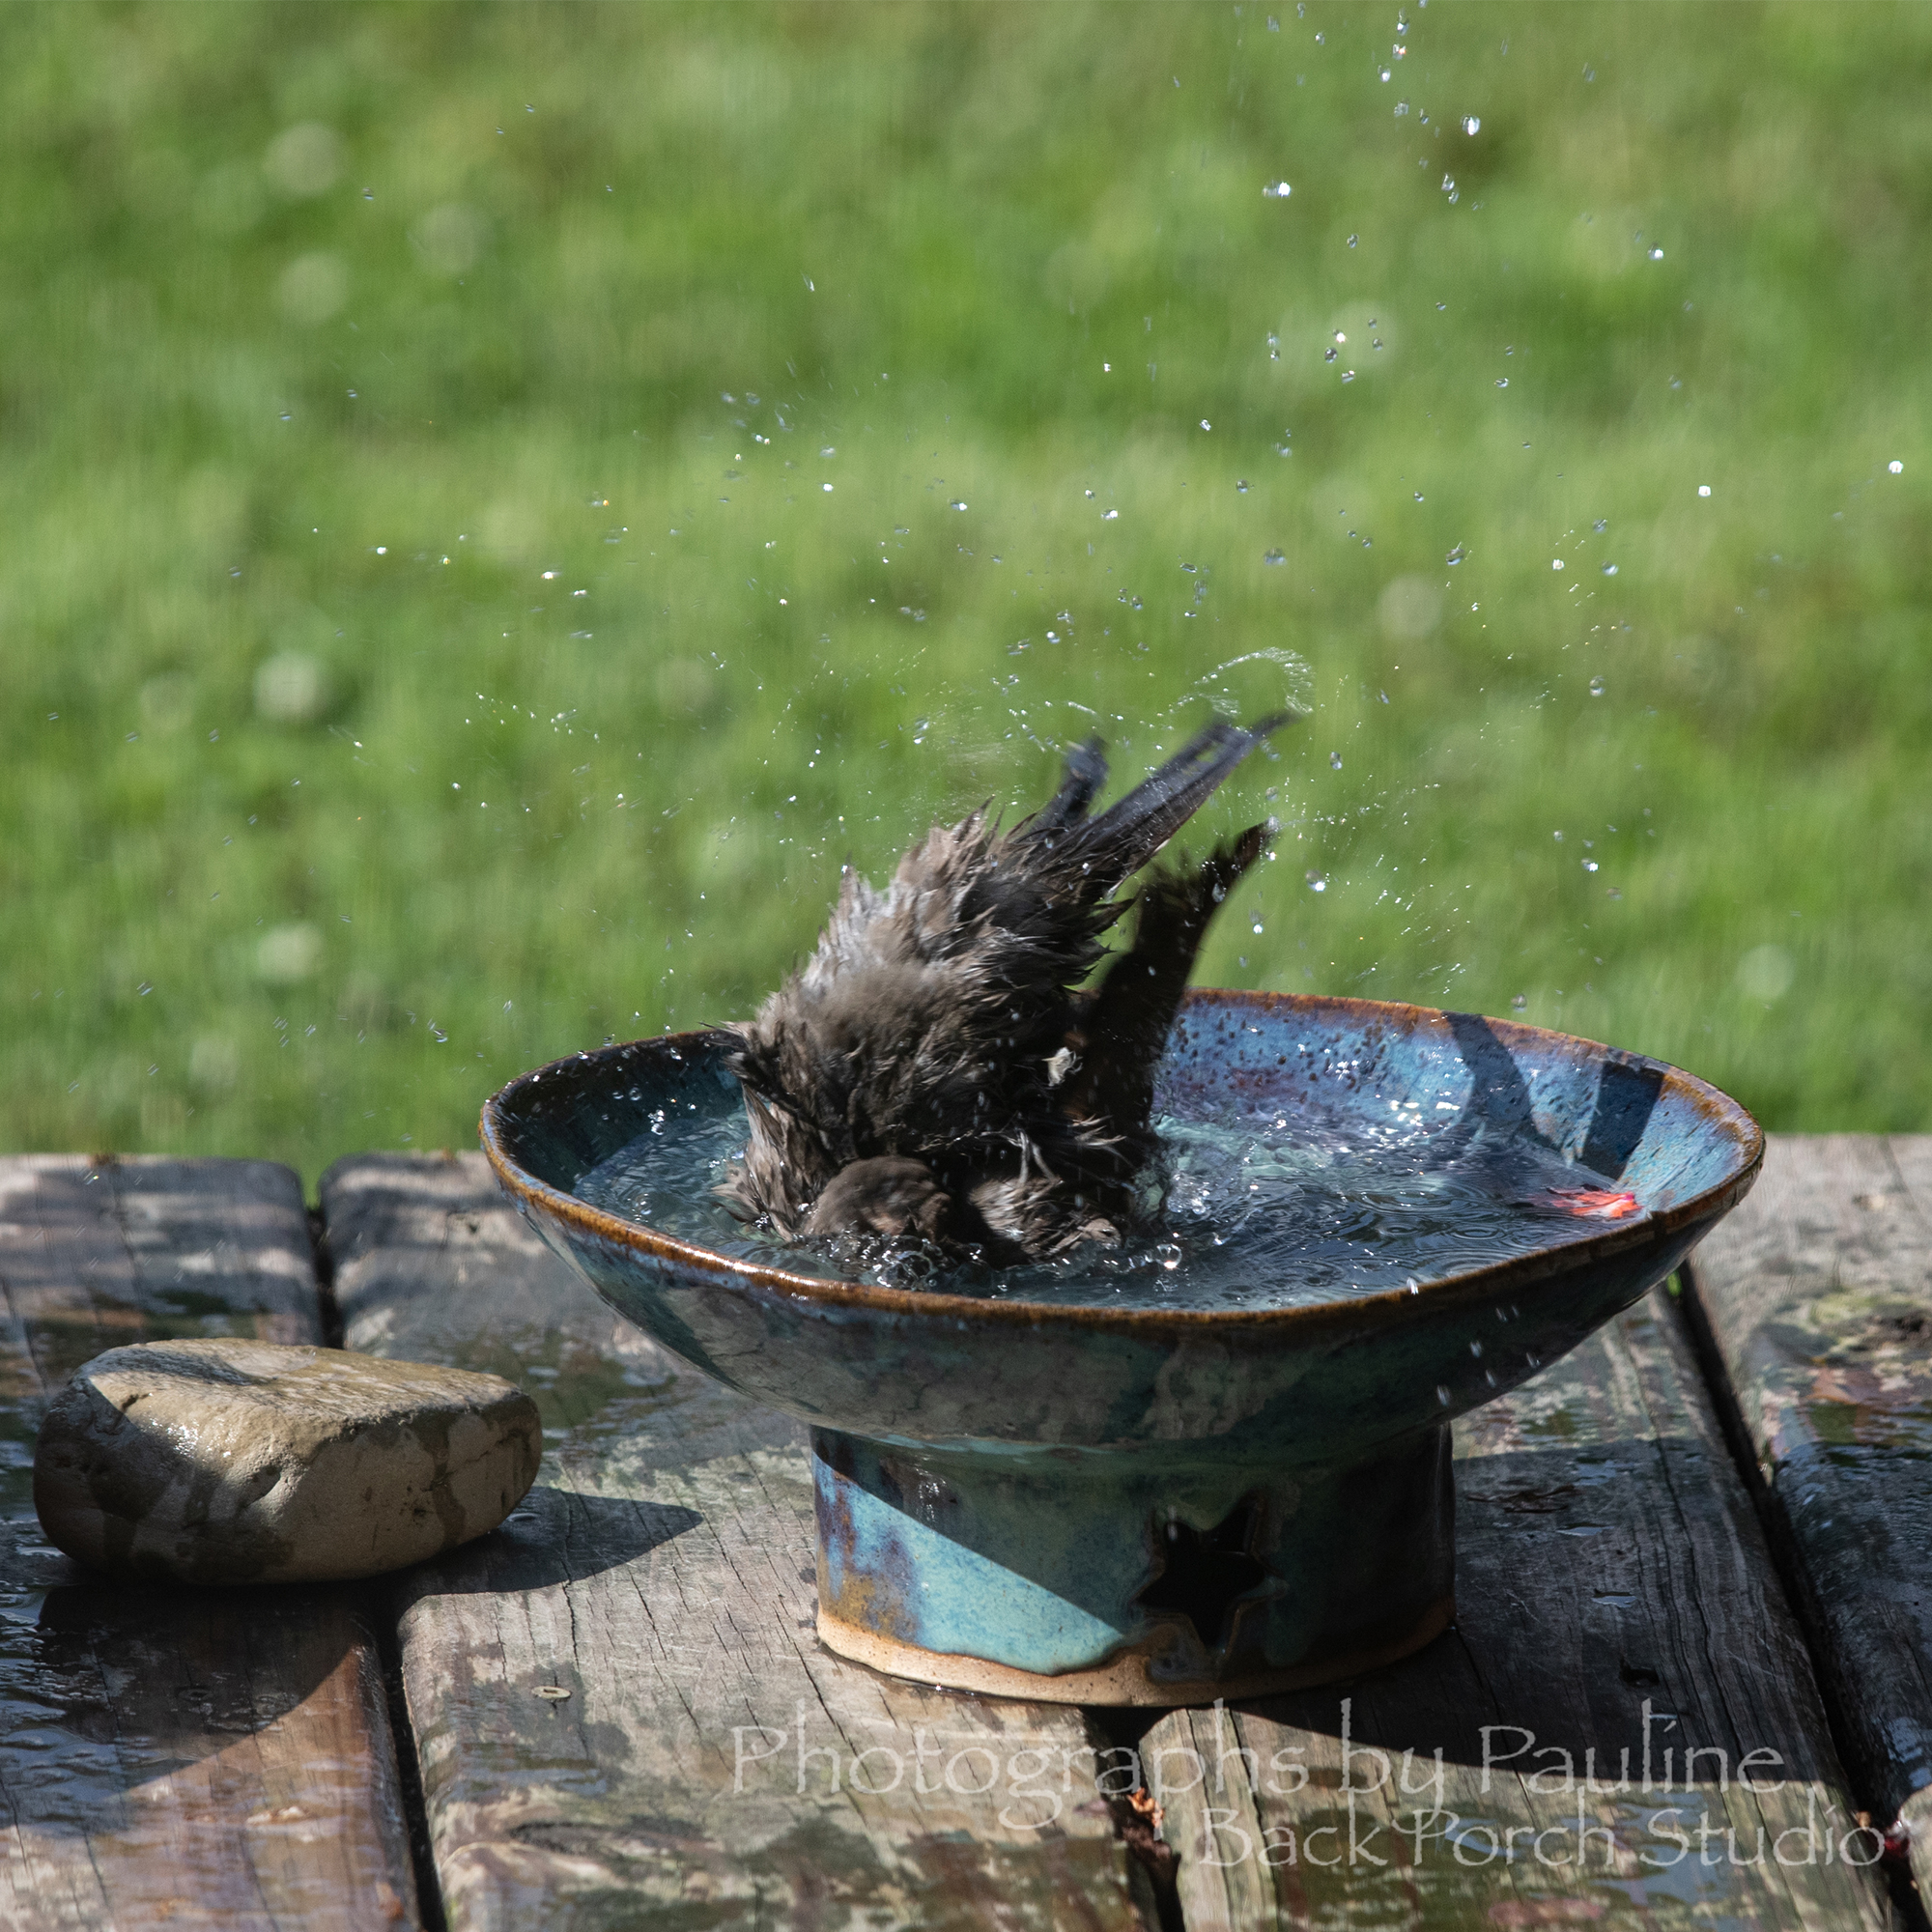
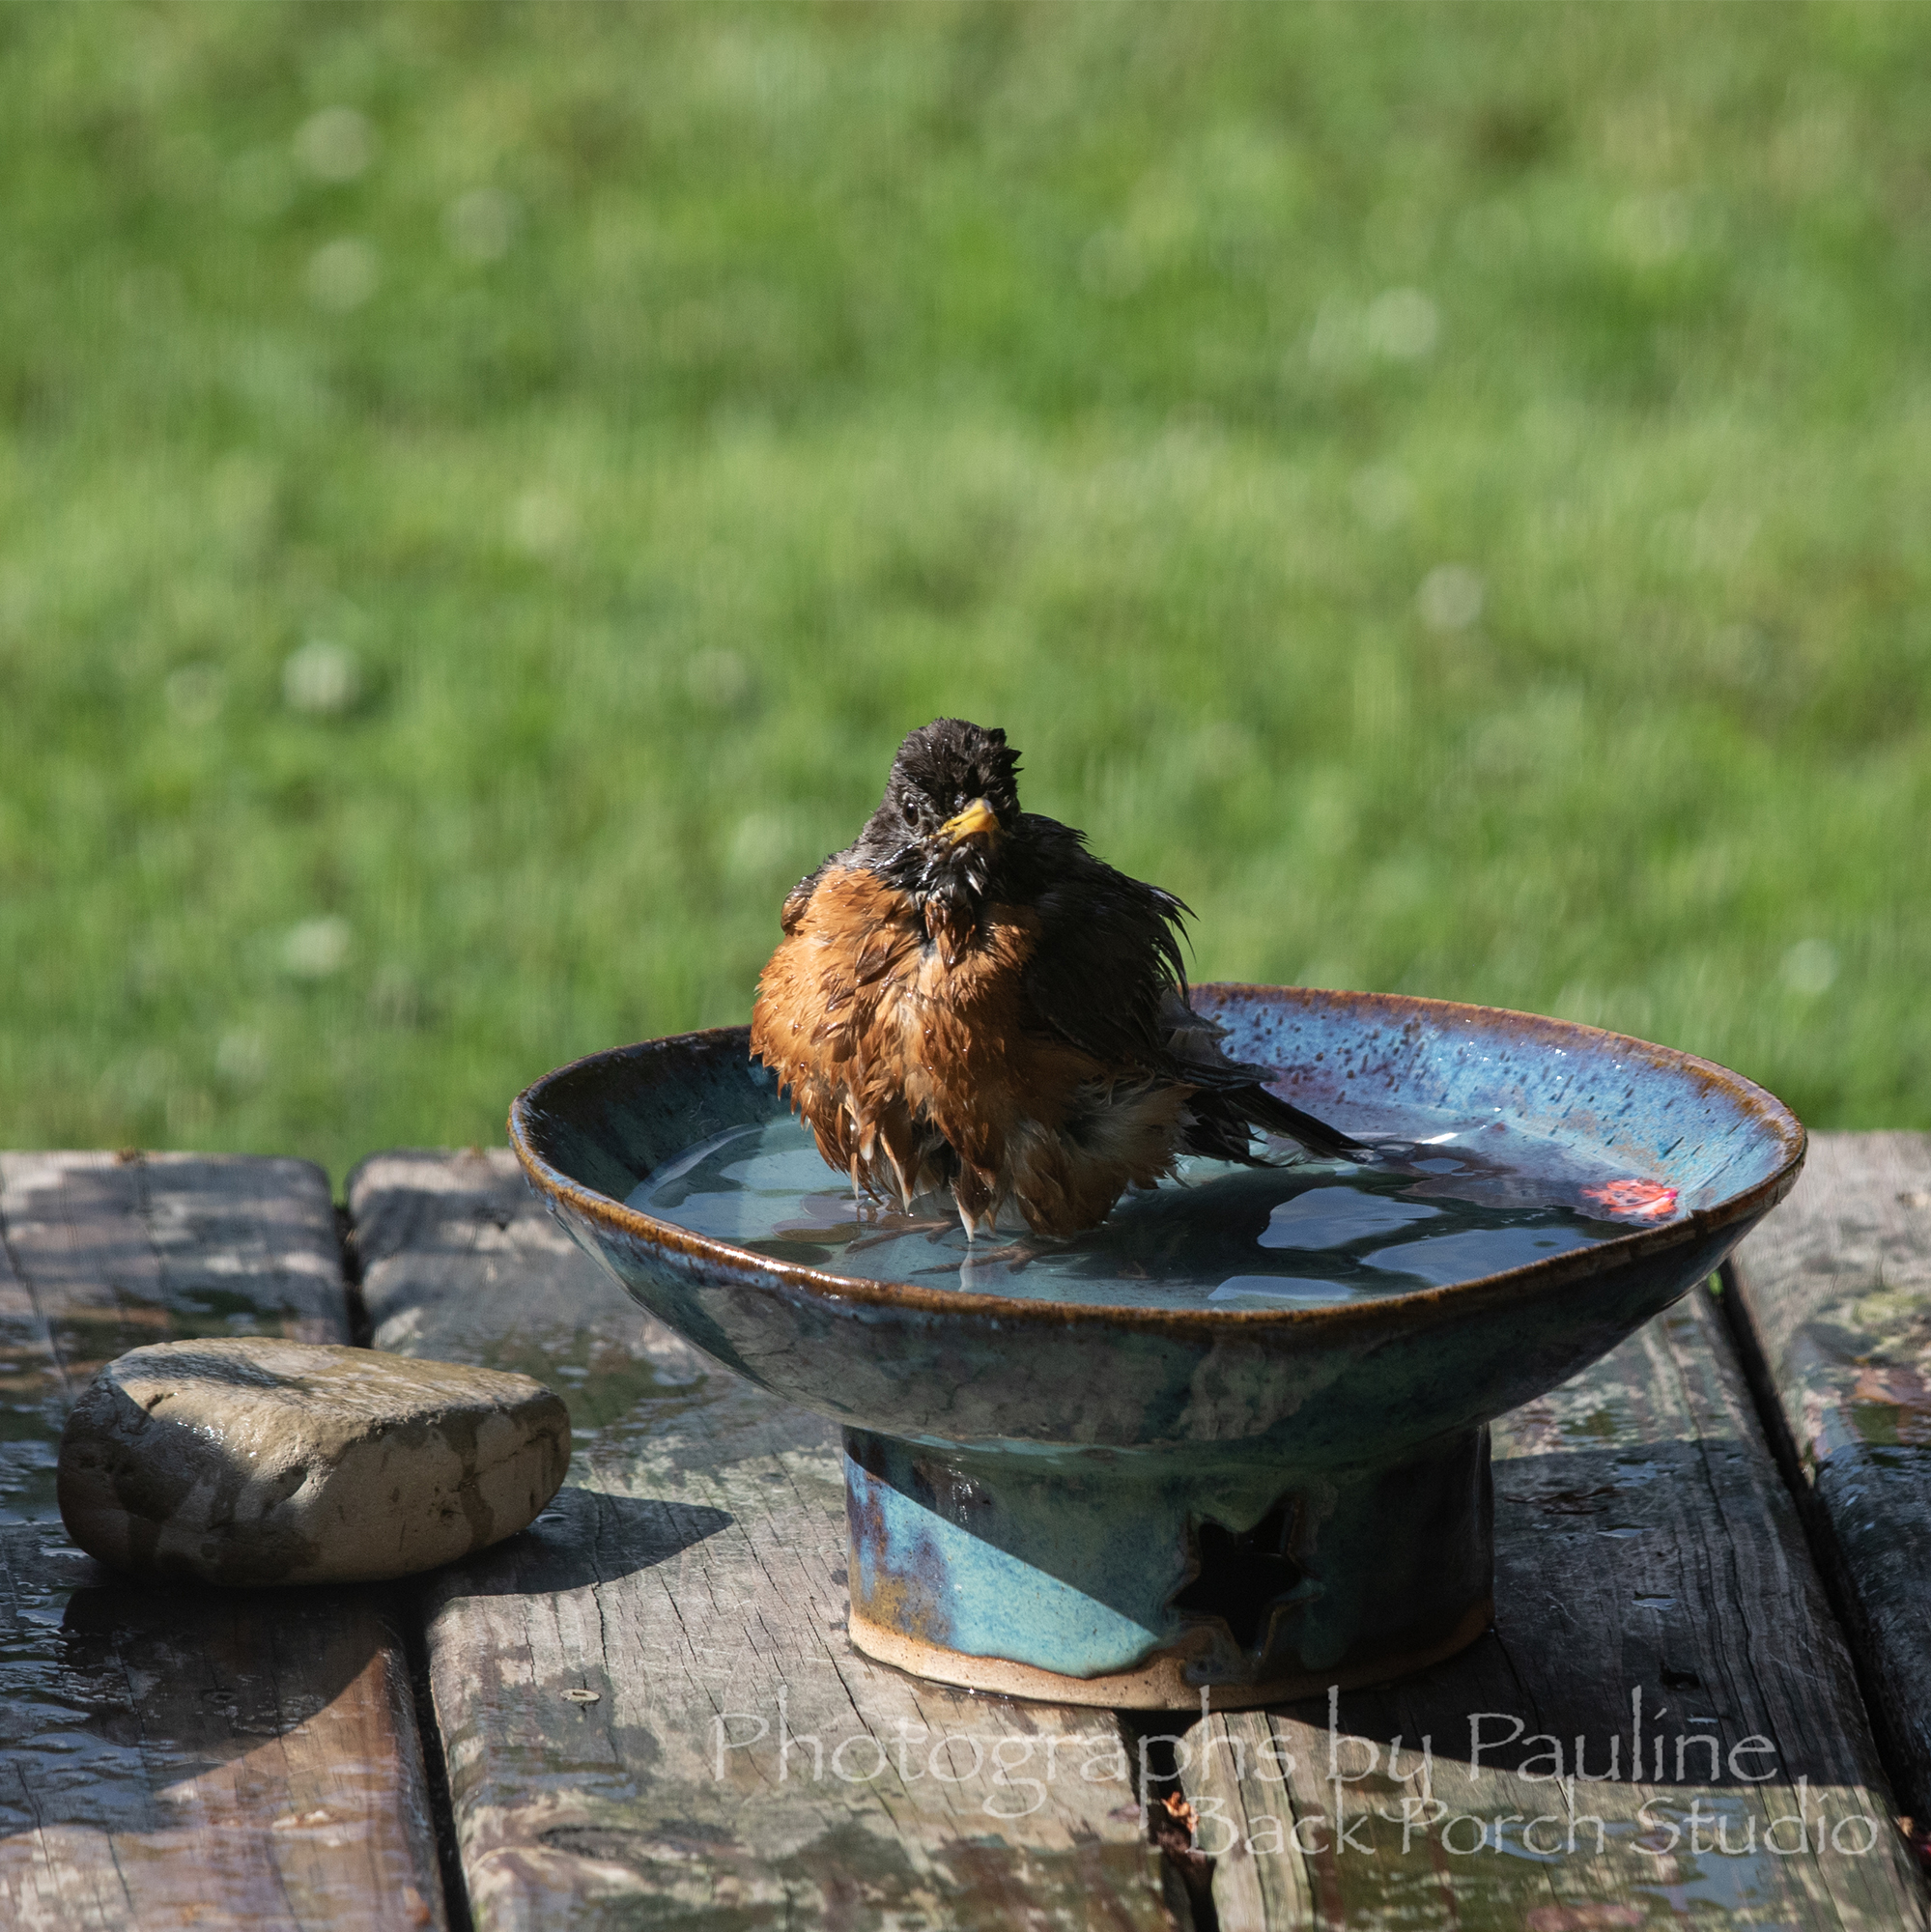
. . .so much so, I needed to add another.
The best summers are usually the least rushed. ~ Michelle Johnson


I love reading your updates. But yikes about the fungus gnats. 😱
LikeLiked by 1 person
Thank you Bridget.
Yes, yikes fungus gnats! The’ve proven to be an expensive lesson.
LikeLiked by 1 person
I love reading your updates and seeing the pics. Sorry about the gnats. Love the produce from your garden and enjoyed seeing the pic of the bird taking advantage of the water trough. Although squirrel 🐿️ bothers you by stealing all your produce, I missed seeing home here. Enjoy while he is busy elsewhere.
LikeLiked by 1 person
Thank you Manu.
Never fear! Squirrel is still around. If I keep Squirrel fed at the bird feeders, Squirrel may leave my garden alone. We’ll see! 😄
LikeLike
Your garden is producing great results. I feel your pain with the fungus gnats!
LikeLiked by 1 person
Those fungus gnats are persistent little pests!
LikeLiked by 1 person