Glazing is not my favorite part of the pottery process but when my pieces come out of the kiln, glazing is well worth the effort!
Most of my pieces have two different glazes applied giving the pottery one color on the inside and another color on the outside. This process involves a combination of pouring and brushing.
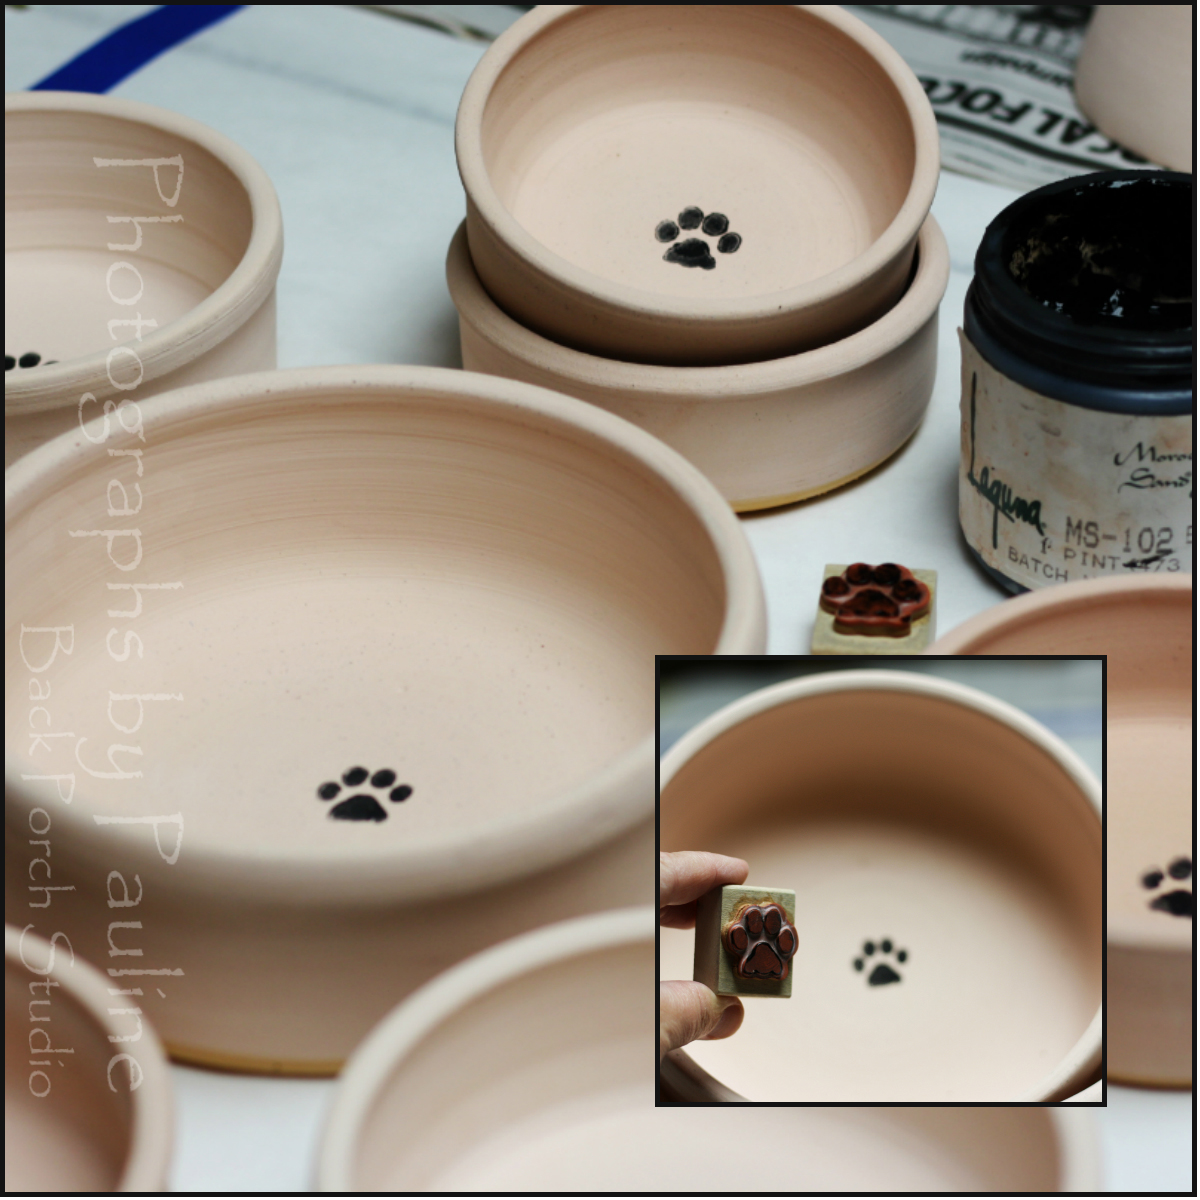
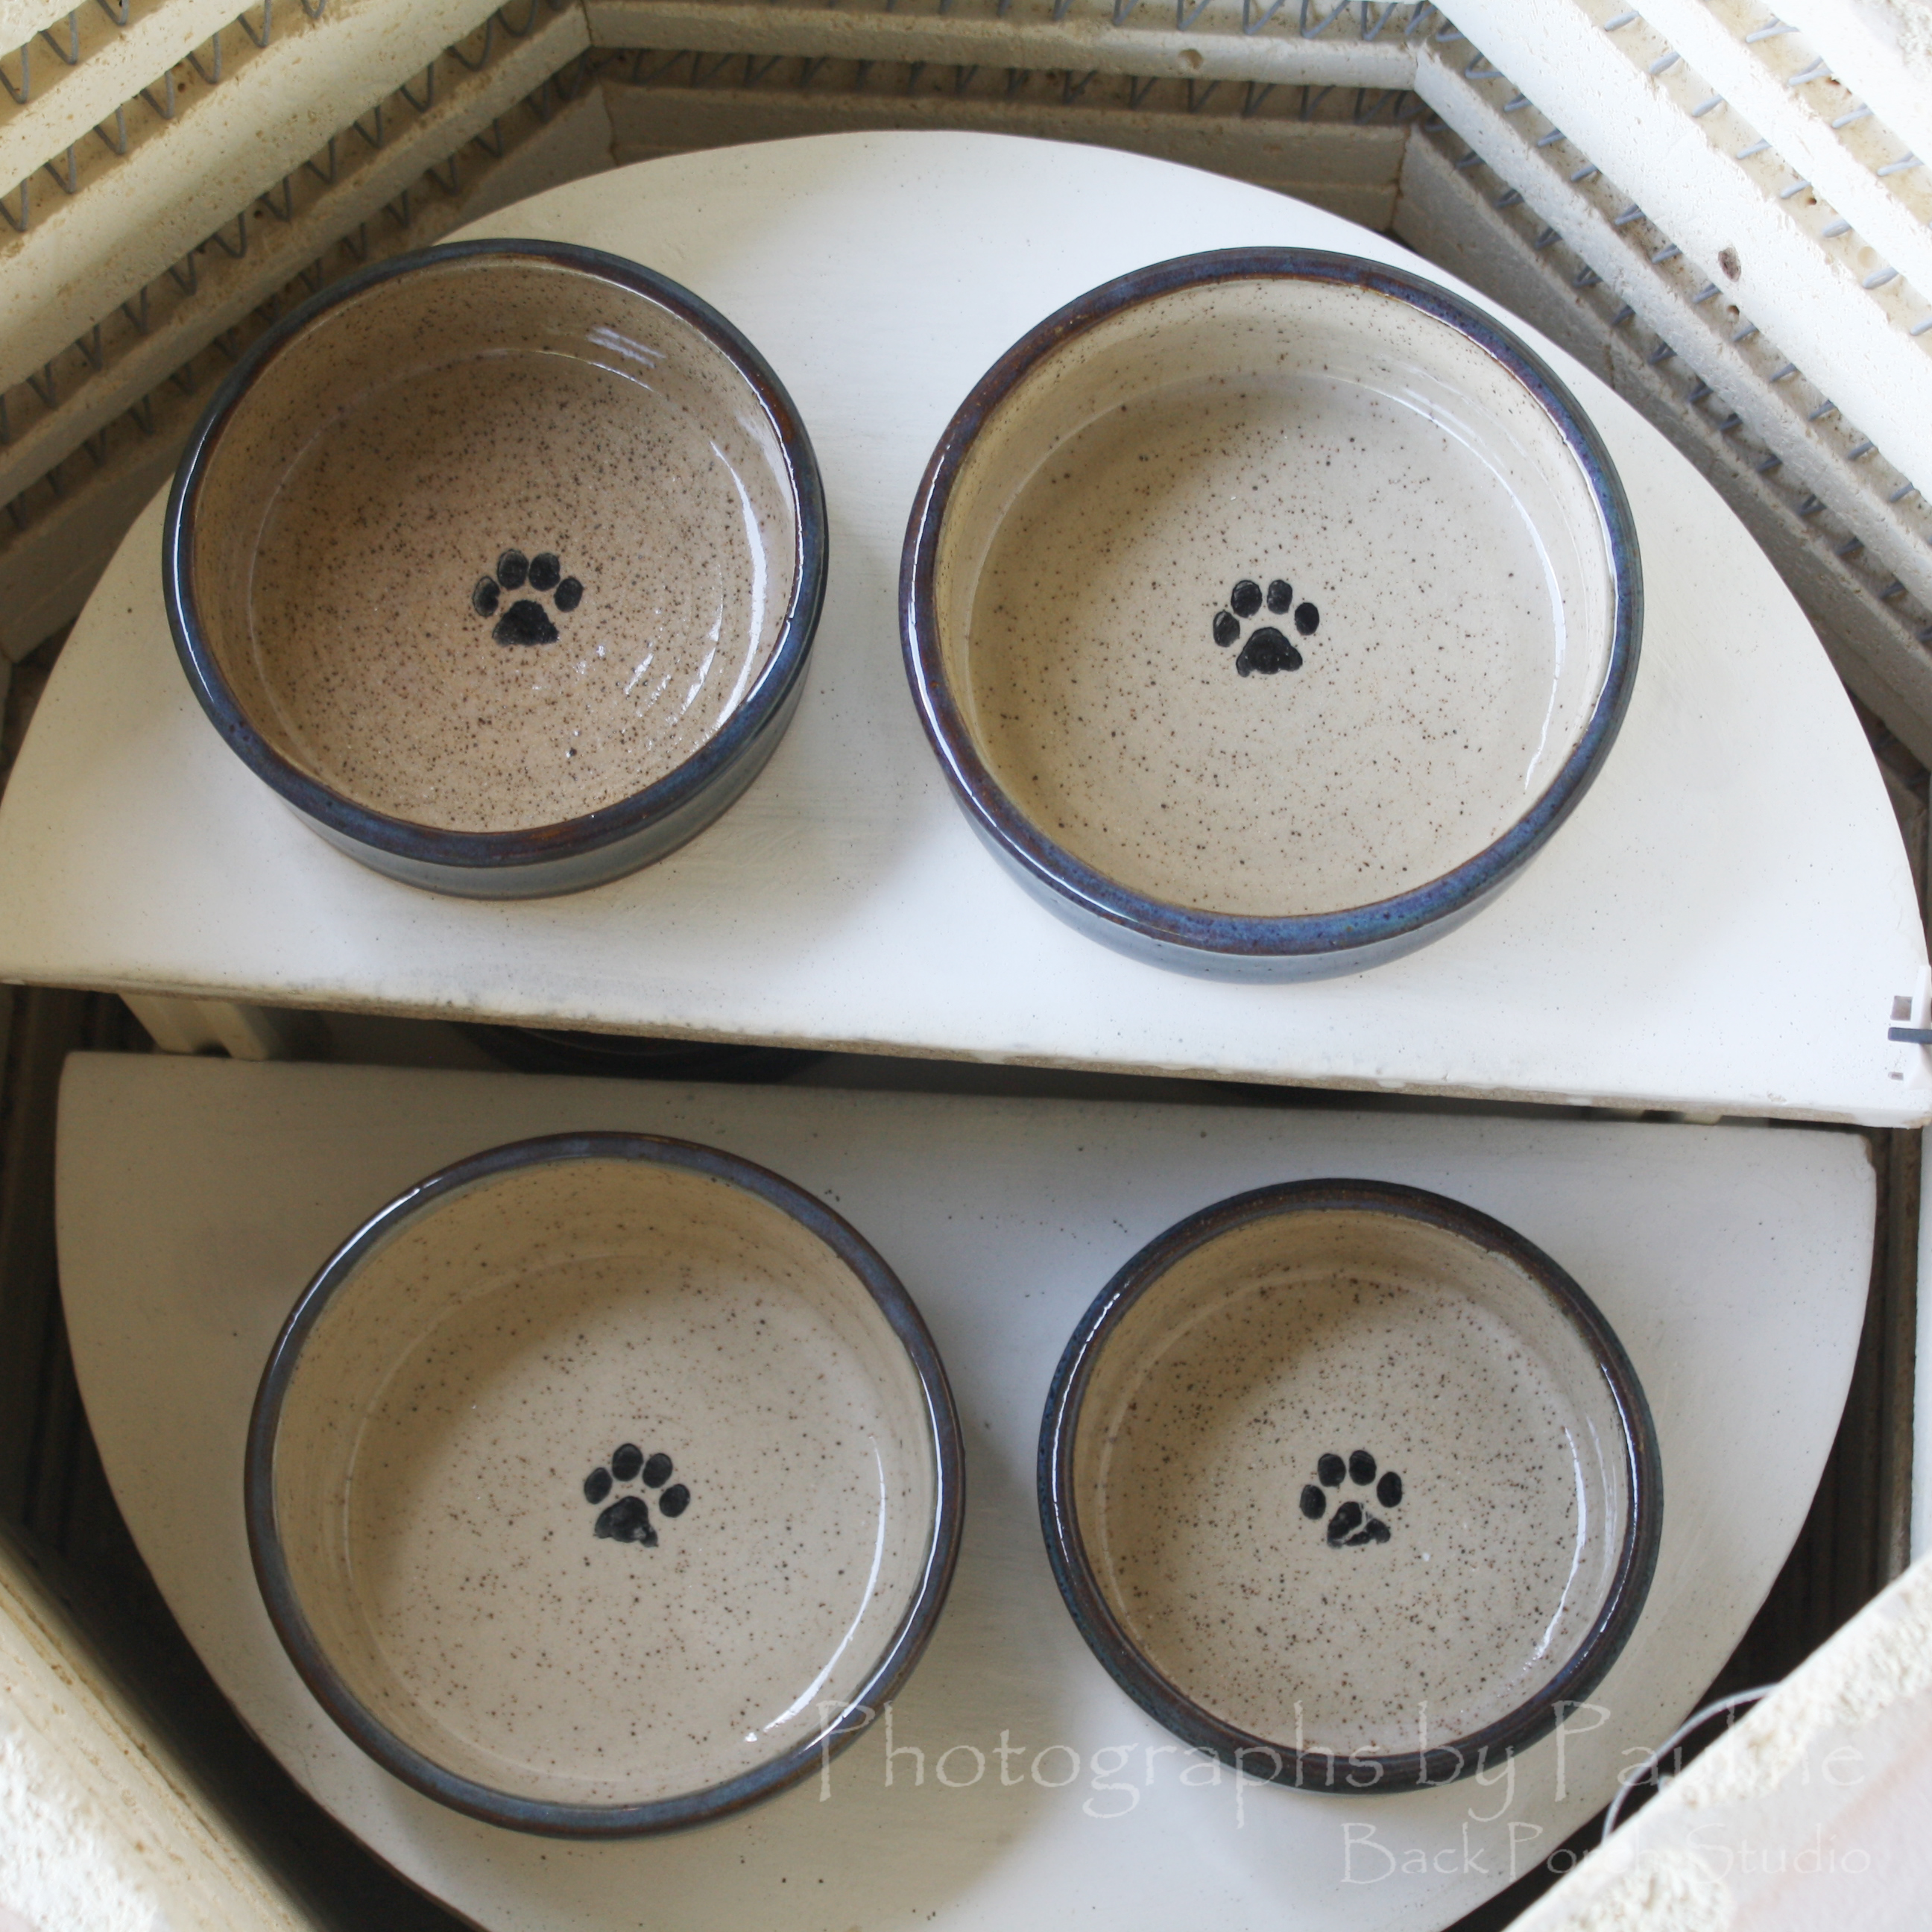
First, I wax my bottoms. The wax prevents the glazes from adhering to the bottom of the pot and prevents glazes from sticking the kiln shelf potentially ruining the piece of pottery and making a big mess to clean up on the kiln shelf.I hand stamp a paw print inside each of my pet dishes with an ebony wash.
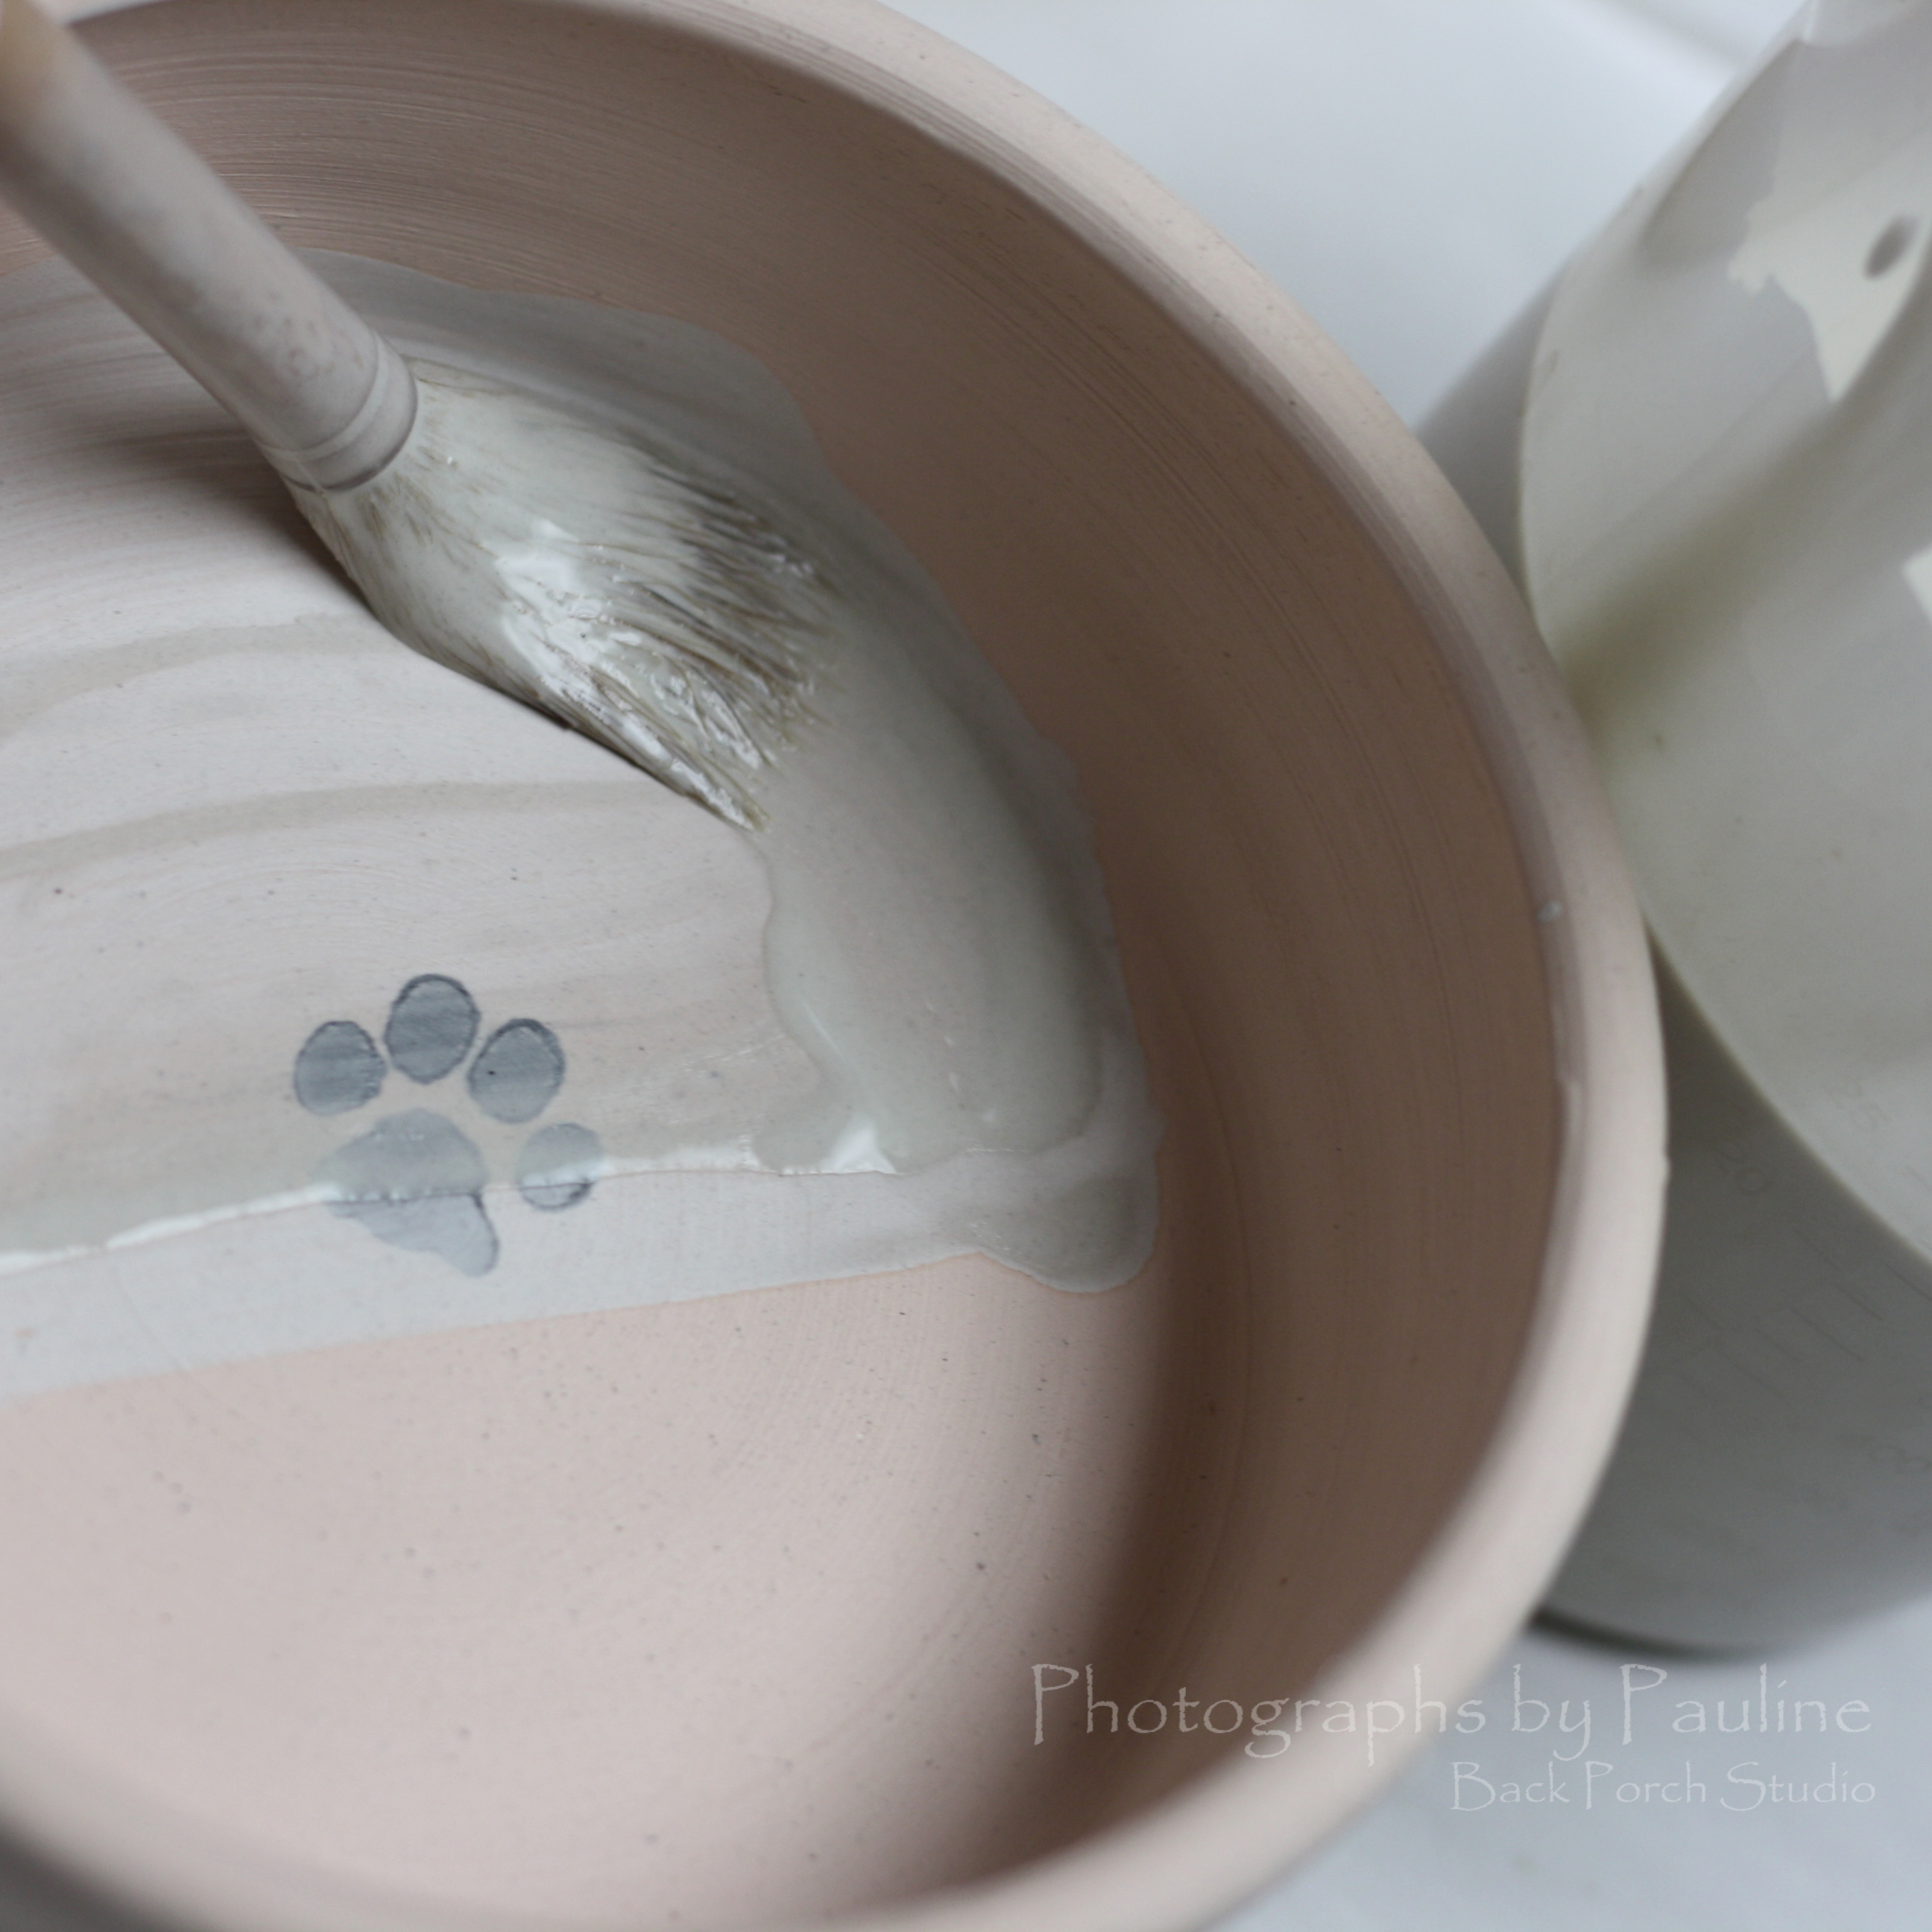
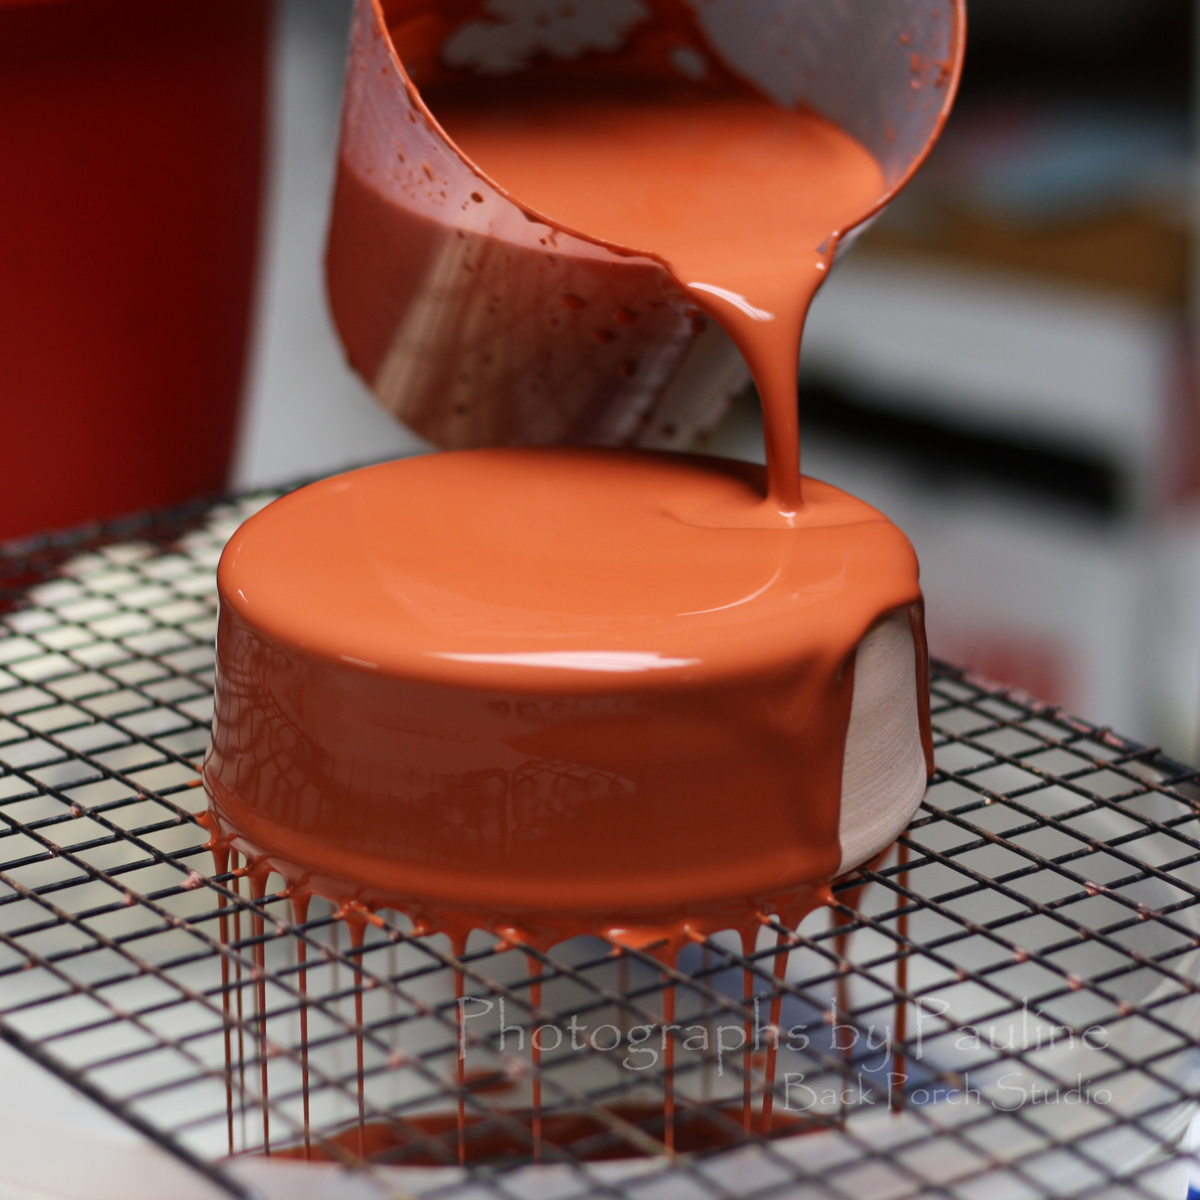
I brush a clear glaze inside of my pet dishes. I used to pour the clear glaze but it had a tendency to go on too thick which caused crazing. . . a crackled look. Though some like the crazing look, I simply prefer to apply this particular glaze thinly with a good brush to prevent crazing. (Side note: I have learned the crazing is not detrimental to my pieces. It simply gives the clear glaze a crackled look).To glaze the outside of each dual color piece, I pour the second glaze over the outside of the pot. Because the bottom is waxed, the glaze simply moves off the waxed part of the pot.
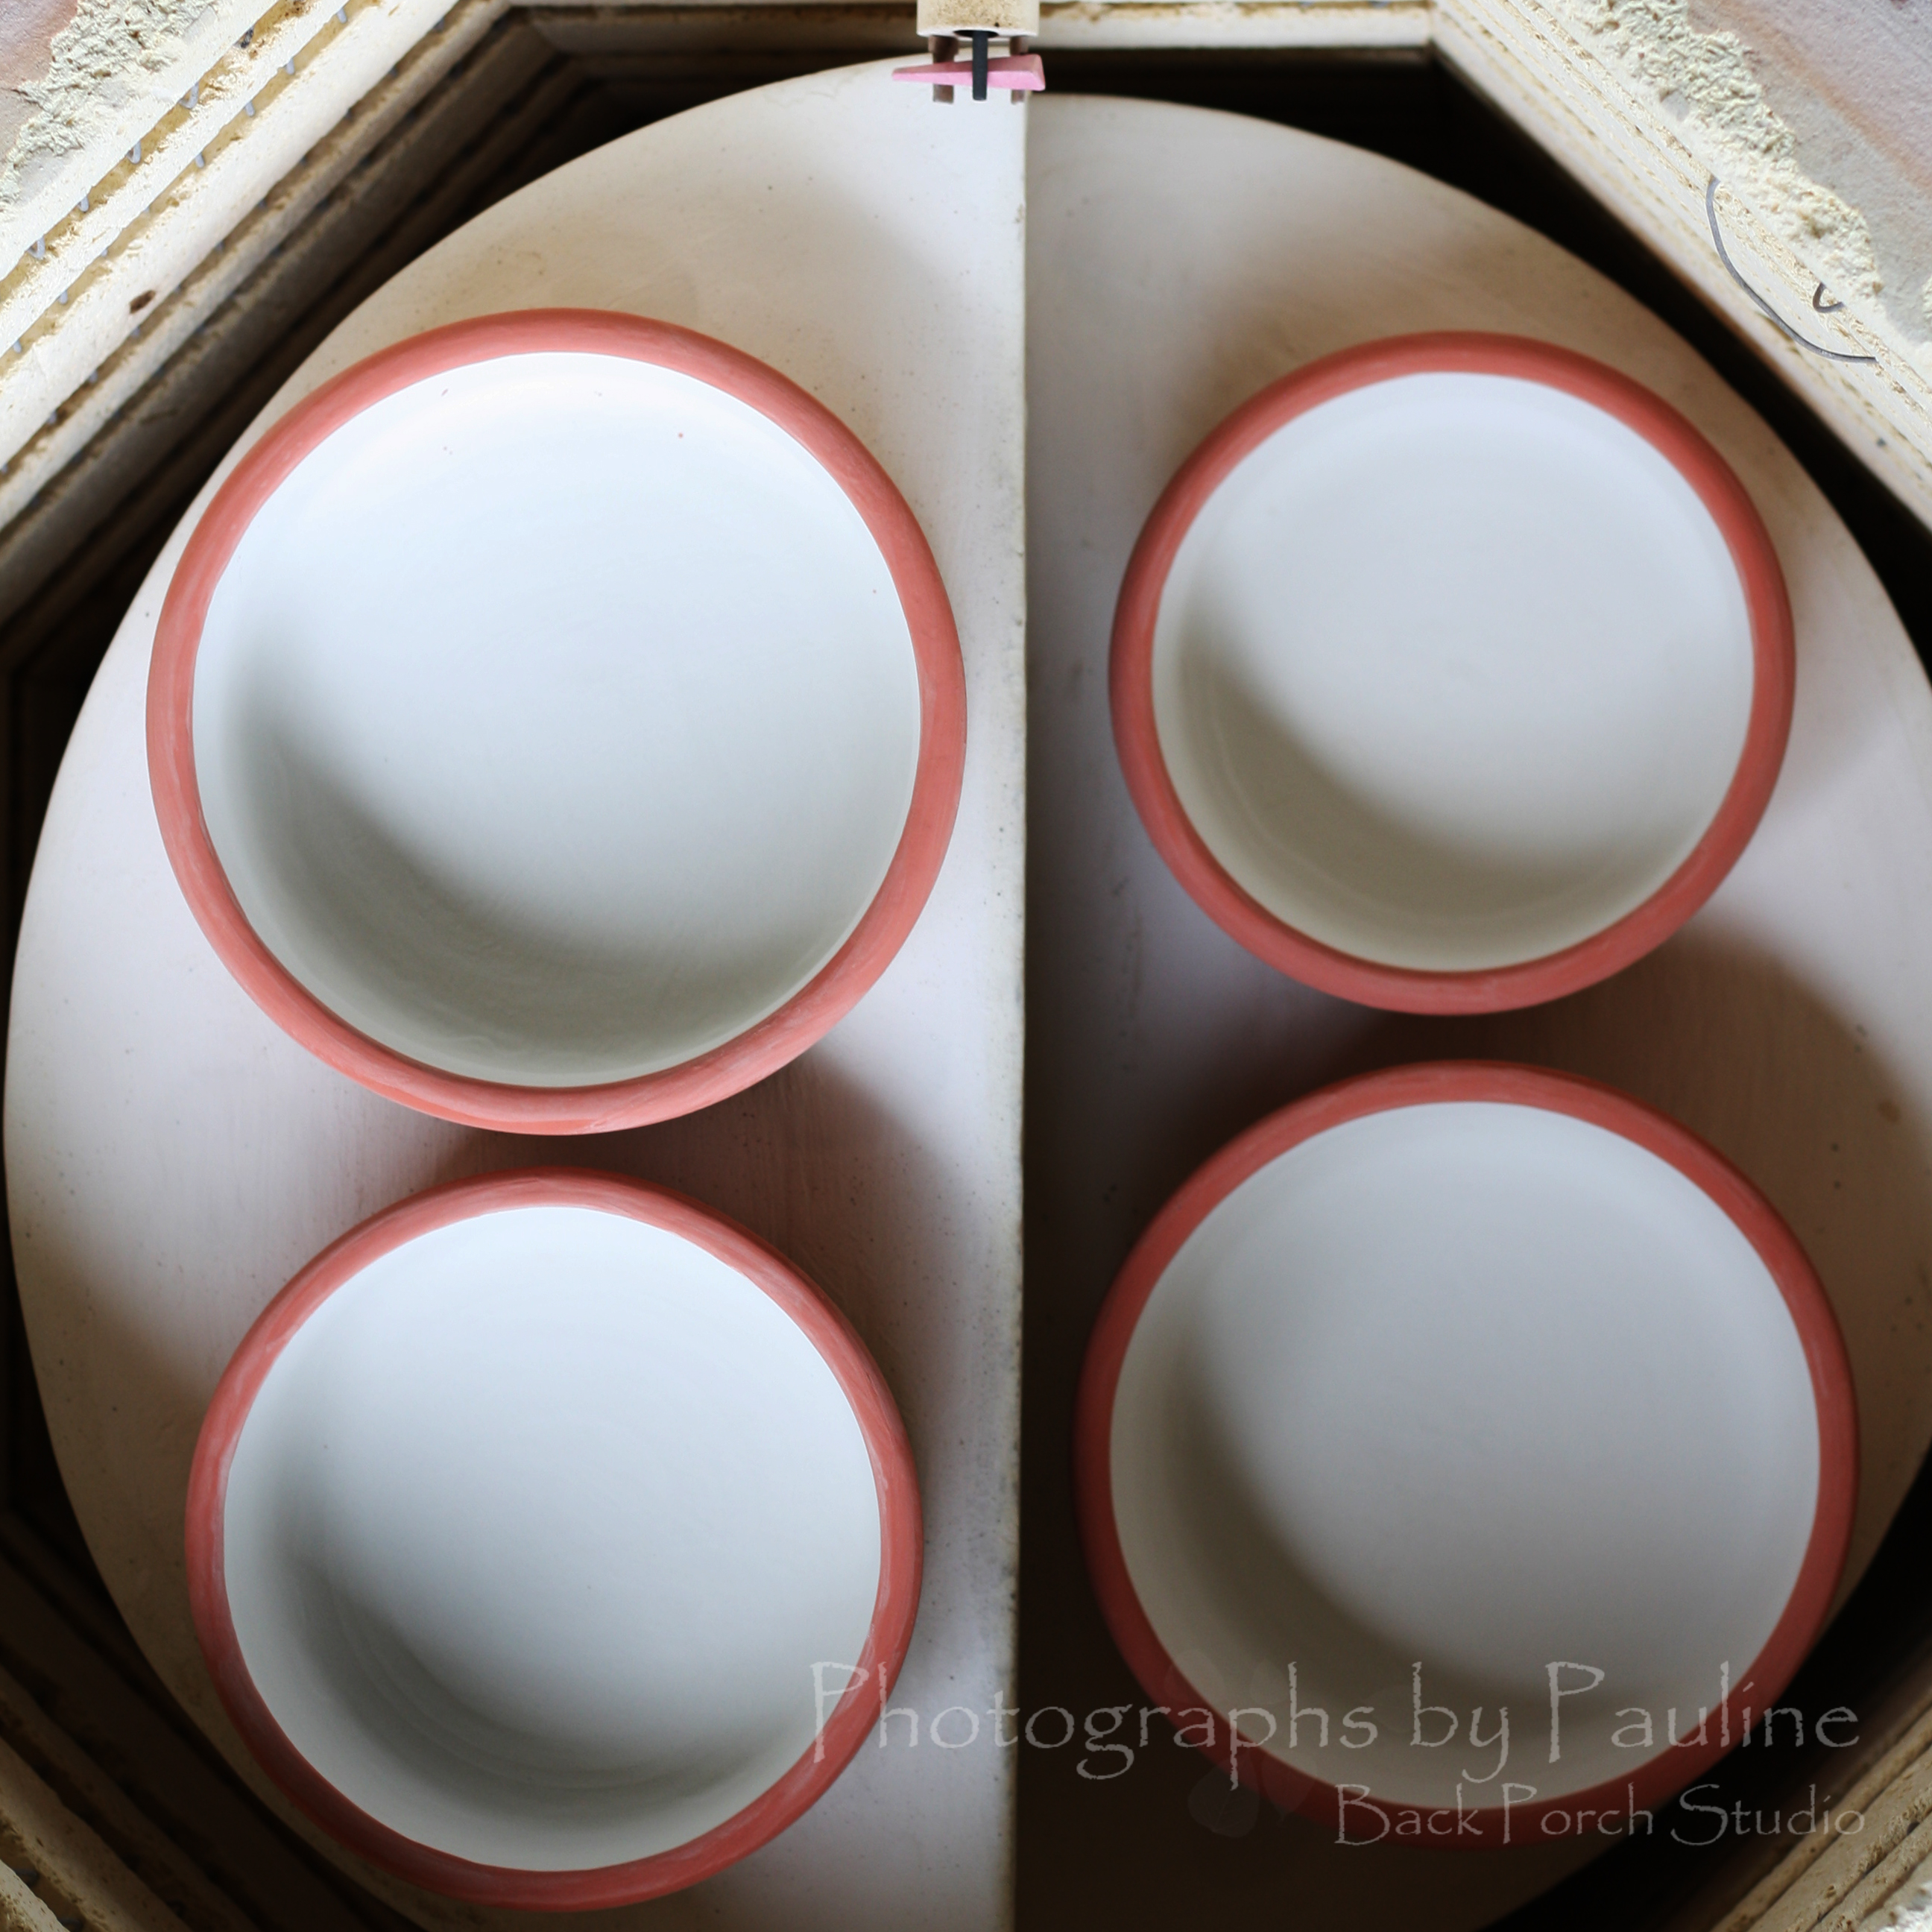
Blue and cream pet dishes glazed (blue on the outside, clear on the inside) and ready to be fired in the electric kiln.
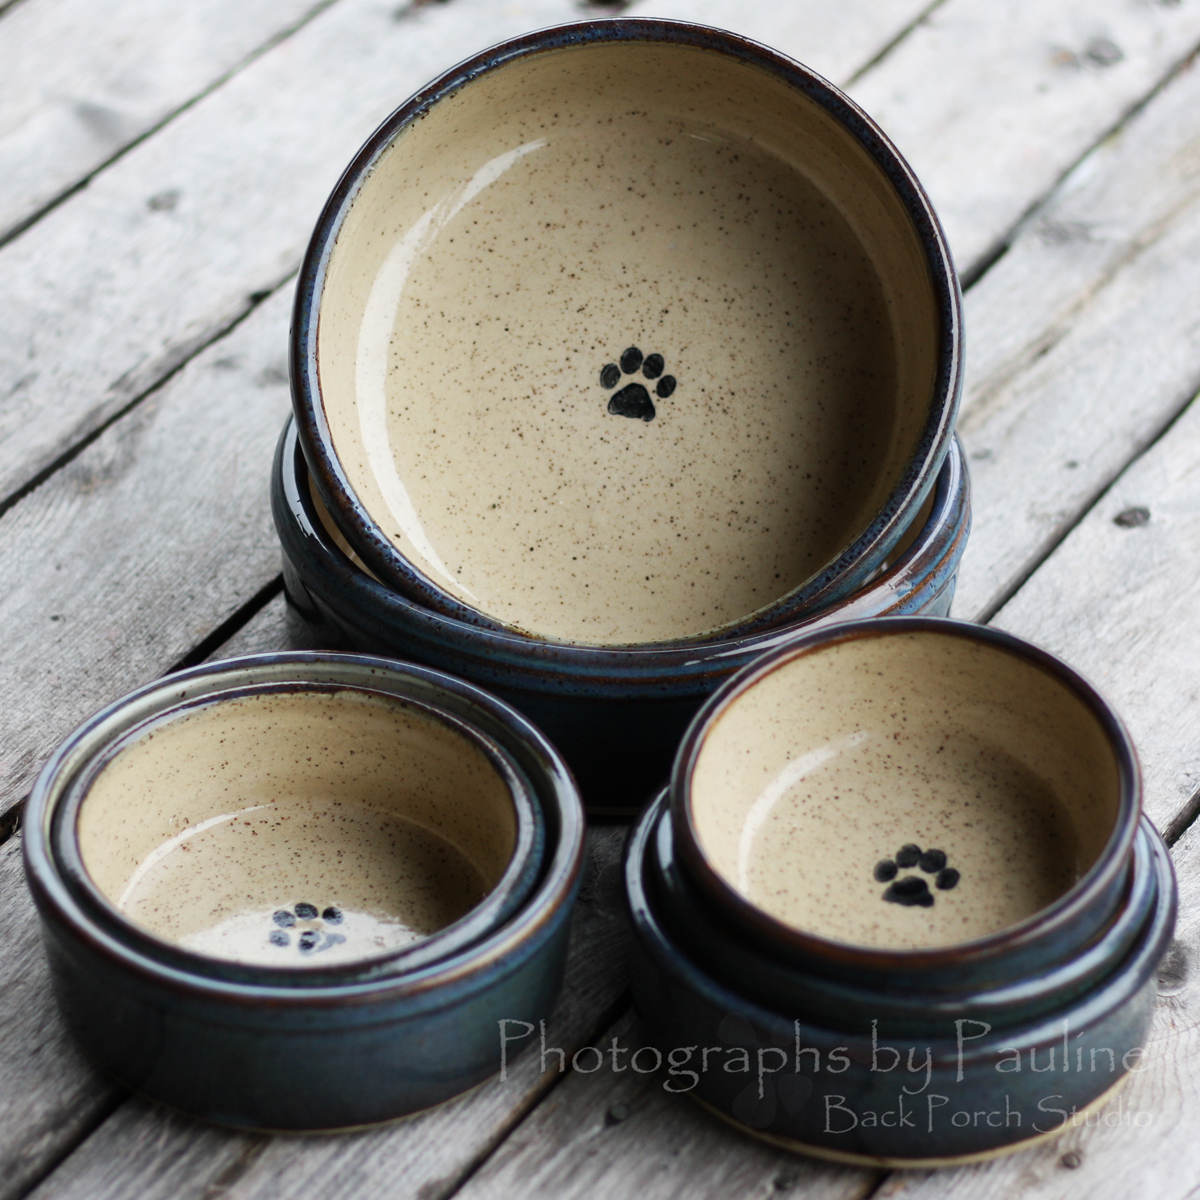
Tah-dah! 8 to 10 hours later!!!!Though glazing is not my favorite part of pottery, I am thrilled with the results!


Leave a reply.